10 Minute Dollar Tree DIY Fall Craft Idea
Welcome, fellow craft enthusiasts, to our delightful blog post on creating a beautiful DIY Fall craft idea using Dollar Tree Calendars! As the fall season approaches and soon the vibrant hues of autumn will surround us, what better way to embrace the upcoming season than by adding a touch of handmade charm to our homes? With just a few simple materials and a sprinkle of creativity, I’ll guide you through the process of transforming humble Dollar Tree calendars into a stunning DIY Fall craft idea that exudes warmth and rustic elegance.
Get ready to unleash your inner artisan and embark on an unforgettable crafting journey that will leave you with eye-catching fall-inspired decor!
- The first thing you’ll want to do is visit your local Dollar Tree and grab a few 2024 calendars.
- Next, you’ll want to choose the design you want to work with, and that goes with the style you want.
- Then, you’ll want to get a wood round from Dollar Tree or a round design you can redesign.
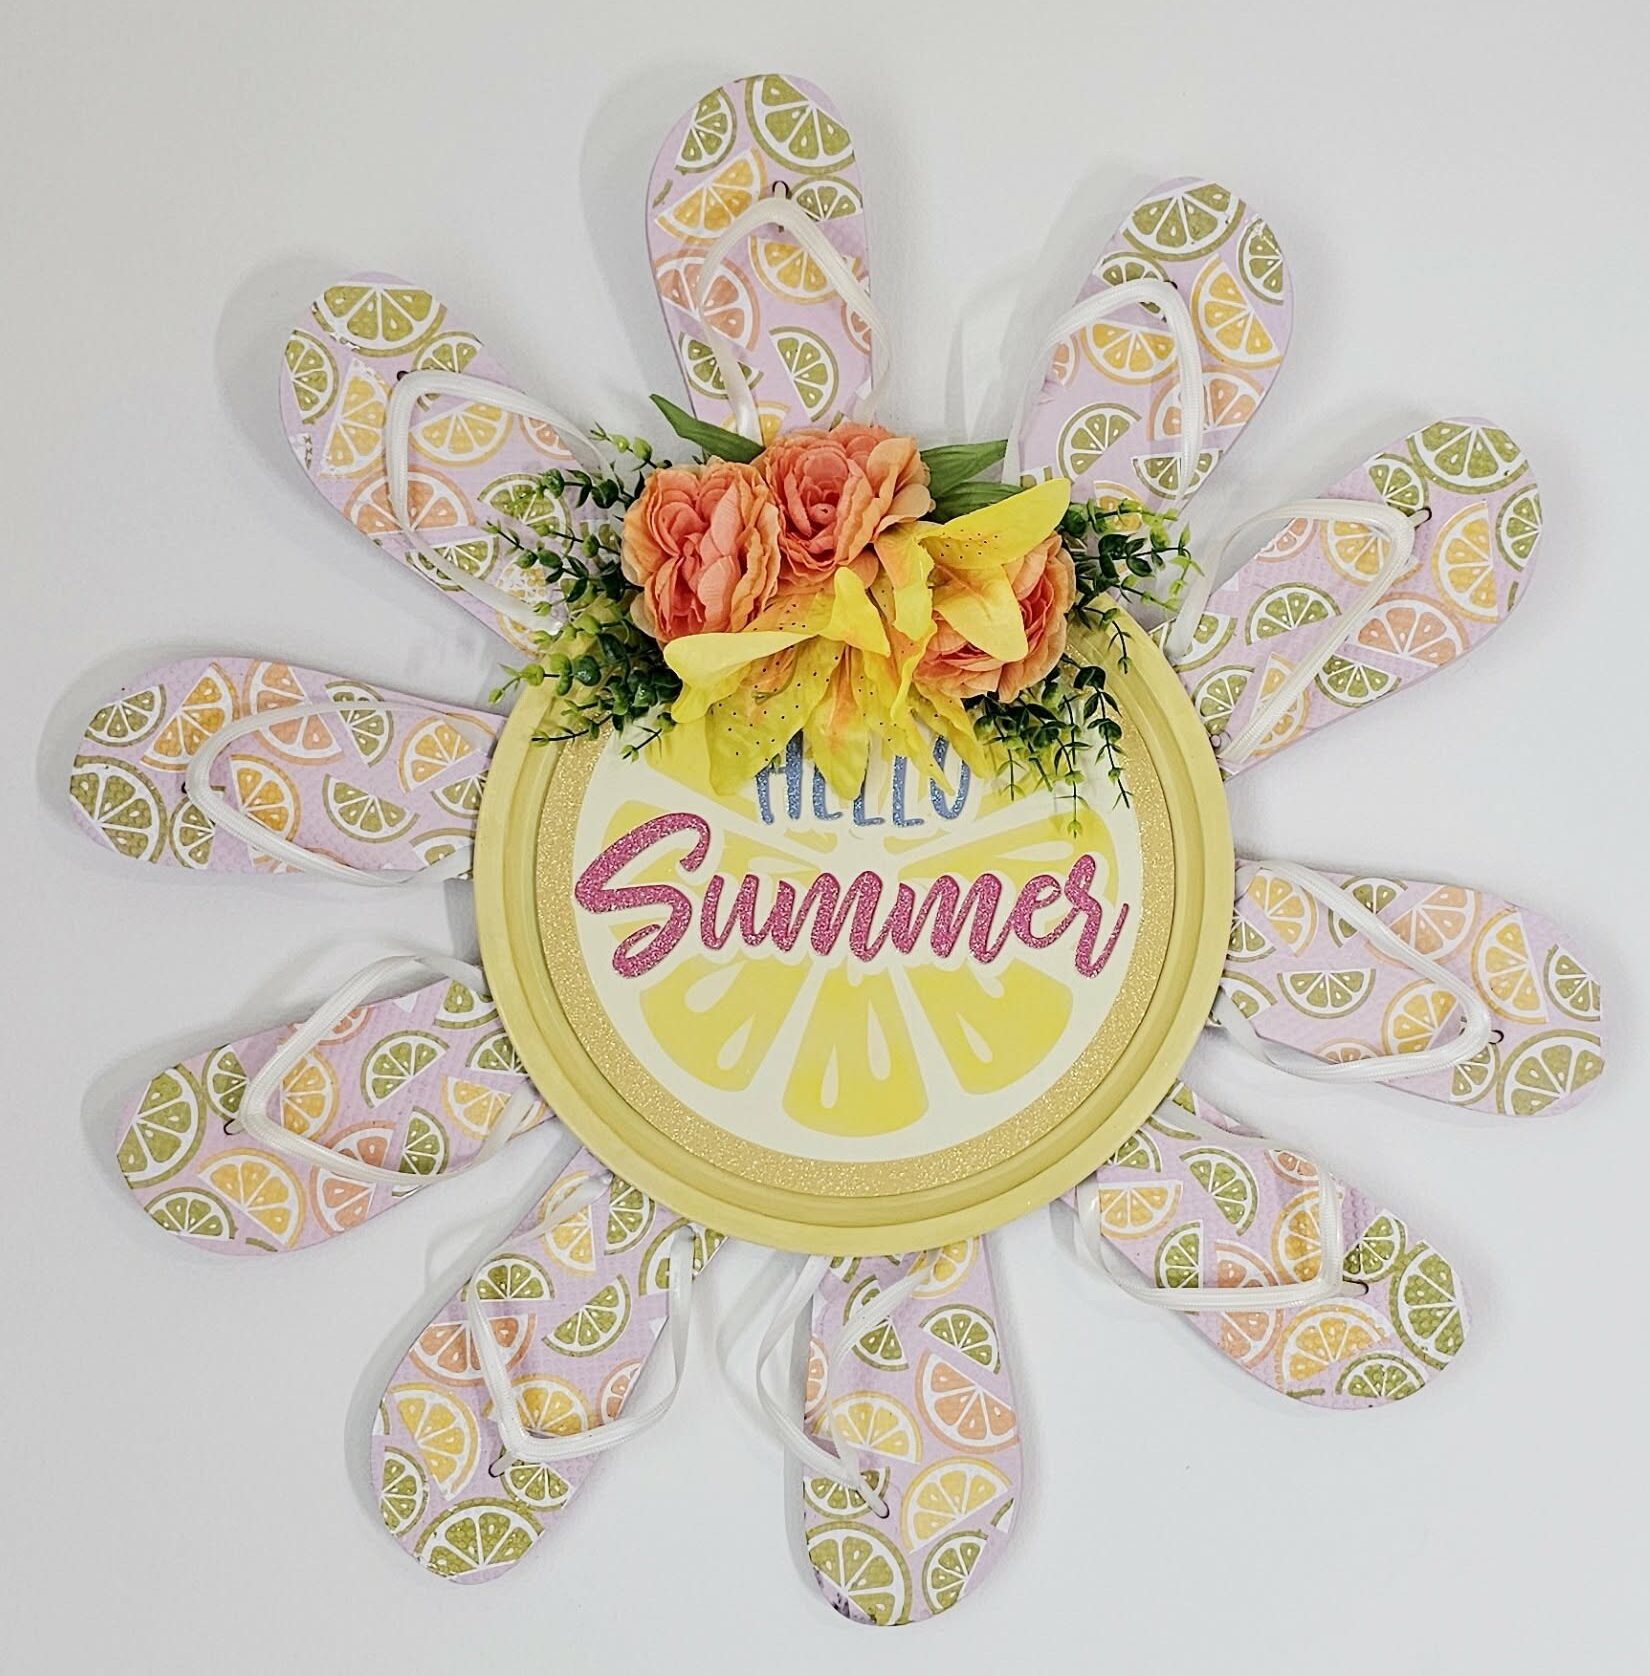
- I used a left-over summer round sign, so I removed the string and sanded down the surface.
- Wiped it very well, ensuring no dust was left behind.
- I gave the surface one light coat of Waverly Chalk paint in the white. This is to ensure the background is light and the original design doesn’t bleed through the new design.
- Once dry, spray adhesive the surface with any adhesive you have available. I used Gorilla adhesive spray, and you can find it here.
- Place the calendar page you chose on the surface. Make sure it is straight and covers as mush surface as possible. It is important to make sure the design covers the sides and bottom completely. If it doesn’t cover the top completely, it’s ok. We will cover this up with florals.
- Once the page is attached, you can now remove the excess paper from the edges. I used my electric sander. You can also use sandpaper, sanding block, or just simply cut off the excess. I have found that using a sander or sandpaper/block works extremely well and leaves the edges very smooth.
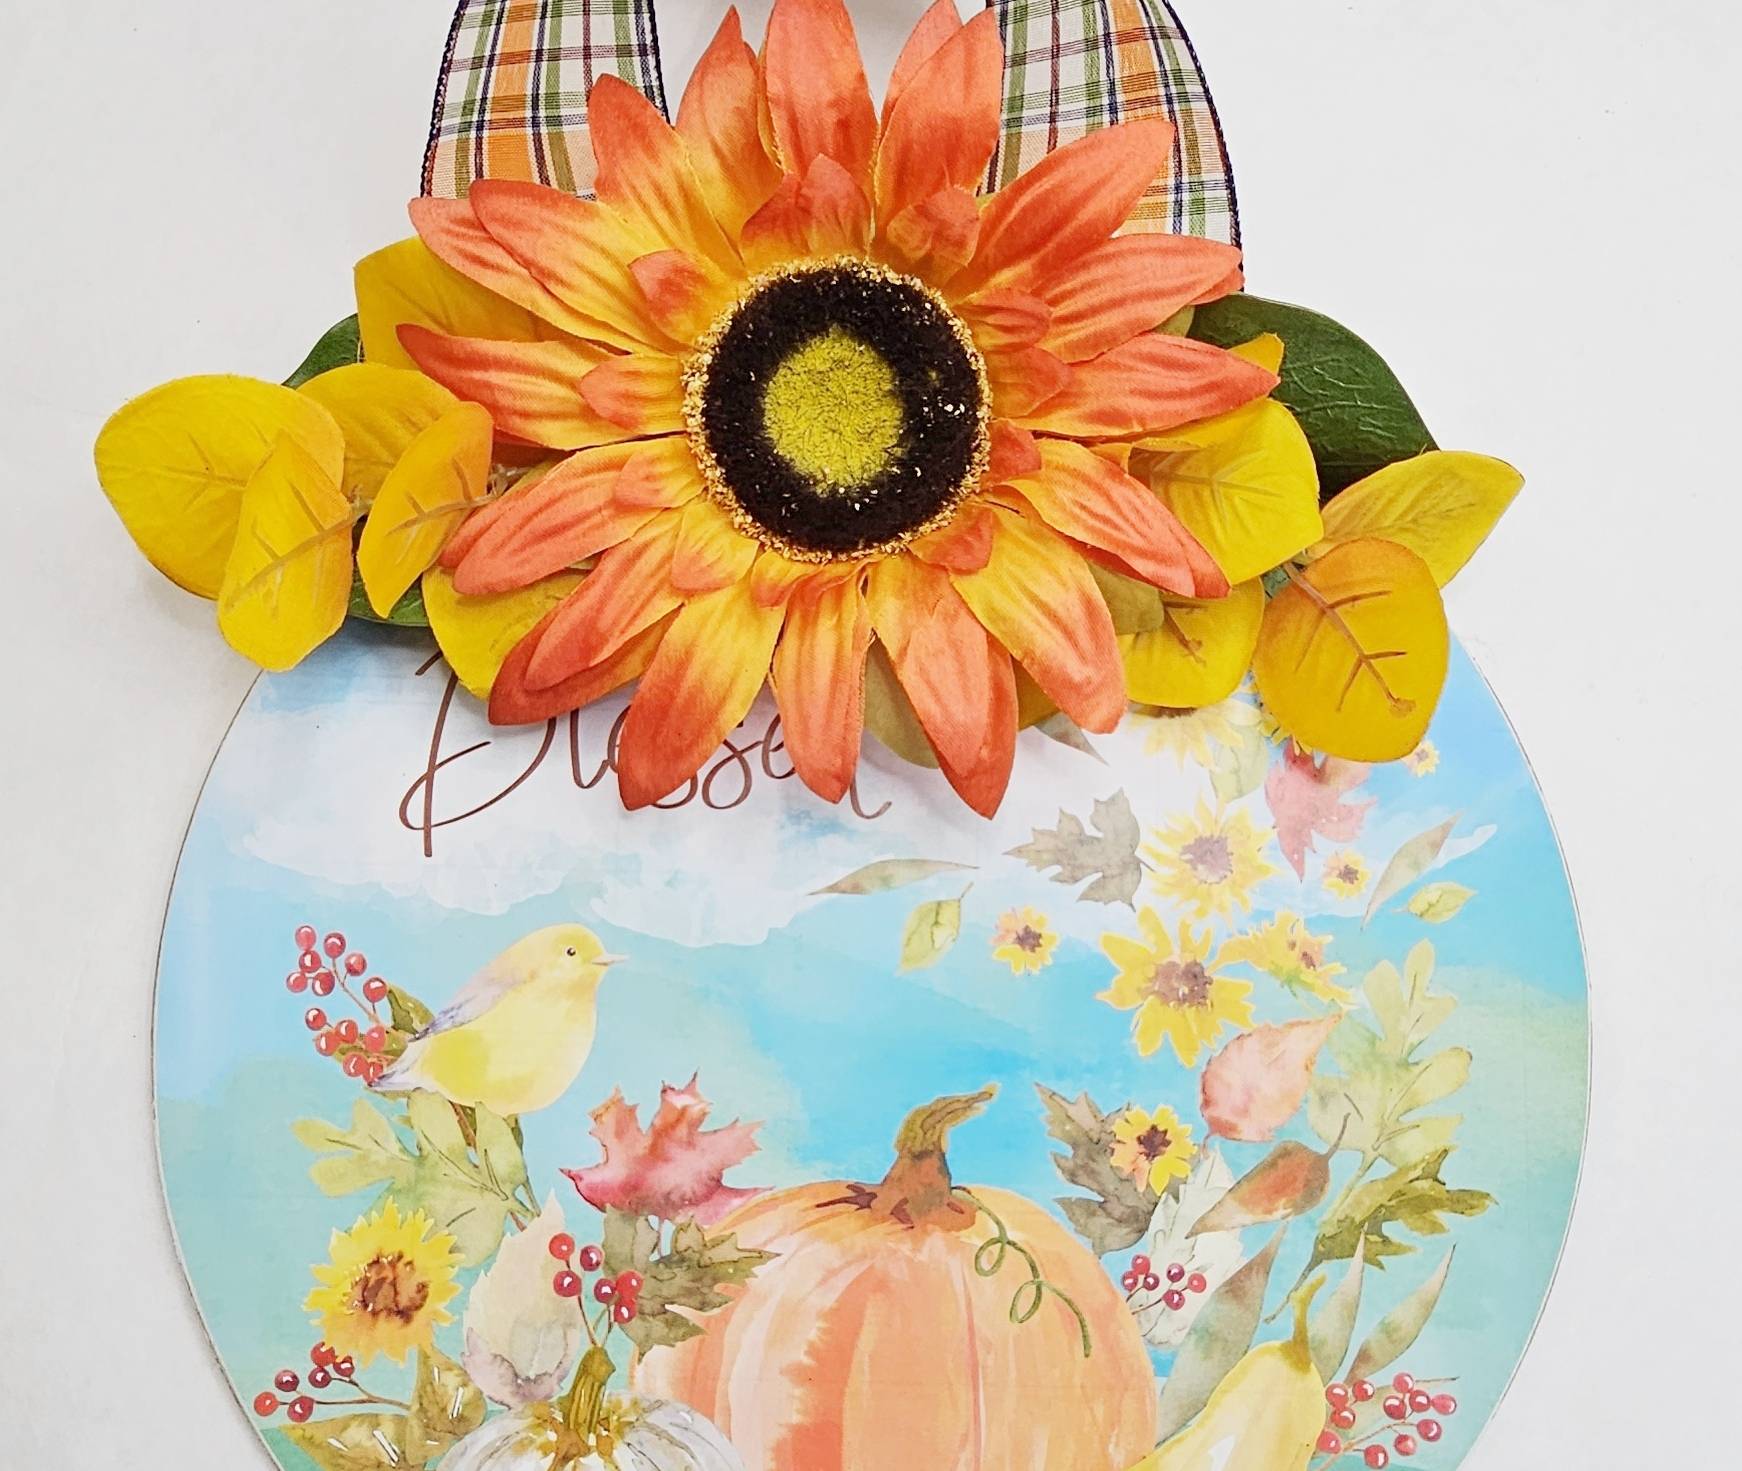
- Now, it’s time to add the florals of your choice. I started with green leaves to add a nice large base. I hot glued them to the top of the design.
- I then hot glued a small piece of floral foam from Dollar Tree to the center of the leaves. This will give us a place to be able to attach more florals.
- I added a large sunflower from Dollar Tree directly to the center, pushing it on the foam and attached it with hot glue.
- I added yellow, leafy picks from Dollar Tree to each side of the arrangement. Secured it with hot glue.
- Then, you’ll want to choose a ribbon that compliments the design and cut off a piece that is about 18 inches long.
- Loop it and hot glue it to the back of the sign. Make sure to leave enough of a loop exposed on top of the sign so that it can be hung on any wall!
That’s it! What a vibrant and beautiful wood round! It was so inexpensive to make, but it certainly doesn’t look cheap. It is absolutely gorgeous, and it would brighten any home this fall season!
What do you think!? Will you give this DIY Fall craft idea a try?
Don’t forget that you can watch the step-by-step video tutorial here in this video below, as well as three other beautiful designs using Dollar Tree Calendars!
Have fun creating!
Lianep
You can watch more DIY Fall craft idea on my YouTube channel!
Want to connect on social media? Click here.
** Some links are affiliate links which I earn a small commission from at NO extra cost to you.