10 Minute Wallpaper DIY Craft Idea
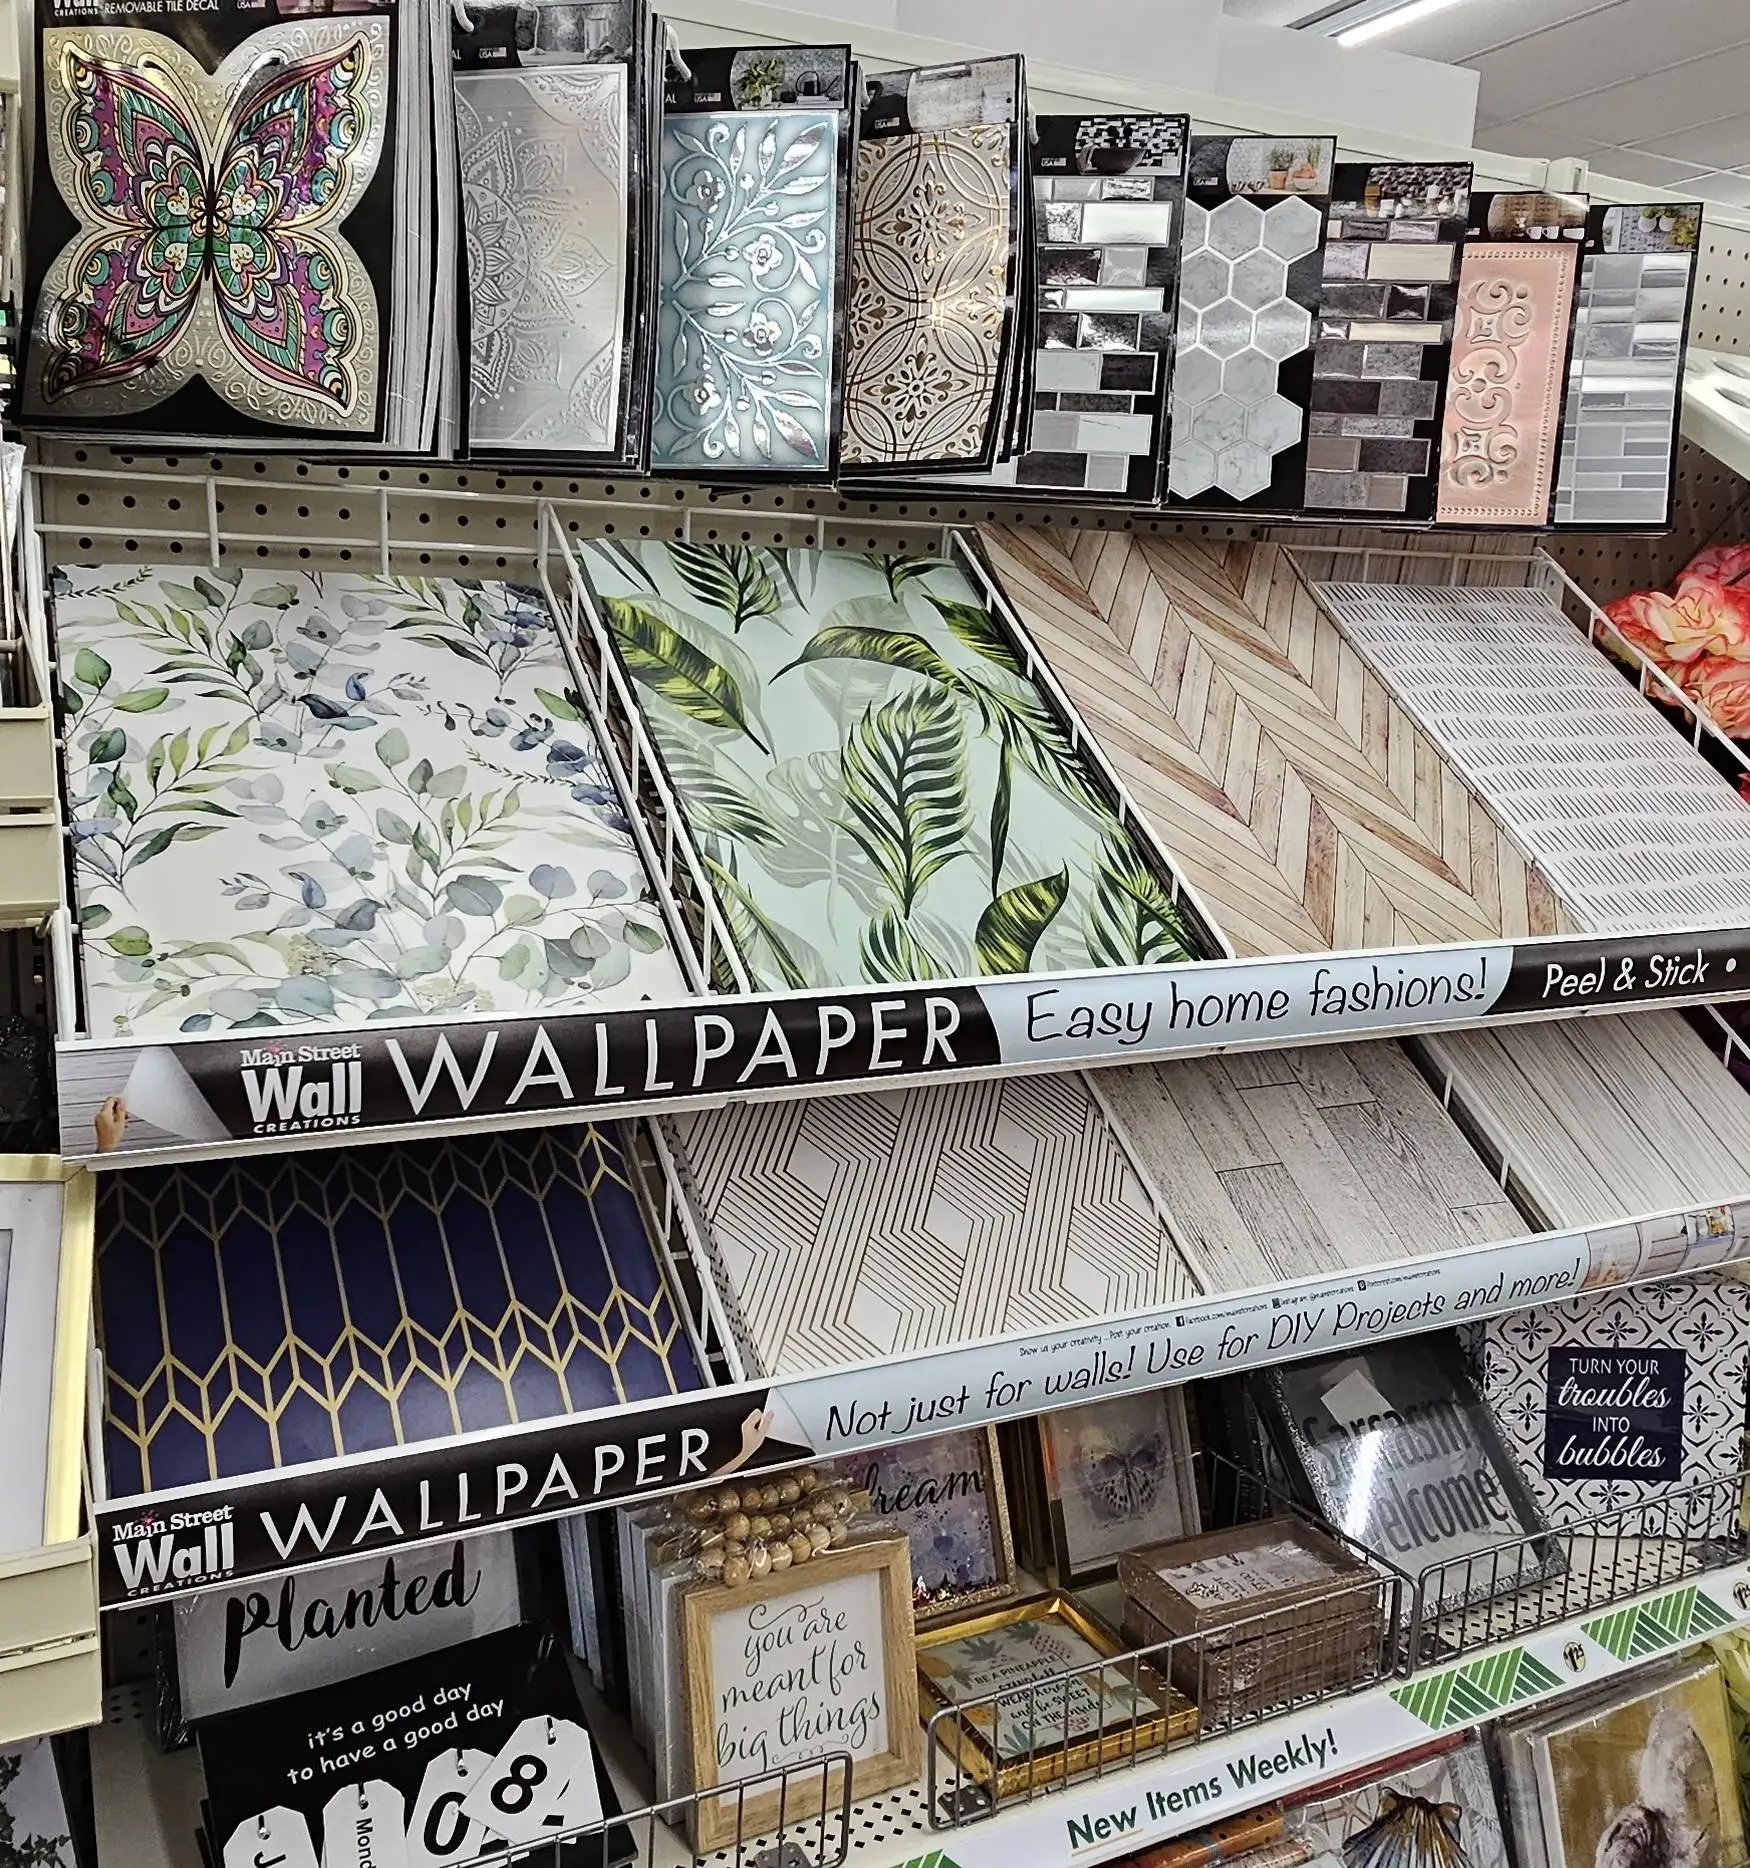
Are you searching for a fun and budget-friendly way to revamp your living space? Look no further than Dollar Tree peel and stick wallpaper. Whether you’re a seasoned crafter or a beginner, this versatile and affordable material opens up a world of possibilities for transforming your walls, furniture, and decor items. In this blog post, I’ll delve into the exciting world of DIY crafts using Dollar Tree Peel-N-Stick Wallpaper, and you’ll discover just how easy and rewarding it can be to unleash your creativity.
Dollar Tree, known for its incredible bargains and wide variety of products, offers an impressive range of peel and stick wallpaper designs. From trendy patterns to classic styles, you’ll find options to suit any aesthetic and personal taste. Whether you want to add a pop of color to a drab wall, give new life to an old piece of furniture, or create unique accents, this affordable and easily accessible material is your secret weapon.
In this blog post, I’ll provide a step-by-step tutorial and expert tips for a Dollar Tree Peel-N-Stick wallpaper DIY craft idea. Get ready to unlock your inner artist and turn your home into a personalized sanctuary, all while staying within your budget.
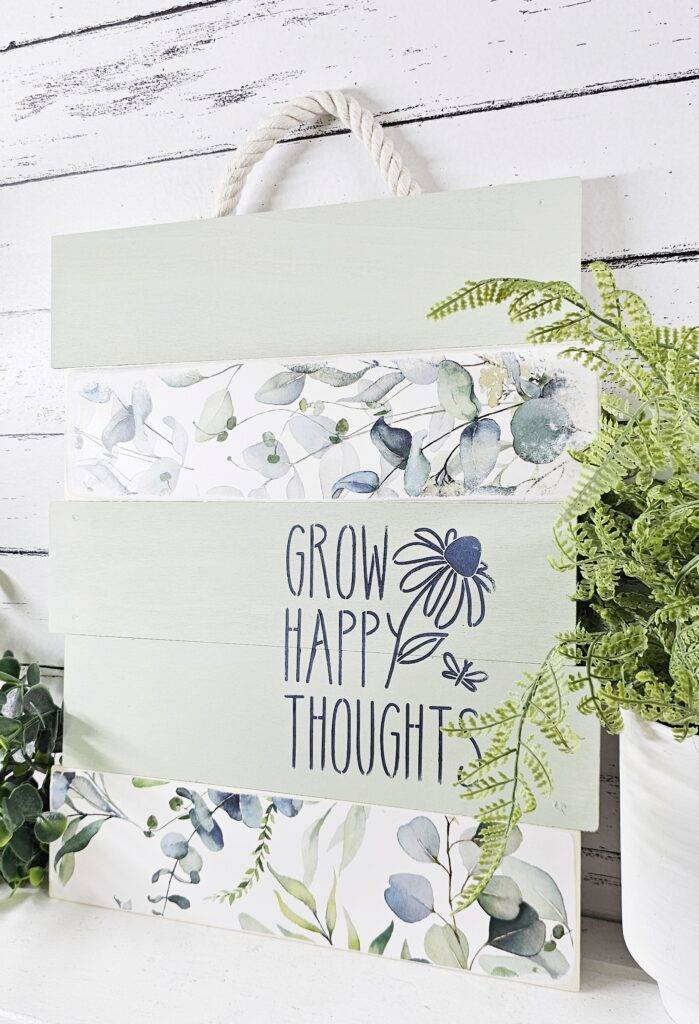
Today, I’ll show you how to create a beautiful wall decor that would look amazing in any room!
- Start by getting five small wood planks from Dollar Tree and remove the jute string.
- Then, take three of the boards and fill in the holes that they come with.
- Once dry, lightly sand down the entire pieces and wipe off the dust well.
- Then, you can paint in any color you want, preferably a color that compliments the design of the Peel-N-Stick Wallpaper you’ll be using.
- Cover the remaining two boards with the Peel-N-Stick Wallpaper of your choice. And then remove the excess paper from the edges. You can cut it off or sand it off.
- Once every board is dry and ready, arrange them in the pattern you’d like. I chose to do one painted, one with wallpaper, then two painted, and then one with wallpaper at the bottom.
- Once you have them arranged as you’d like, flip them over and attach them with three paint sticks and hot glue.
- Then, you can flip back to the front and add any decal, stencil, or design you’d like. I added a stencil using a reusable stencil and blue chalk paint.
- Once dry, you can add a nautical rope to the back by hot gluing and taping so it could be hung!
And that’s it!
This piece was so easy to make and so inexpensive! Would you give this wallpaper DIY craft idea a try!?
You can watch the step-by-step video tutorial here below, plus three more DIY Crafts!!!
Have fun creating
Lianep
Want to connect on social media? Click here.
You can watch more DIY crafts on my YouTube channel!