
In a world that increasingly values sustainability and creativity, upcycling has become a captivating trend, allowing us to breathe new life into discarded items. Picture frames, often tucked away in attics or collecting dust in storage, hold incredible potential for repurposing. What if we told you that you could transform an old picture frame into a stunning decorative wreath without breaking the bank? Well, get ready to embark on a thrifty and artistic journey that will leave you in awe of your own DIY skills.
In this blog post, I will guide you through six simple steps to upcycle an old picture frame into a beautiful wreath, all while staying within a budget. With a little imagination and a handful of readily available materials, you can create a unique piece of decor that reflects your personal style and adds a touch of charm to any space for any season.
So, gather your creative spirit and prepare to unleash your inner artisan. Let’s dive into the world of upcycling and turn that neglected picture frame into a stunning decorative wreath that will captivate your guests and leave them wondering how you managed to craft such a masterpiece on a shoestring budget.

Start by finding a frame either at the thrift store or in your own home that is at least 11×14″ and in pretty good shape. You can use it vertically or horizontally, but I recommend using it vertically.

First Step
Remove everything from the frame, including the center design and any remaining clips.

Step two
Paint the frame in the color you want and let it dry. You can use any paint you want, I used Waverly Chalk Paint in White.

Step three
Seal everything with a clear sealer. I used Rustoleum clear sealer. And let that fully dry.

Step four
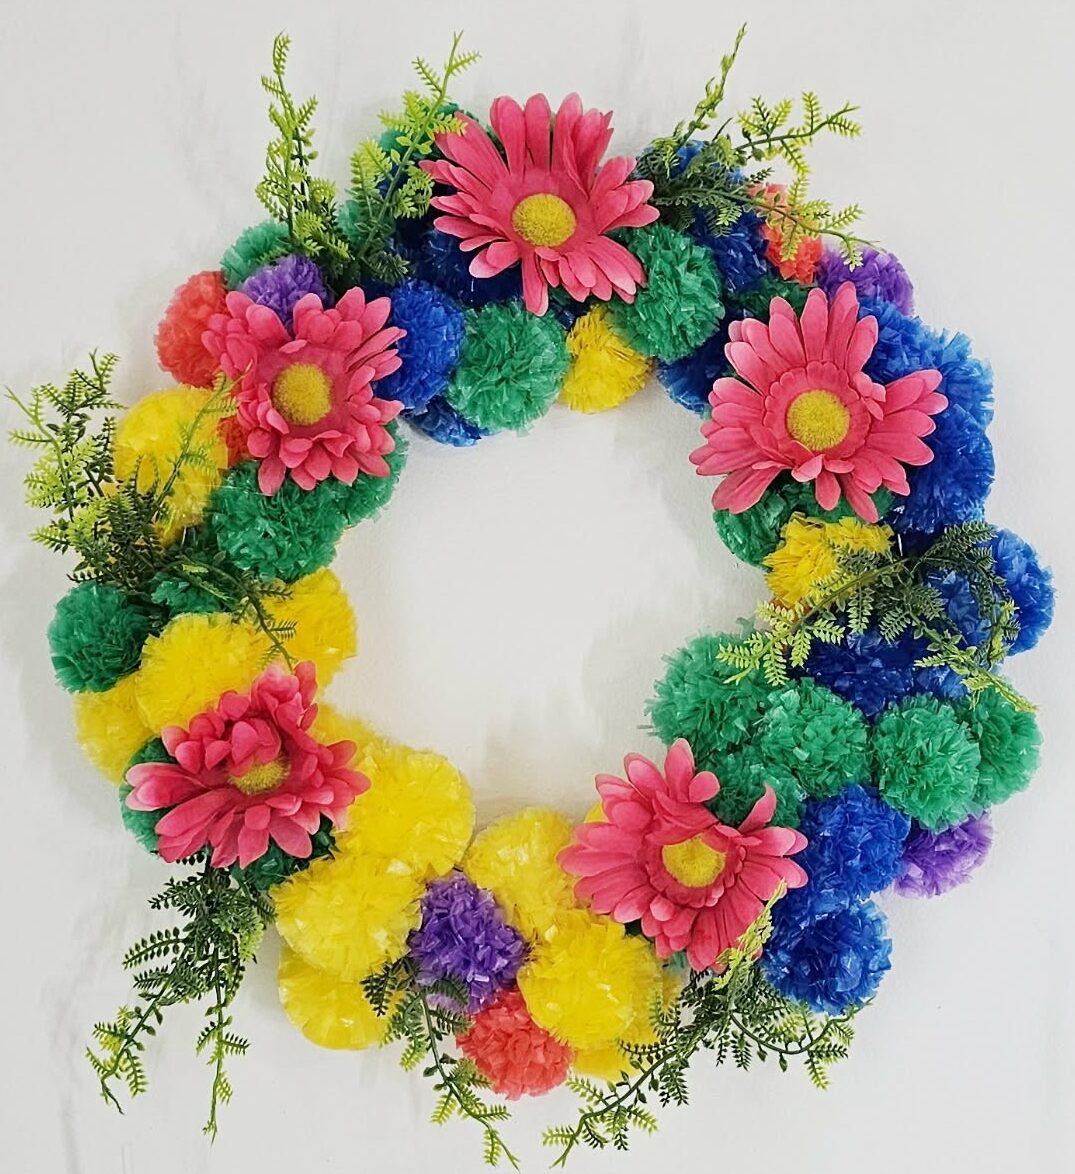
Add the faux flowers you want. I kept mine pretty neutral, but you can use any style, colors, and seasonal theme you want. You can staple branch by branch.
Start by placing one branch starting at the left, bottom corner facing right, then another one from the bottom, left corner facing upwards.
Keep adding branches one by one by stapling or hot gluing as needed.

Step five
Cover the corner with ribbon. Start on the backside by hot gluing or stapling, then wrap it around the left-hand corner of the frame, covering the exposed staples and stems.

Step six
Add faux flowers on the top the ribbon by hot gluing them. You can add whatever flowers you want and however many you’d like.
This is it!

This wreath is STUNNING! So easy, unique, and inexpensive!
You can watch the step-by-step video tutorial here on this video below, plus three other picture frame upcycling ideas!
Have fun creating!
Lianep