20 Minute Dollar Tree Santa Christmas Wreath
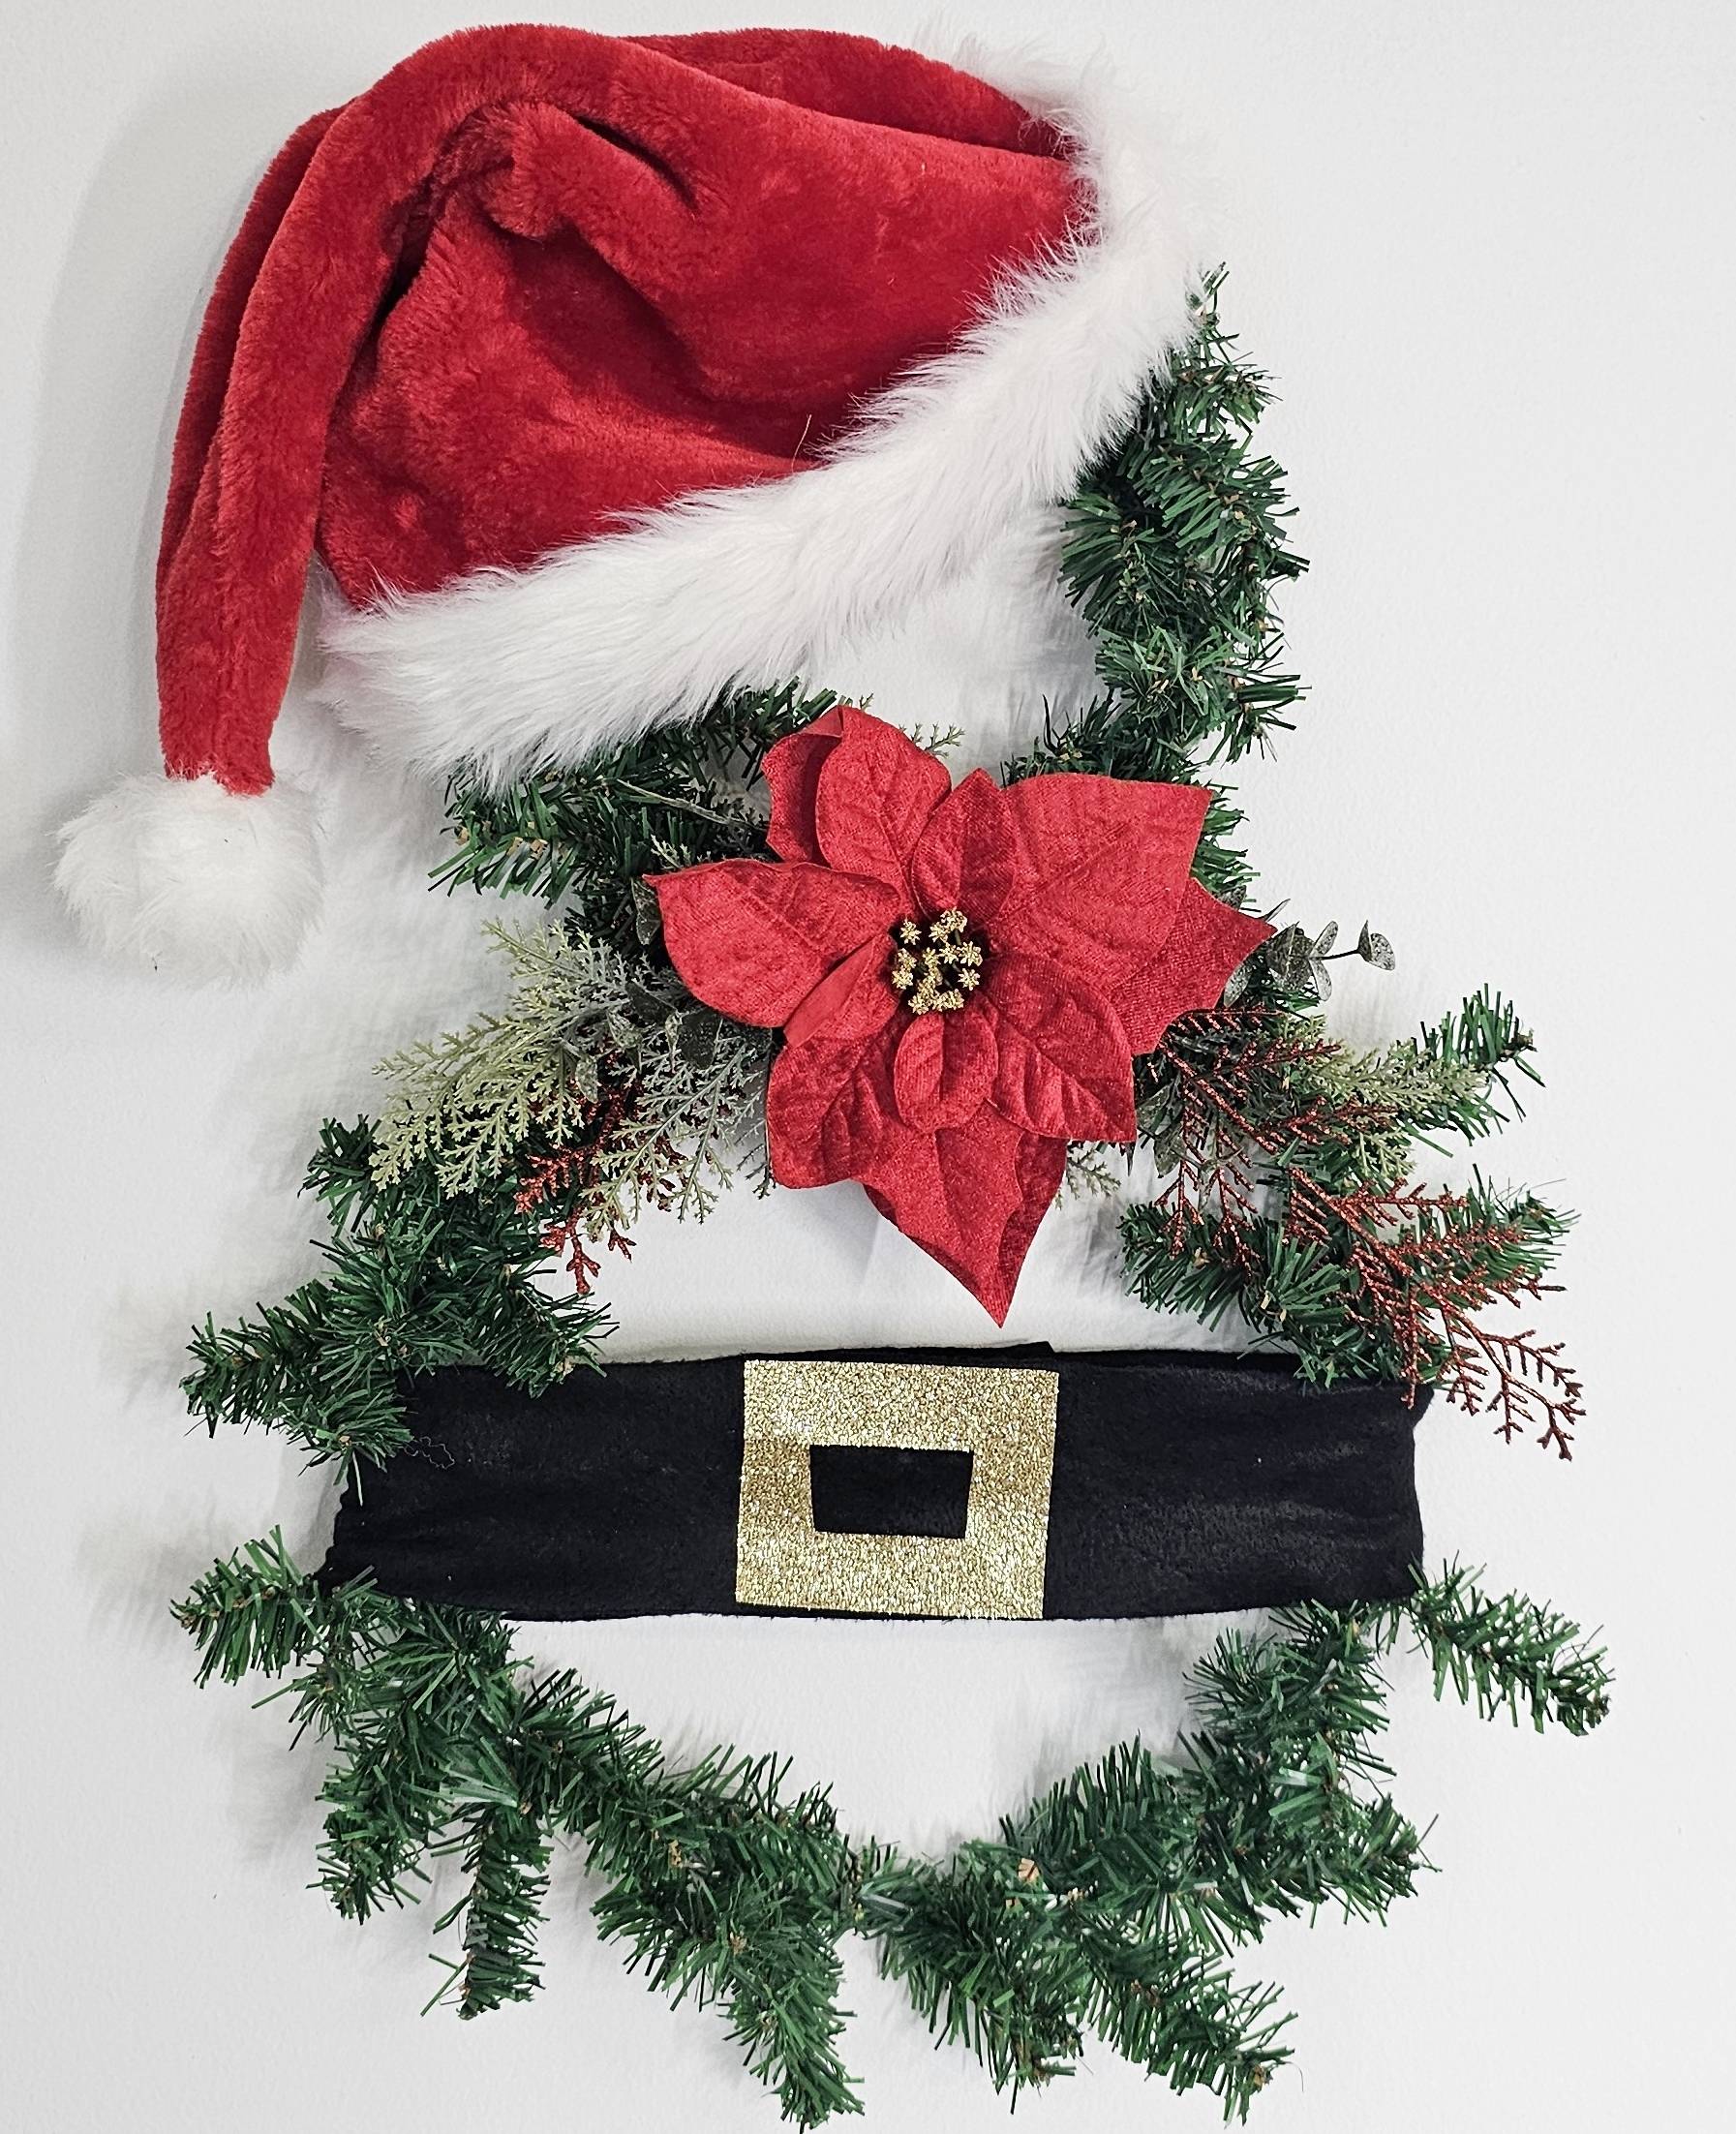
Are you looking to add a touch of magic to your Christmas decor without breaking the bank? Look no further! In this blog post, I’ll show you how to create a stunning Santa Christmas wreath using affordable items from Dollar Tree.
With just a few simple steps, you can transform ordinary materials into a festive Santa Christmas wreath that will make your front door shine. From glittery vinyl to colorful accents, I’ll guide you through the process of crafting a stunning wreath that captures the enchanting spirit of the Christmas season.
Get ready to impress your guests with a wreath that’s both easy on your budget and full of Christmas cheer!

- The first thing you’ll want to do for this project is get 2 wreaths from Dollar Tree. A large one and a small one.
- Remove all tags from them and the fluff as needed.
- Join both wreaths together using garland ties from Dollar Tree.
- Now we will make a Santa belt. Grab some black fabric from Dollar Tree cut into a long piece.
- Fold it as needed to measure about 4 to 5 inches wide and iron for crisp edges.
- Hot glue the back so that it doesn’t come apart.
- Now, we will make the buckle for the belt. Take some gold, glittery, iron-on vinyl from Dollar Tree and cut a square piece that is as wide as the belt.
- Using an exacto knife, cut out a square in the middle, leaving about an inch on the edges.
- Place the vinyl on the center of the belt and iron it on.
- Once attached, remove the plastic covering to reveal the beautiful design.
- Before we attach the belt, we will add some greenery picks to the “neck” of the wreath, hot gluing as needed.
- You can add as many or as little embellishments, I added a red poinsettia from Dollar Tree in the center.
- Now, place the belt in the middle of the larger, bottom wreath
- Secure it in place by hot gluing both ends on the back of the wreath.
- Adjust the bristles on each side of the belt and fluff as needed.
- Finally, add a Santa hat to the top, smaller wreath, making sure to place it on a tilt. You can hot glue as needed.
That’s it! This Santa Christmas wreath is so beautiful! And it is so easy to make! It took no time and it will for sure make a statement on your front door this Christmas season!
Will you give it a try this Christmas season?
You can watch the step-by-step video tutorial here below, plus three additional Christmas DIY crafts using wreaths from Dollar Tree!
Have fun creating!
Lianep
Want to connect on social media? Click here.
Check out my YouTube channel here.


