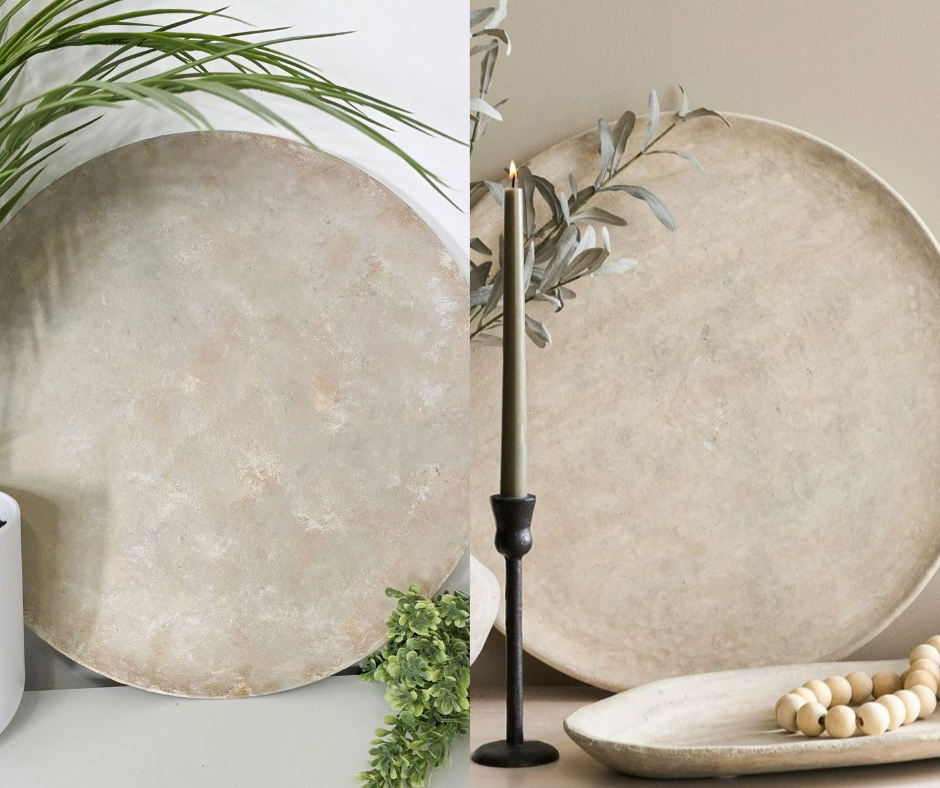
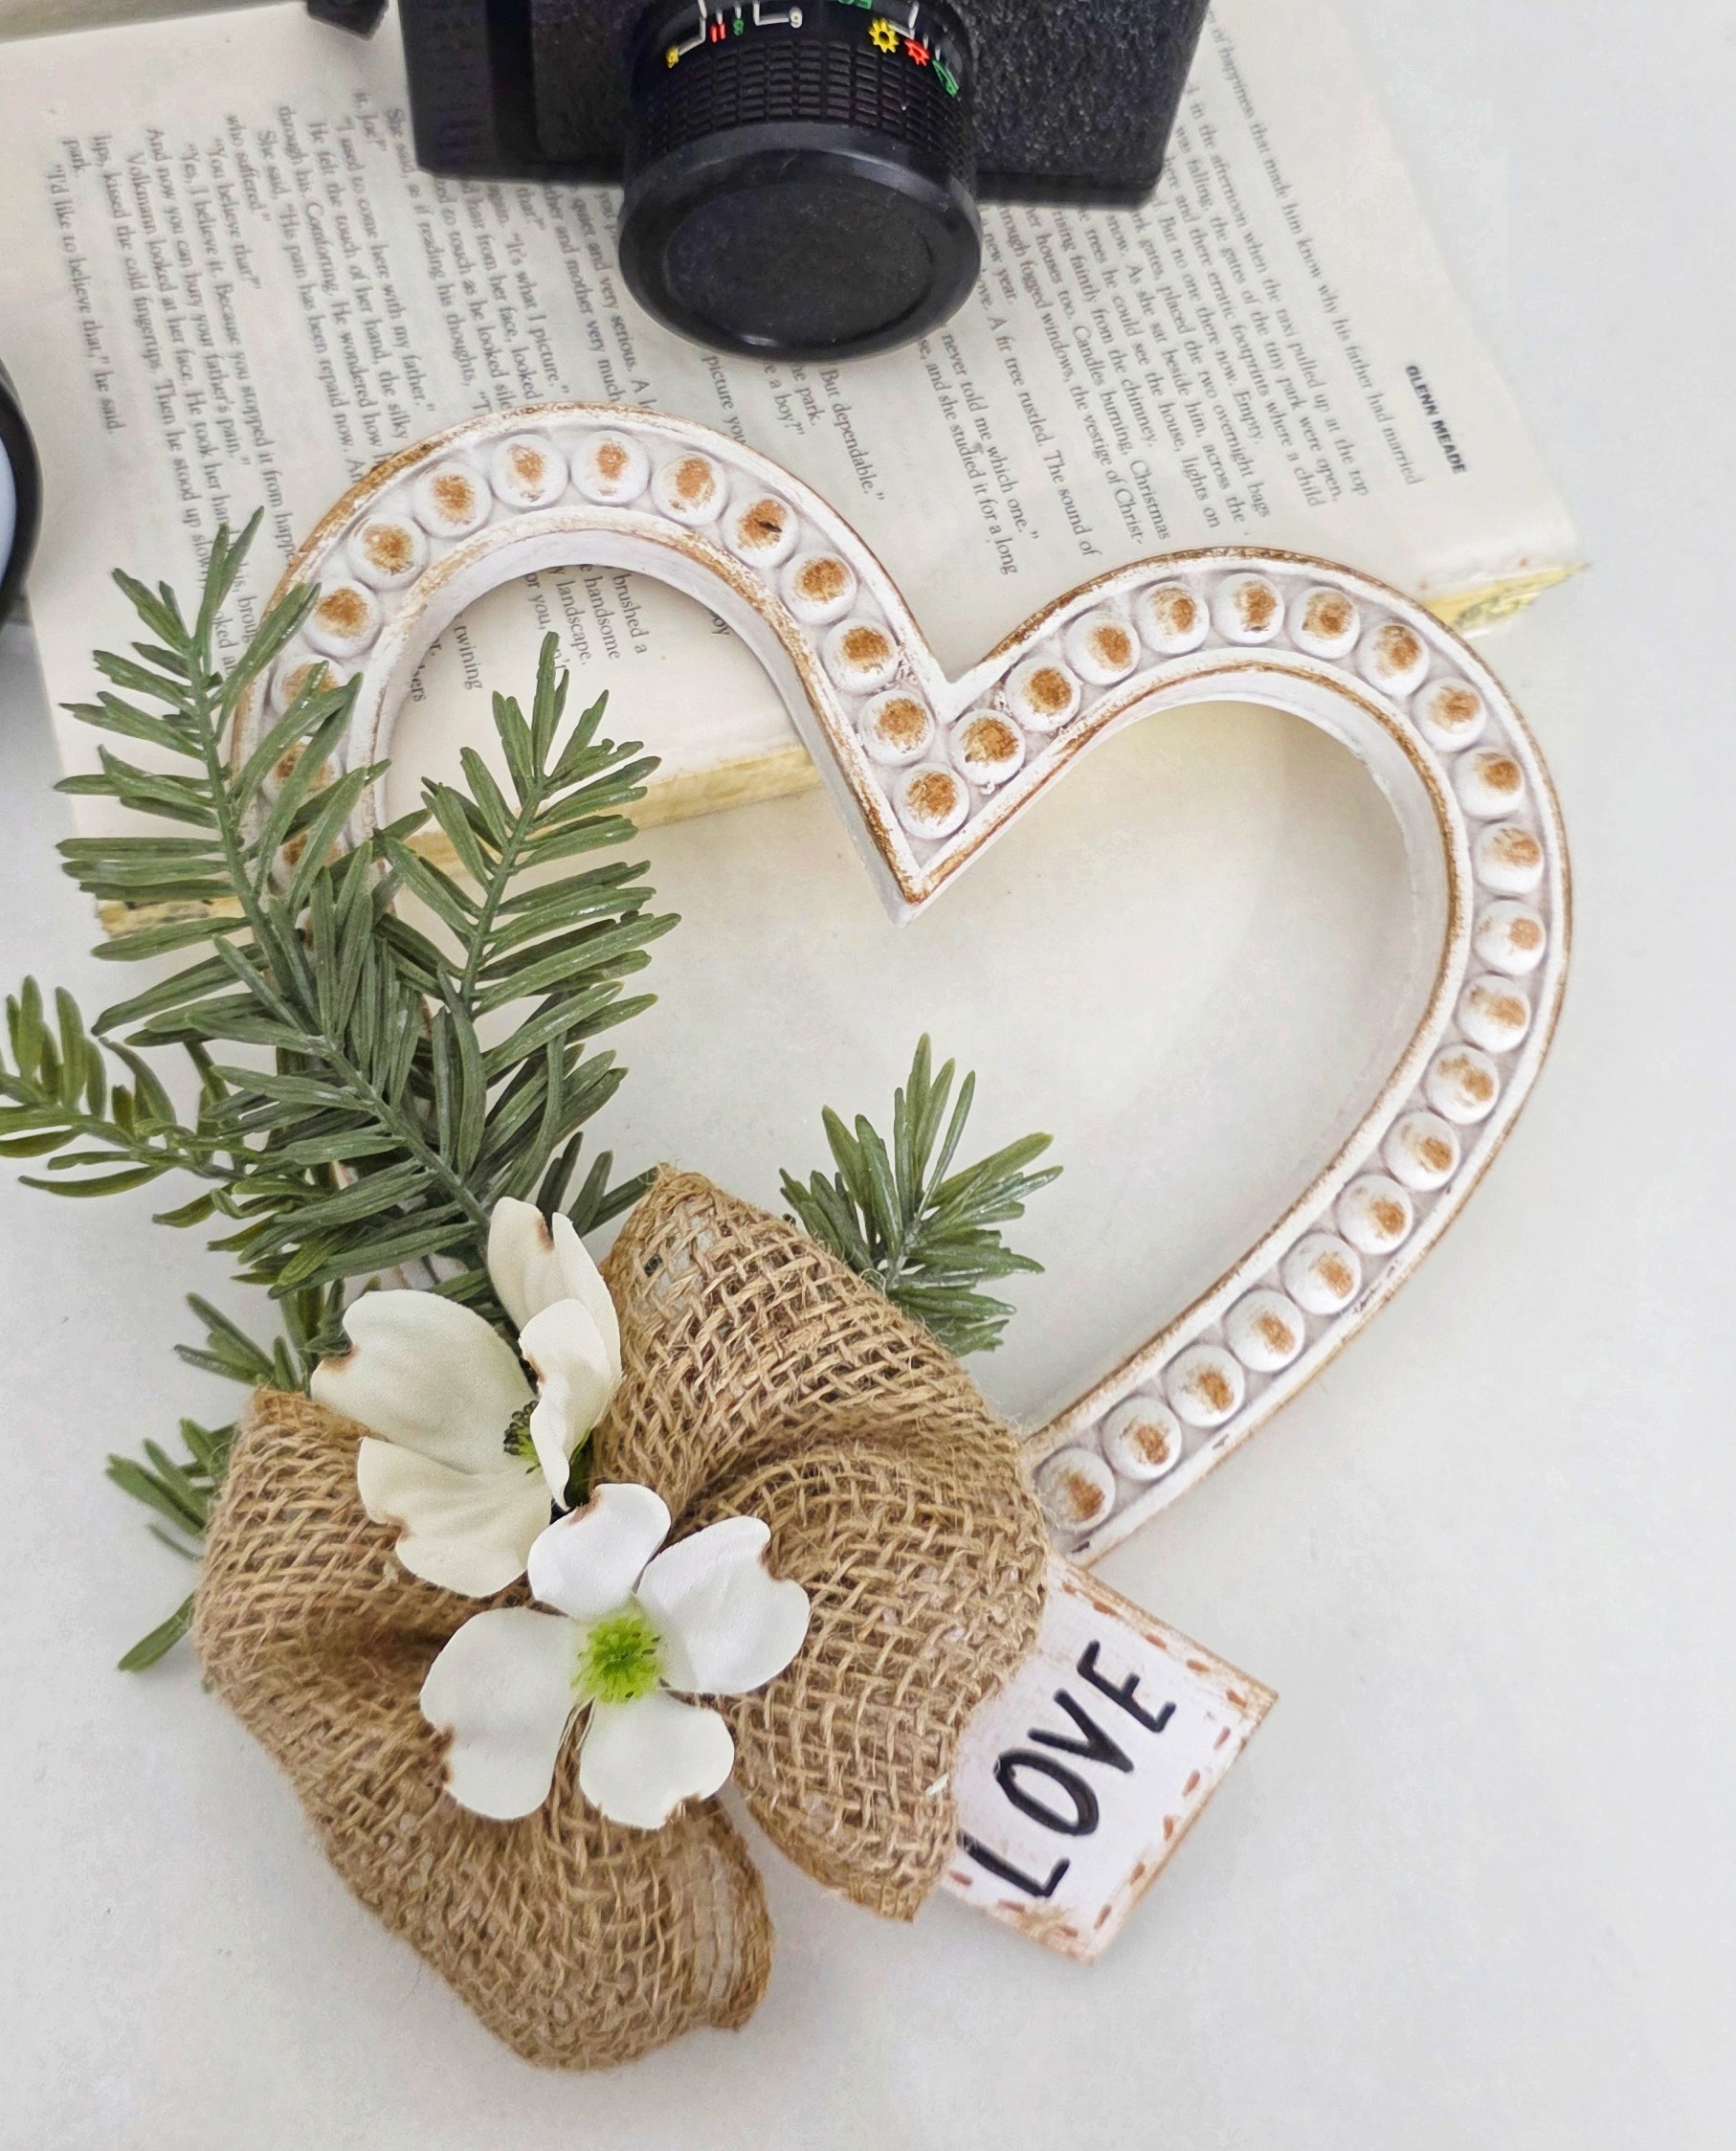
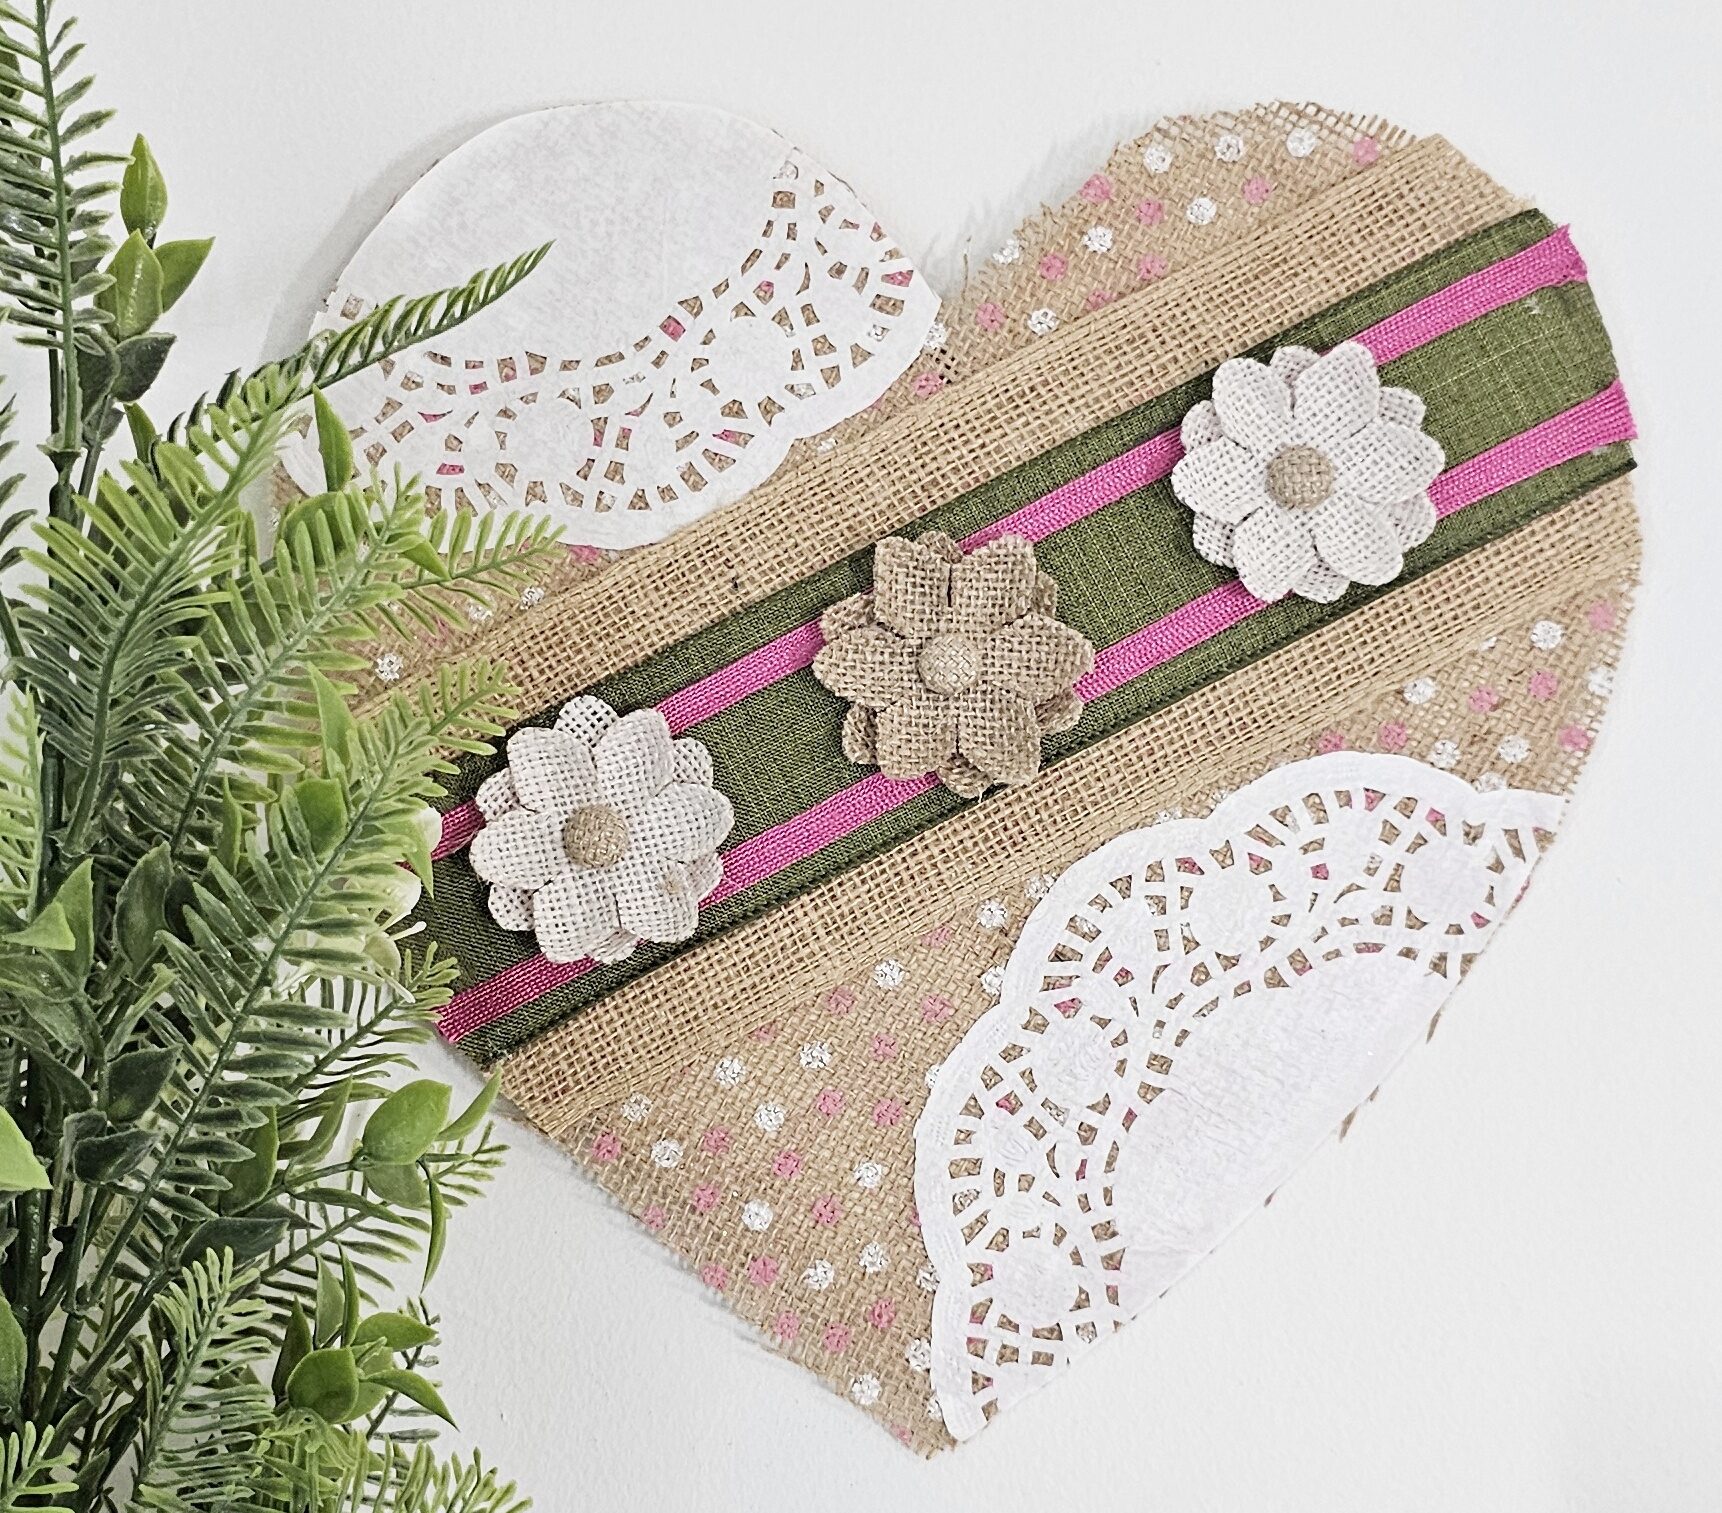
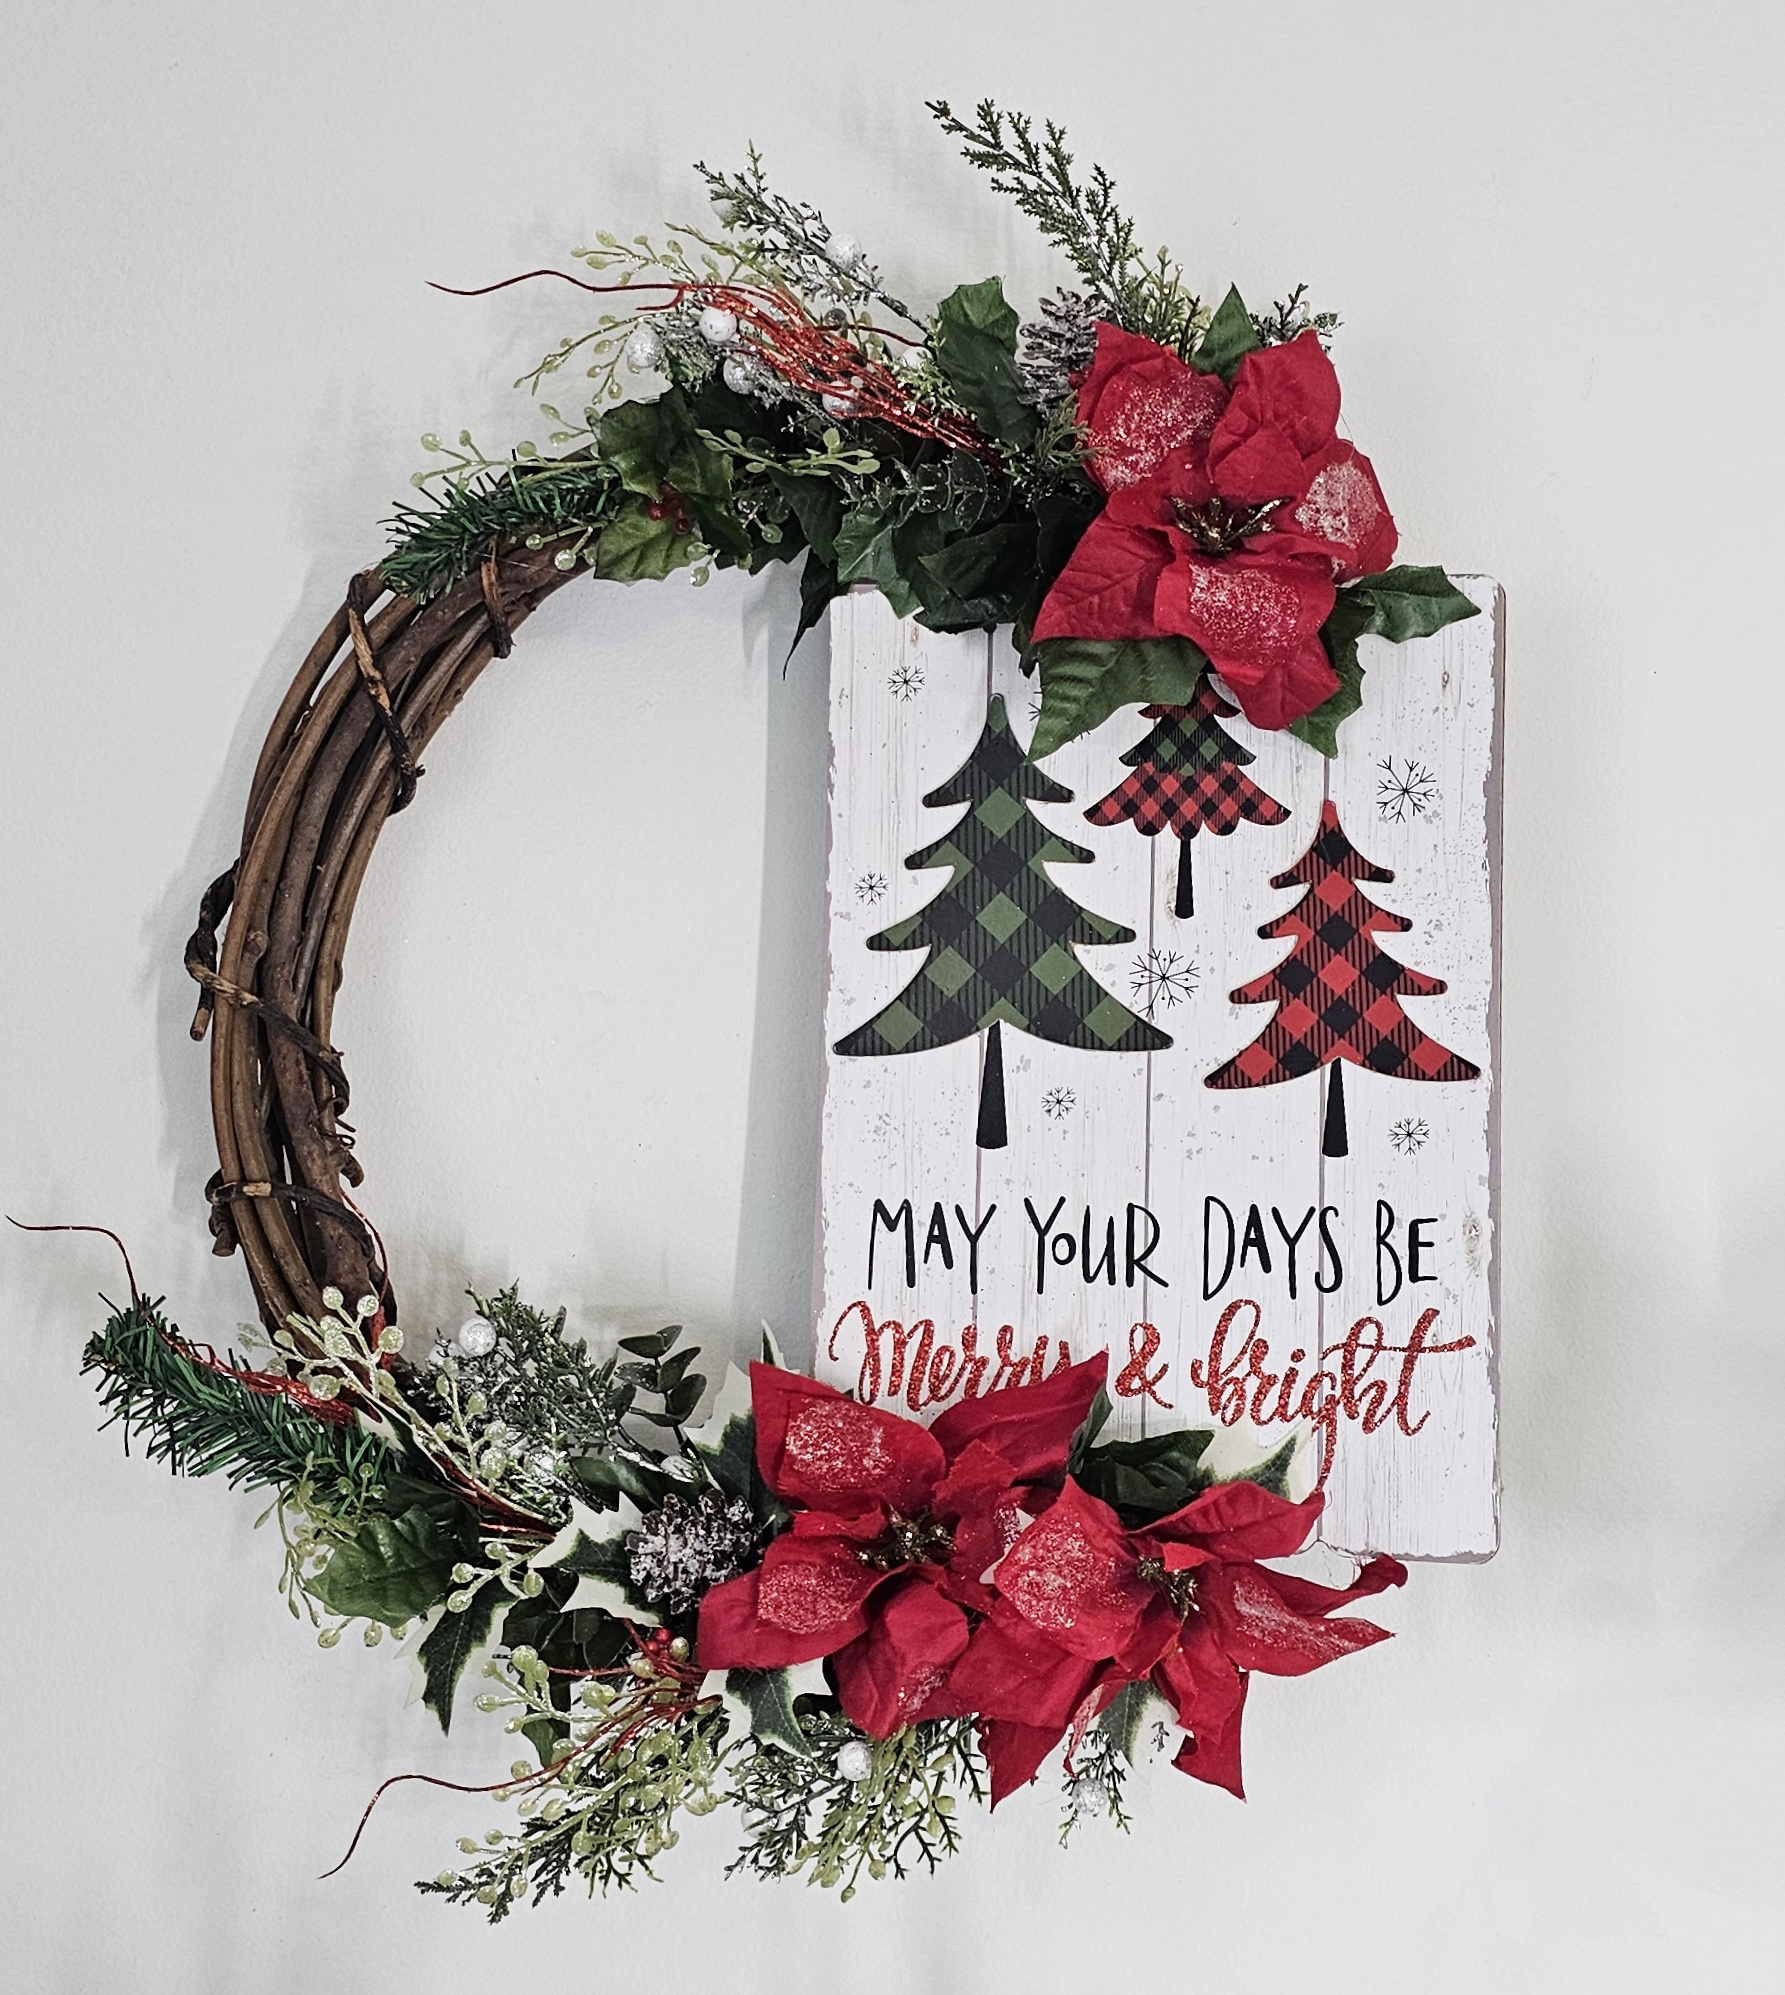
5 Minute Modpodge Technique
Welcome to today’s blog post, where Im6 about to unveil a fun and easy modpodge technique that will completely transform your crafting world. If you’re a fan of DIY projects and looking for a creative way to enhance your crafts, then you’re in for a treat!
Modpodge, the versatile crafting adhesive, has been a favorite among crafters for years. But today, I’m going to introduce you to a unique modpodge technique that will take your skills to a whole new level. I was just recently introduced to this technique and I’m hooked! Get ready to elevate your craft projects with this simple yet impactful method.
Imagine adding a beautiful and eye-catching layer of texture, pattern, or even a hint of sparkle to your creations, all with the help of Modpodge. Whether you’re a seasoned crafter or just starting out, this modpodge technique is perfect for everyone.
In this blog post, I will guide you step-by-step through the process, providing clear instructions and helpful tips along the way. You’ll learn how to choose the right materials, prepare your surface, and apply the modpodge in a way that creates stunning effects. I didn’t come up with this brilliant modpodge technique, but I am so glad I was introduced to it!
Get ready to unleash your creativity and discover the countless possibilities this modpodge technique offers. From upcycling old furniture to creating personalized gifts, you’ll be amazed at how this simple addition can completely transform your crafting projects.
So, gather your supplies and prepare to embark on a crafting adventure that will revolutionize the way you approach modpodge. Let’s dive in and explore the world of this fun and easy technique that will take your crafts to new heights!
Here are the steps on how to execute this modpodge technique.
1. Find a surface or object to which you want to apply modpodge
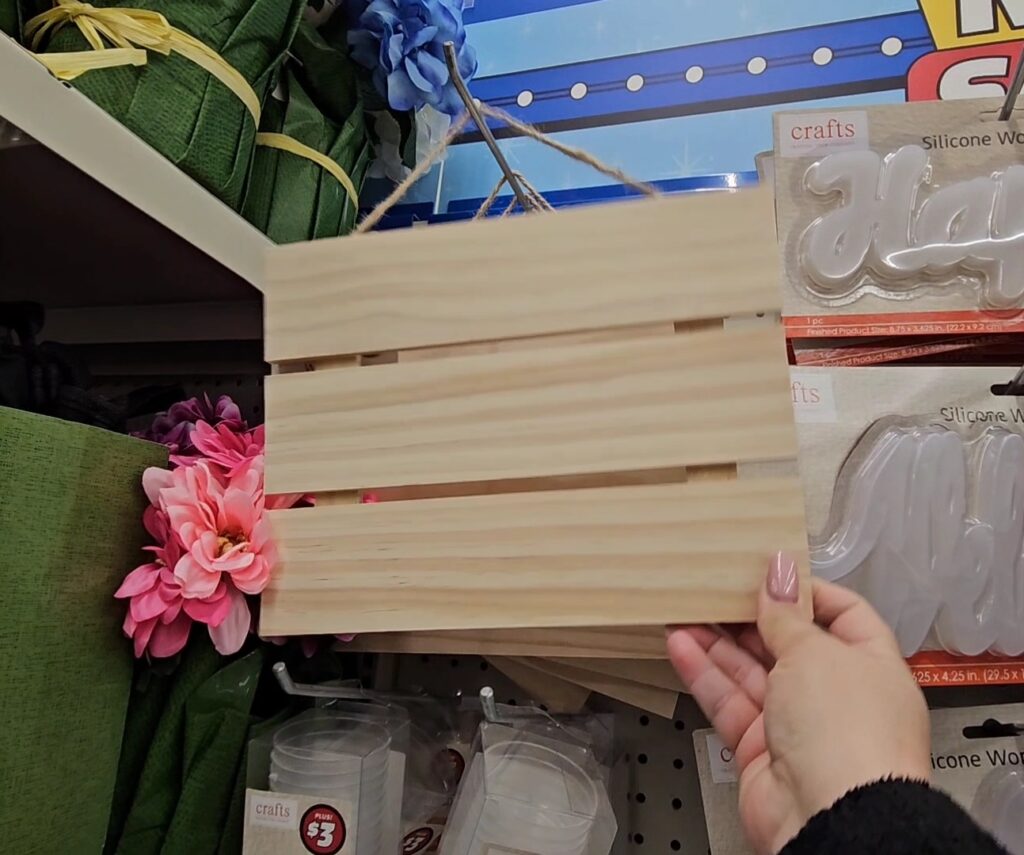
2. Ensure your surface is clean, apply a medium thick layer of modpodge with a brush and let it fully dry
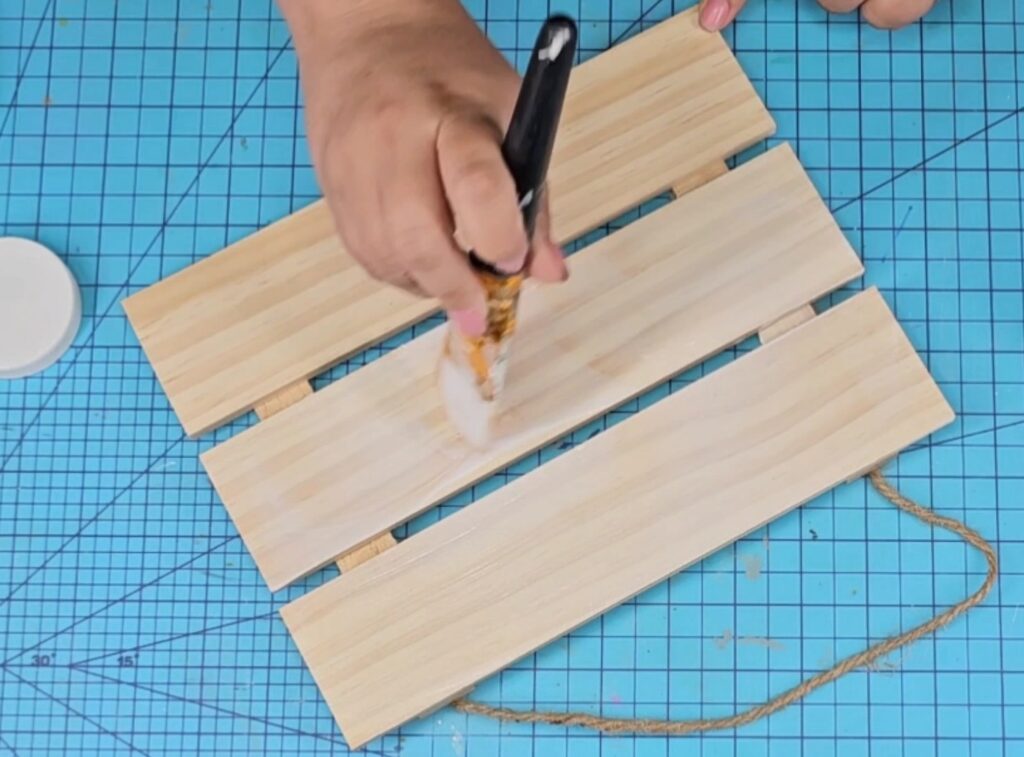
3. Once dry, the surface should look like there’s nothing on it
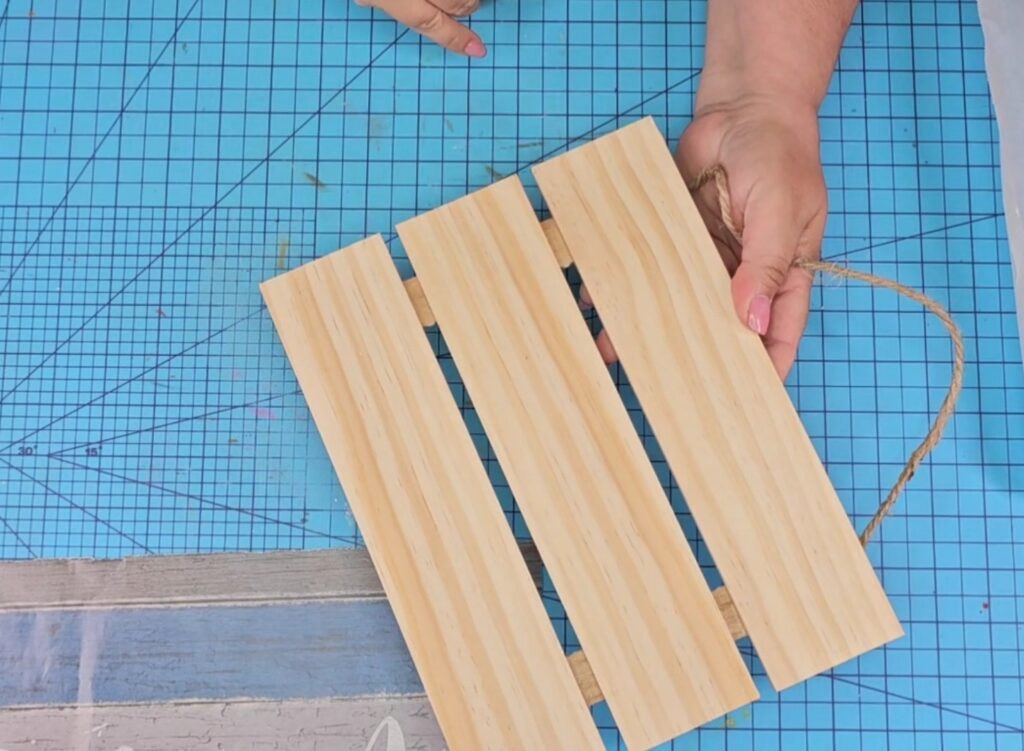
4. Place the material you will modpodge on top of the surface
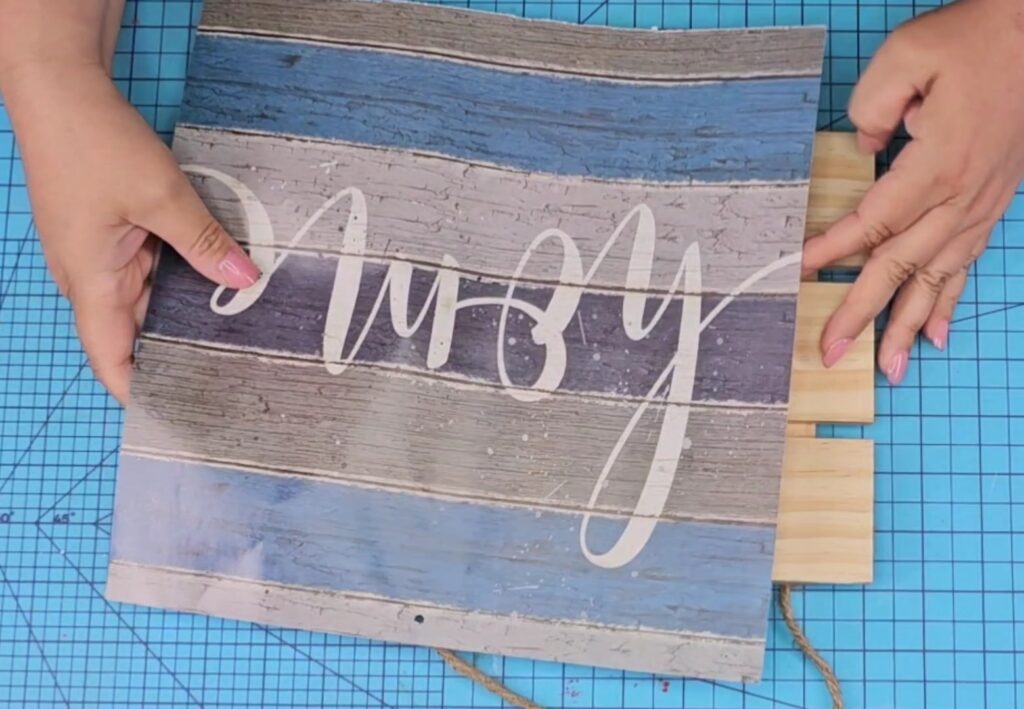
5. Place a sheet of parchment paper on top of the design and lay it flat
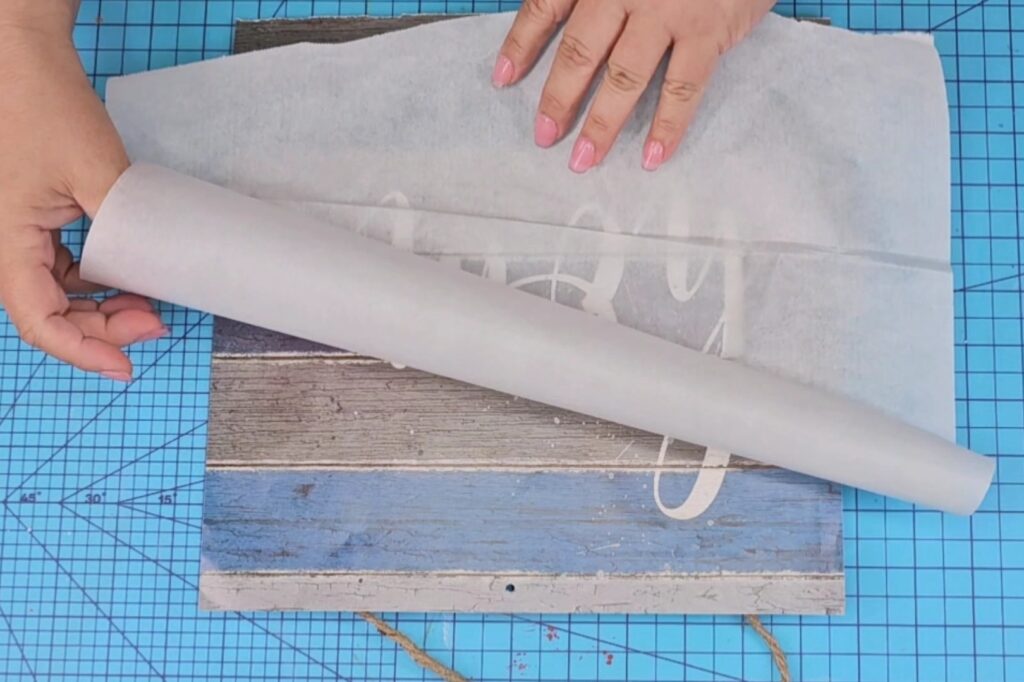
6. Iron the entire surface carefully. You can use a small, crafting iron like the one I am using, or a regular iron. You don’t have to go super slow, just a steady flow.
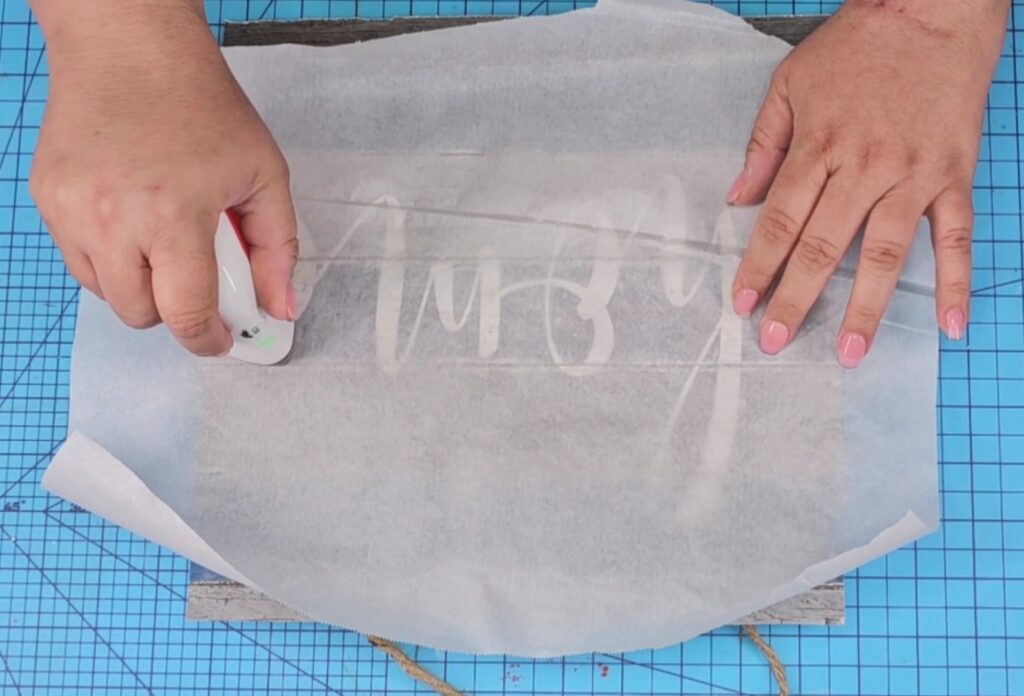
7. Once the design is attached (it doesn’t take long), you can now remove the excess paper or material as needed. I used a sanding block, but you can use scissors, exacto knife, or whatever you like best
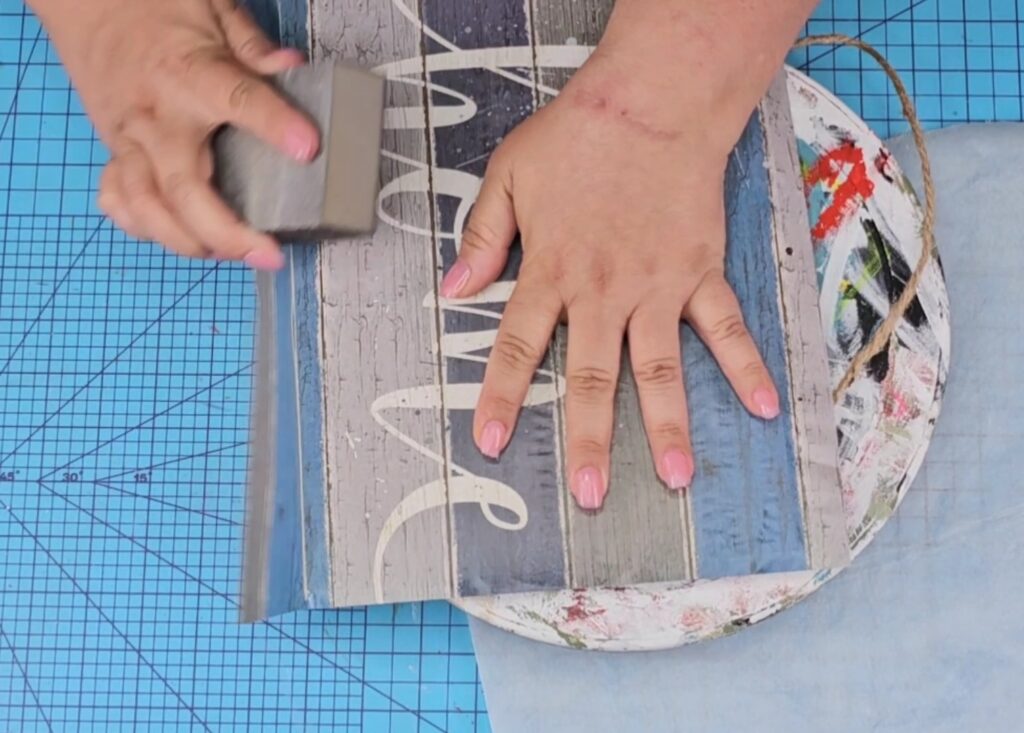
8. Now you have a perfectly attached design without bubbles! How easy, quick and amazing was that?
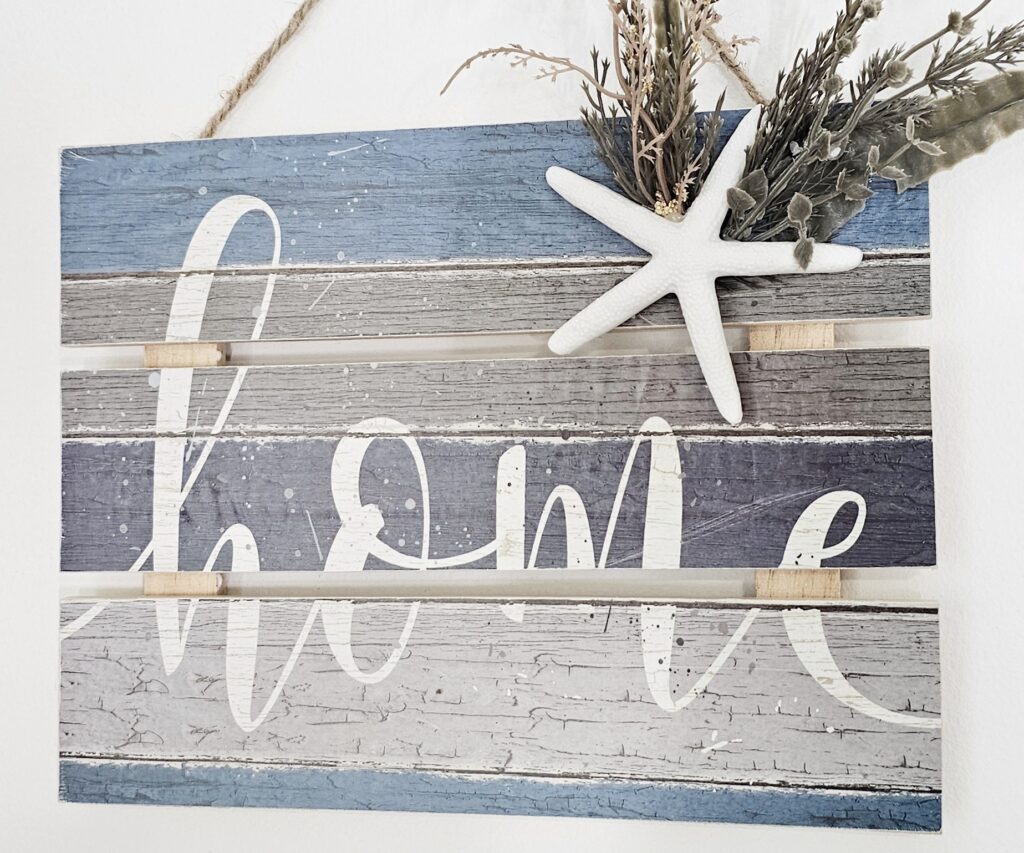
You can watch a step by step video tutorial here below on how to use this modpodge technique.
As we conclude this blog post, I hope you’re feeling inspired and excited to try out this incredible modpodge technique I’ve shared with you. I’m new to using this technique and couldn’t wait to share with you! I’m confident this modpodge technique will take your projects to the next level.
With this technique, you have the power to breathe new life into old items, create personalized gifts that will leave a lasting impression, and add that extra touch of magic to your DIY projects. The versatility of modpodge truly knows no bounds.
Remember, experimentation is key when it comes to crafting. Don’t be afraid to think outside the box and explore different combinations of materials, textures, and patterns. Let your creativity run wild and embrace the joy of creating something truly unique.
I encourage you to share your creations with us and fellow crafters. Tag me on social media, and let’s build a community of crafters who inspire and support one another.
Thank you for joining me on this crafting adventure! I hope you’ve enjoyed learning about this fun and easy modpodge technique that has the power to transform your crafting world. Now, go forth and create, and let your imagination soar!
What do you think? Would you give it a try?
Have fun crafting!
Check out my YouTube channel for more crafting inspiration!
Want to connect on social media? Click here!

