15 Minute Fall DIY Tray Decor Idea
As the leaves turn golden and the air fills with a cozy embrace, it’s the perfect time to infuse your home with the warm hues of fall. Today, we embark on a delightful DIY journey, where we’ll explore the art of crafting a stunning decorative Fall DIY tray with mesmerizing neutral tones, perfect for adding a touch of elegance to your seasonal decor.
With a dash of imagination, a sprinkle of creativity, and a pinch of autumnal inspiration, you’ll soon have a breathtaking centerpiece to grace your coffee table or enhance your dining experience.
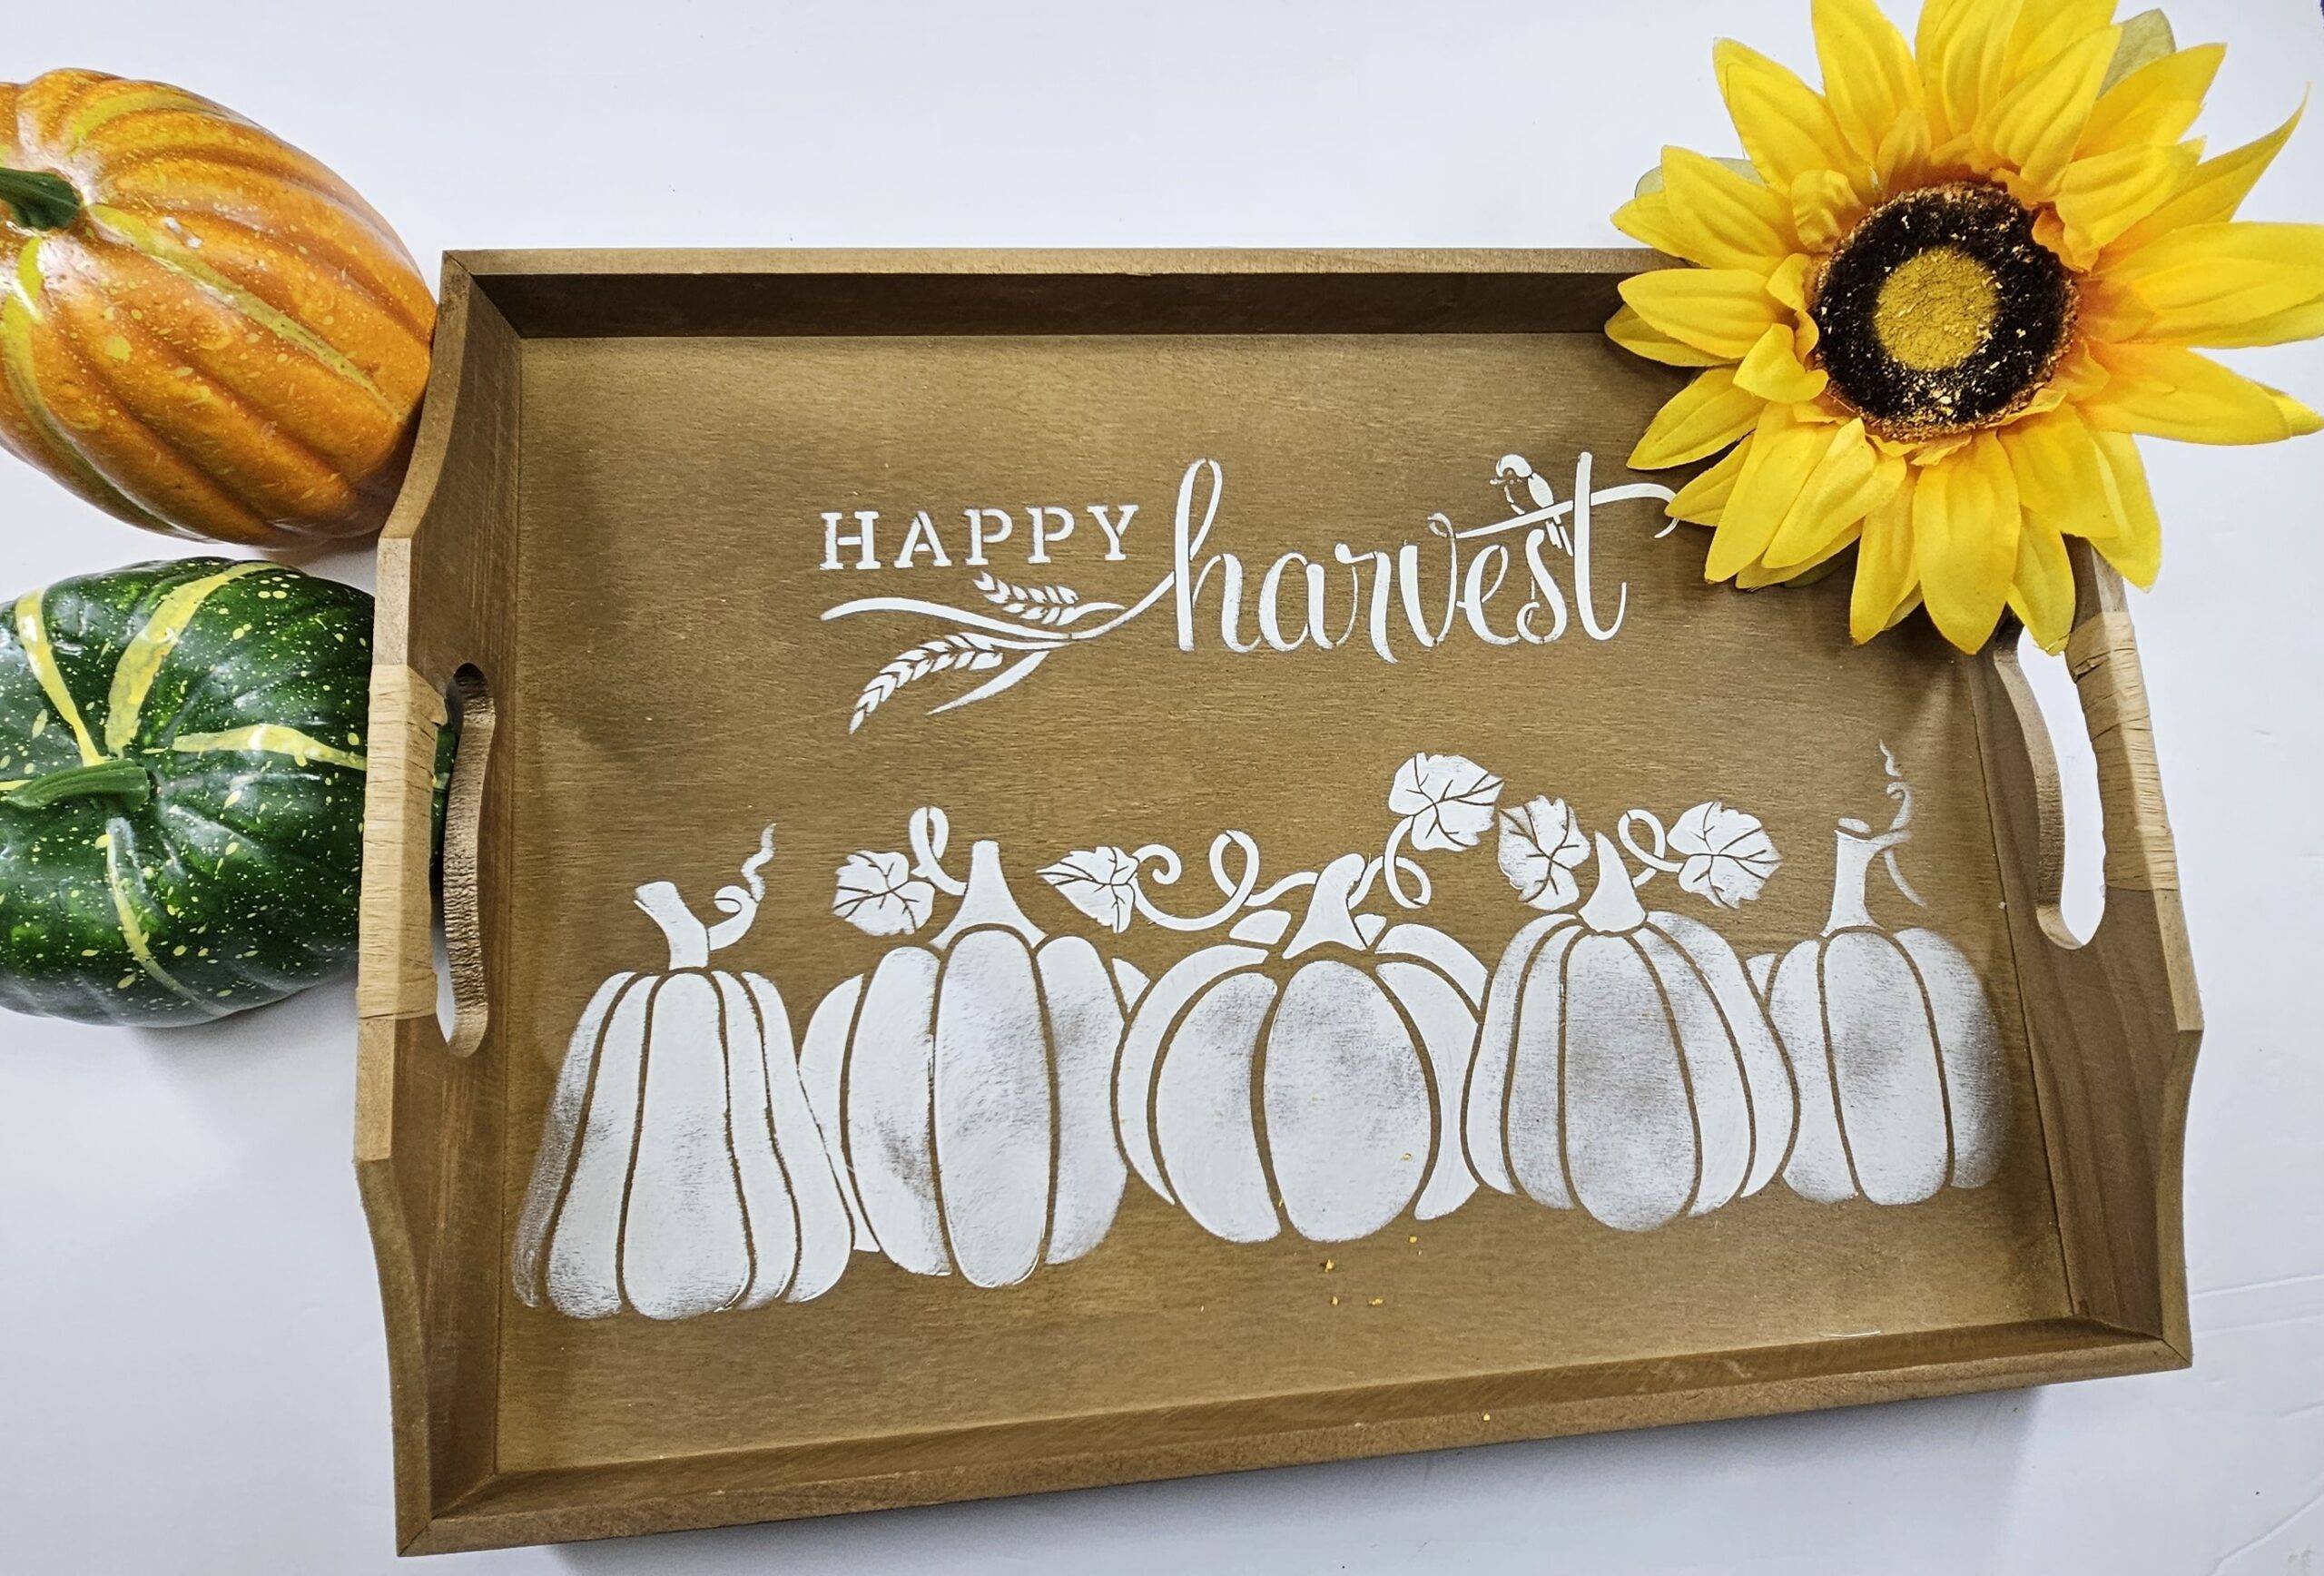
So, let’s dive into this enchanting Fall DIY tray project together and unlock the secrets to crafting a neutral-toned decorative tray that will effortlessly elevate your fall ambiance.
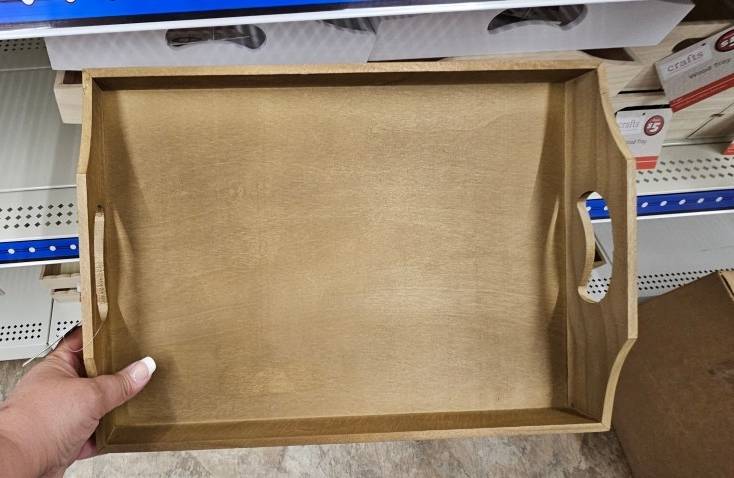
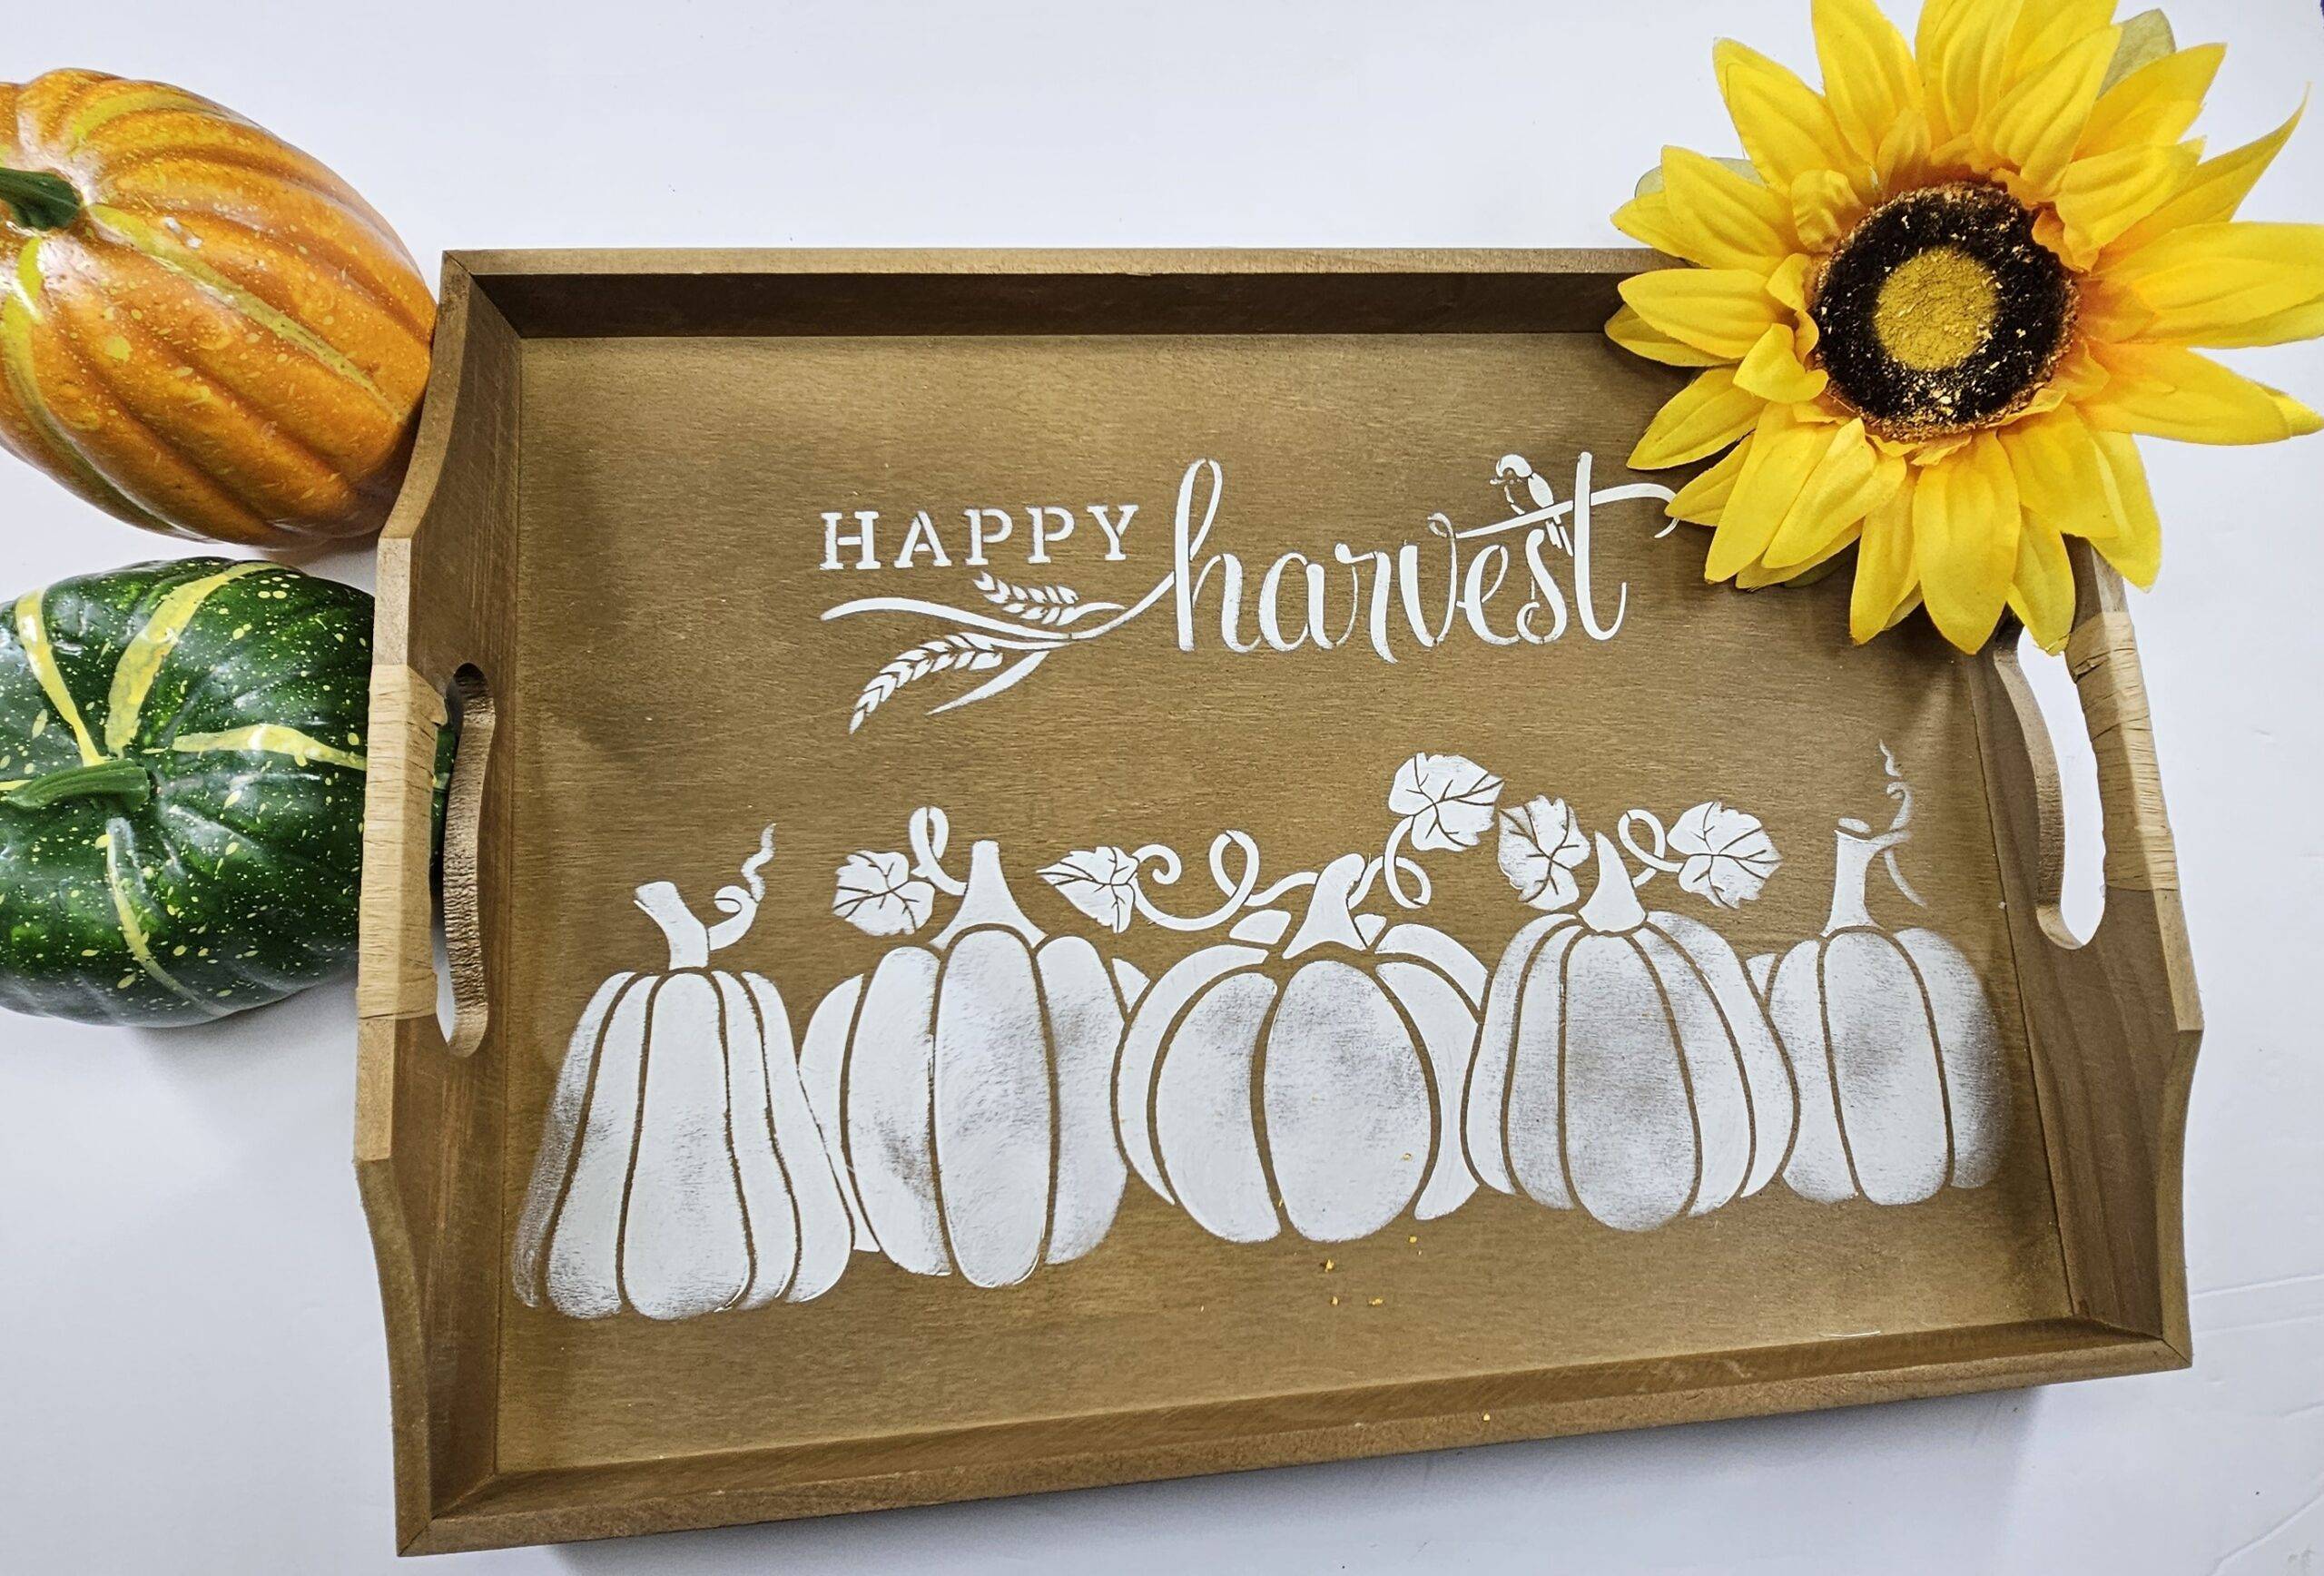
- The first thing you’ll want to do is get a decorative tray. Whether it’s one you already have, one you find at the thrift store, one you made, or one you buy, like this one I found at Dollar Tree for $5.
- This step is optional, but I believe it’s such an important step. I took a peel-n-stick felt pad from Dollar Tree
- Cut it into four, equal size pieces, and attach them to each corner. Make sure to align the edges of the tray with the edges of each felt pad piece as close as possible.
- You can use any stencil or graphic you’d like. I used two reusable stencils from Essential Stencils.
- I stenciled them using white chalk paint and stenciling brushes.
- I then wrapped the handles with natural raffia. I used hot glue to attach it and made sure to pull and tug tightly as I wrapped the raffia to ensure it would not come loose.
And that’s it! What do you think?

Don’t forget that you can watch the step-by-step video tutorial here below. PLUS! Three additional fall DIY crafts!
Have fun creating!
Lianep
You can watch more Fall DIY crafts on my YouTube channel!
Want to connect on social media? Click here
** Some links are affiliate links which I earn a small commission from at NO extra cost to you.

