5 Minute Game-Changing Mod Podge Hack Every Crafter Needs to Know
If you’ve ever worked with Mod Podge, you know it can be both a miracle worker and a bit of a mess—especially when it comes to smoothing out wrinkles, getting that perfect finish, or saving time on complex projects. Well, get ready, because I’m about to introduce you to a genius Mod Podge technique that has completely changed how I craft—and I’m confident it’ll change things for you too!
After sharing my original Mod Podge hack a while back, the response was overwhelming. I’ve been experimenting even more and wanted to share an updated project I did recently. The more I use this technique, the easier, cleaner, and faster the results are. Whether you’re working on signs, DIY crafts, or decorative accents, this easy Mod Podge hack will give your projects a professional look with half the effort.
The best part? This technique is beginner-friendly, budget-friendly, and requires zero special tools—just things you likely already have in your craft stash and at home. I’ve broken it down into 6 simple steps, and I’m including detailed photos of each step so you can follow along with ease.
If you’re ready to step up your crafting game and finally fall in love with Mod Podge again, you’re in the right place. Let’s dive into this game-changing Mod Podge technique and watch your projects transform!
6 Easy Steps to Try This Genius Mod Podge Technique
This simple Mod Podge hack will save you time, reduce mess, and give your projects a super-smooth finish. Whether you’re sealing fabric, paper, or decorative designs, just follow these steps:
Step 1: Prep Your Surface
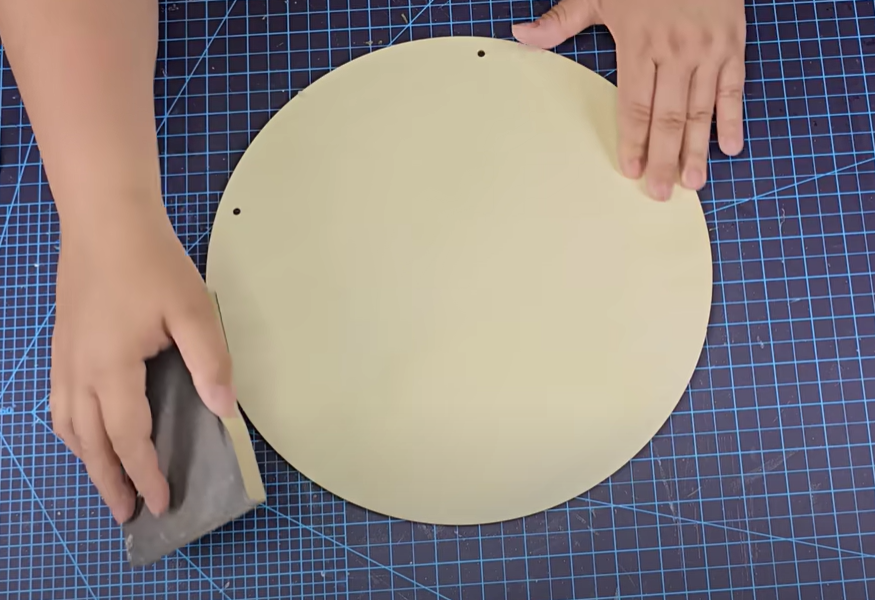
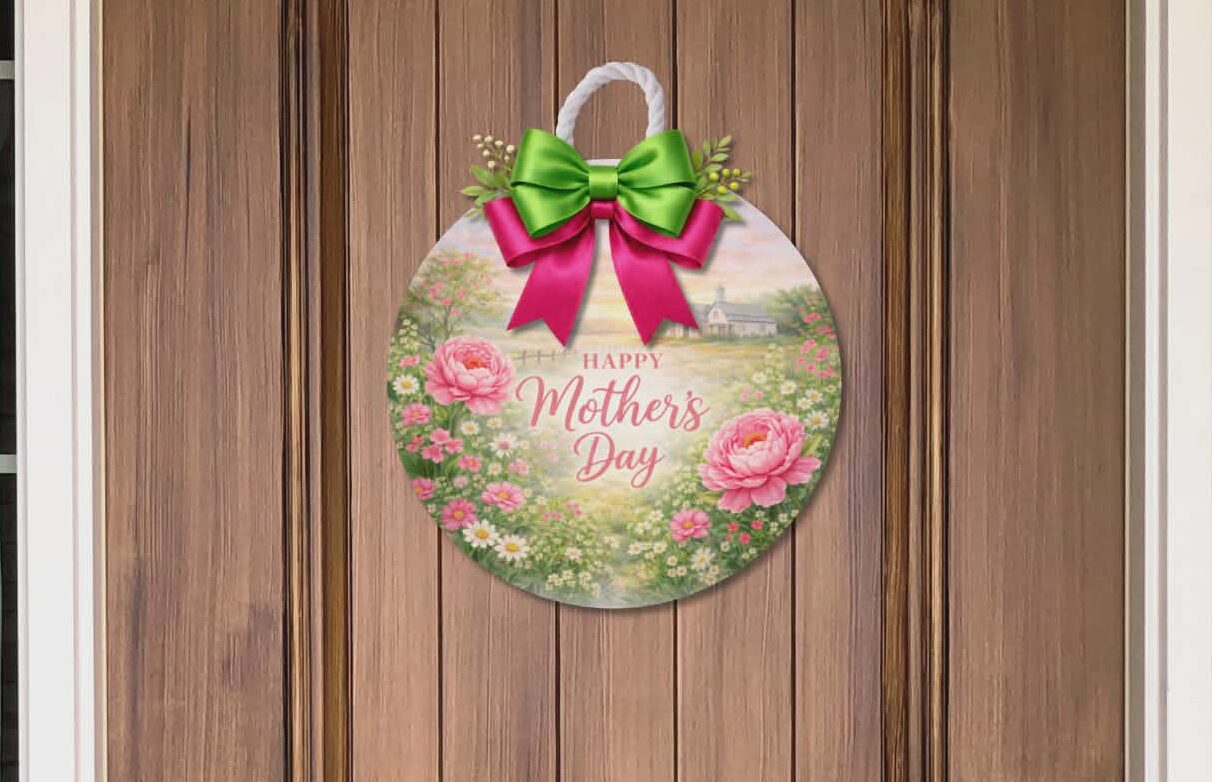
Start by sanding or cleaning your surface thoroughly. Whether it’s wood, canvas, or glass, make sure it’s smooth and free of dust, dirt, or oils. A clean base is key to getting that flawless Mod Podge finish. I also painted my surface just because I wanted a lighter finish, but you do not have to.
Step 2: Apply Mod Podge and Let It Dry Completely
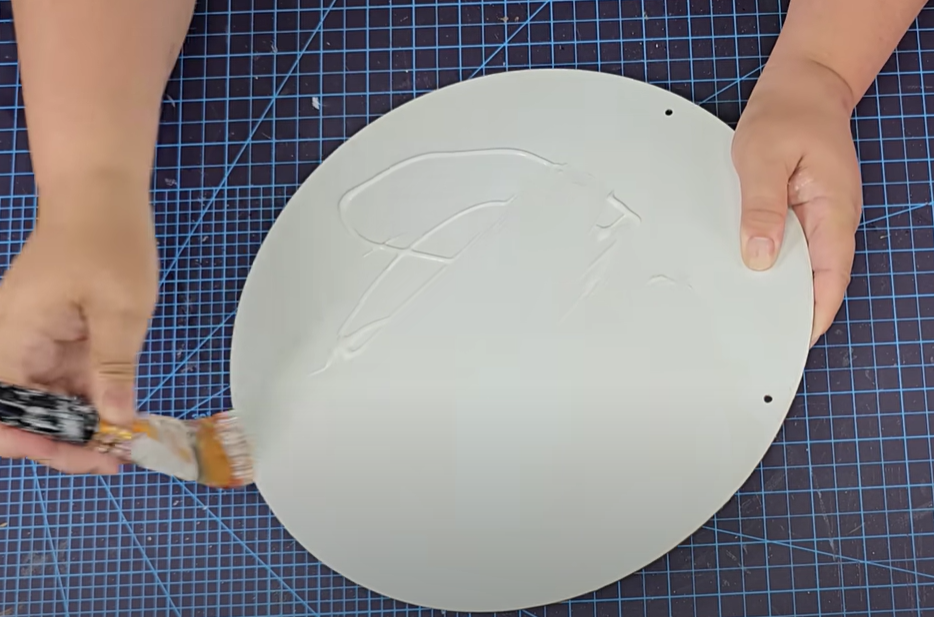
Brush on a smooth, even layer of Mod Podge. Here’s the important part: let it dry completely before moving on. This drying step is what makes this trick work like magic!
Step 3: Position Your Design
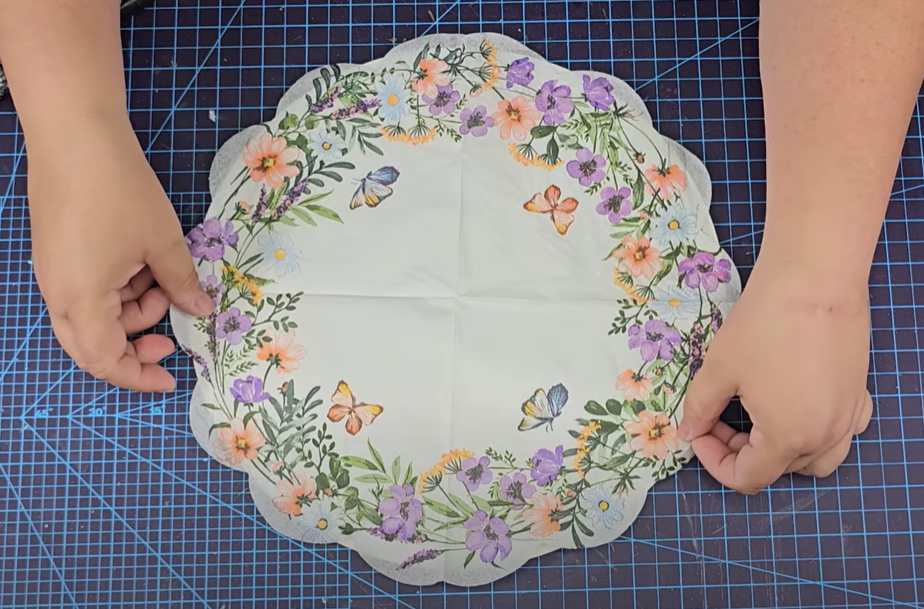
Place your fabric, printed image, scrapbook paper, or decorative element on top of the dry Mod Podge layer. Take your time to align it exactly where you want it.
Step 4: Cover with Parchment Paper
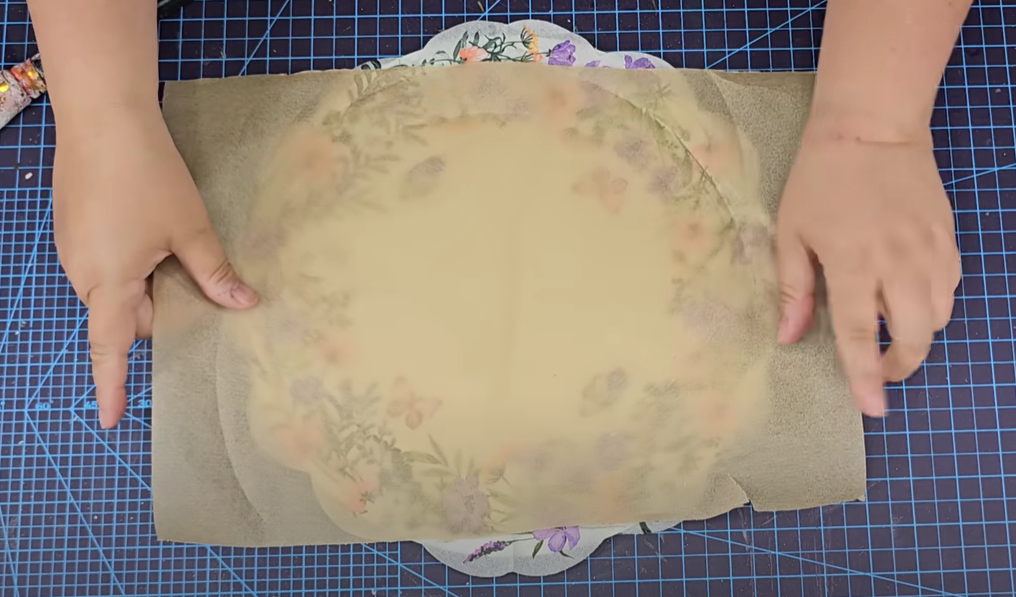
Lay a piece of parchment paper over your design. This acts as a protective barrier and allows for smooth heat transfer without any sticking.
Step 5: Iron It On
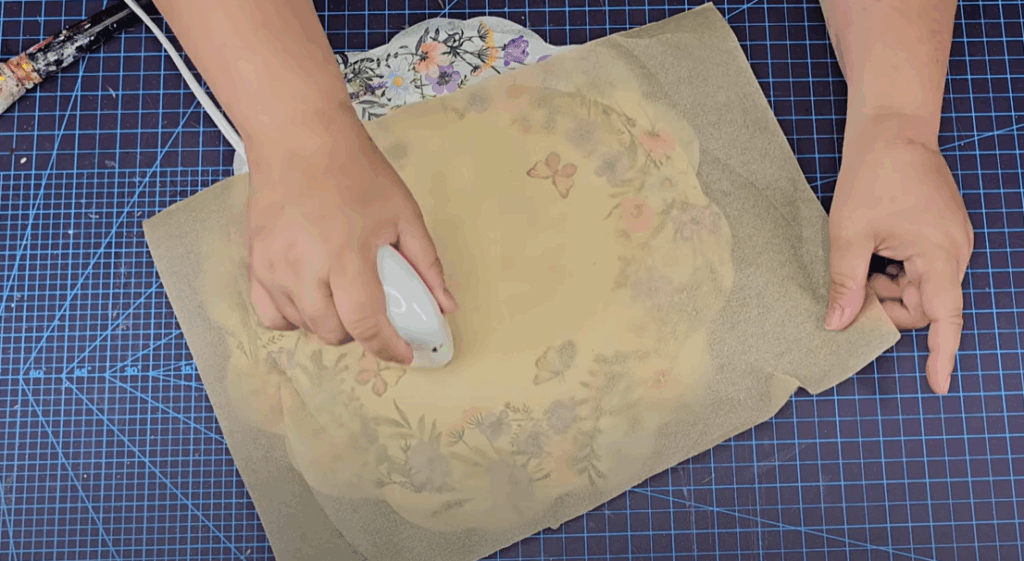
With a medium to high heat setting (no steam), press a household iron over the parchment paper for just a few seconds. You’ll be amazed how this heat-activated method bonds your design cleanly and securely.
Step 6: Seal It with a Final Coat (Optional)
If you want extra durability or a glossy finish, apply another light layer of Mod Podge on top of the design. Let it dry completely, and you’re done!
If you want to watch a step-by-step video on how to do this, watch this video below.
Who knew something as simple as Mod Podge could become so much more powerful with just a tiny tweak in technique? This updated Mod Podge hack is proof that even the most familiar supplies can still surprise us when we think outside the box. Whether you’re a seasoned DIYer or just dipping your toes into the crafting world, mastering this quick Mod Podge method will elevate your projects and save you time, money, and frustration.
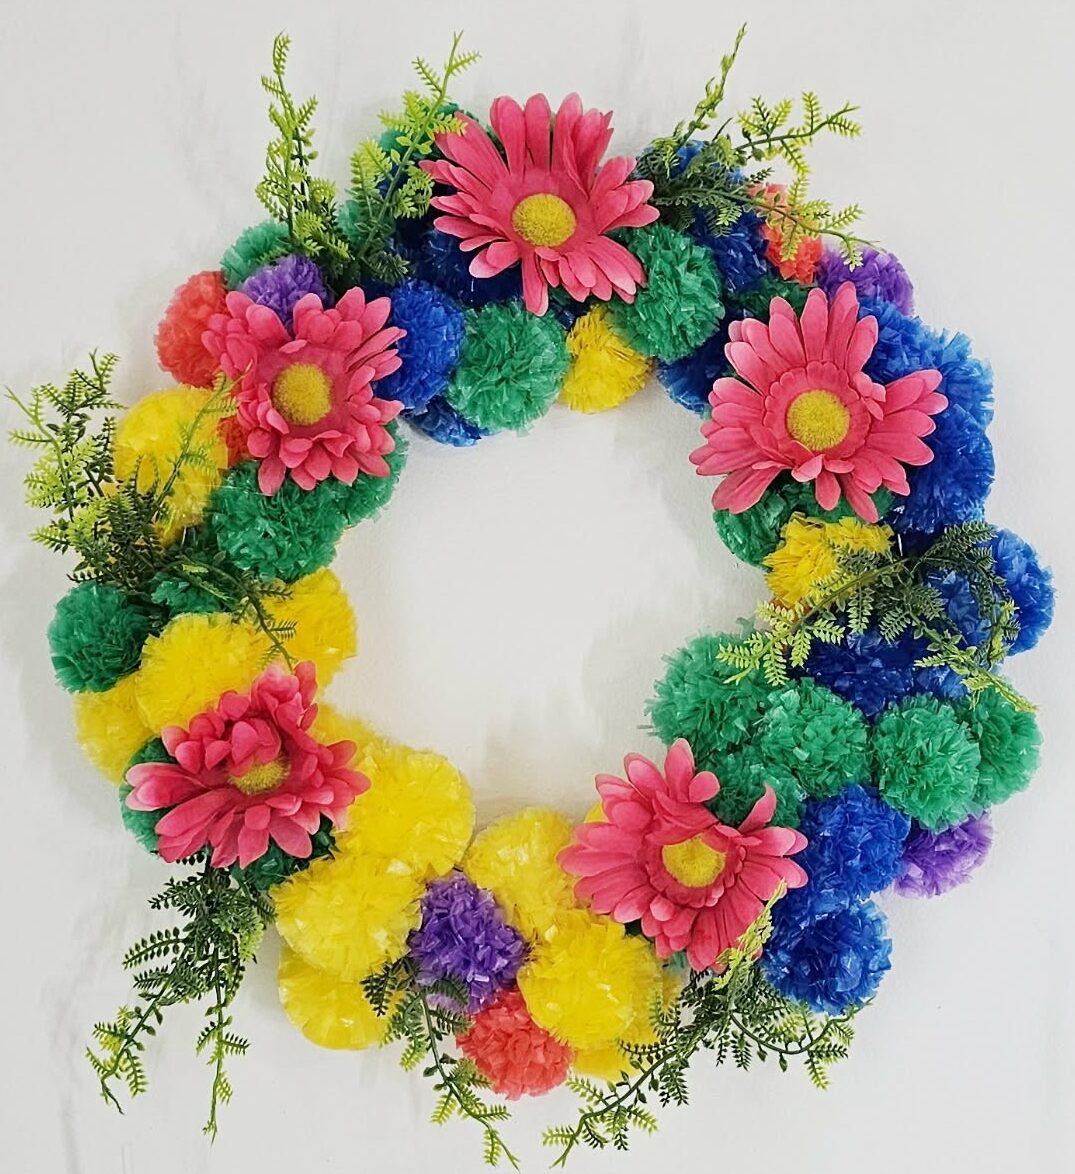
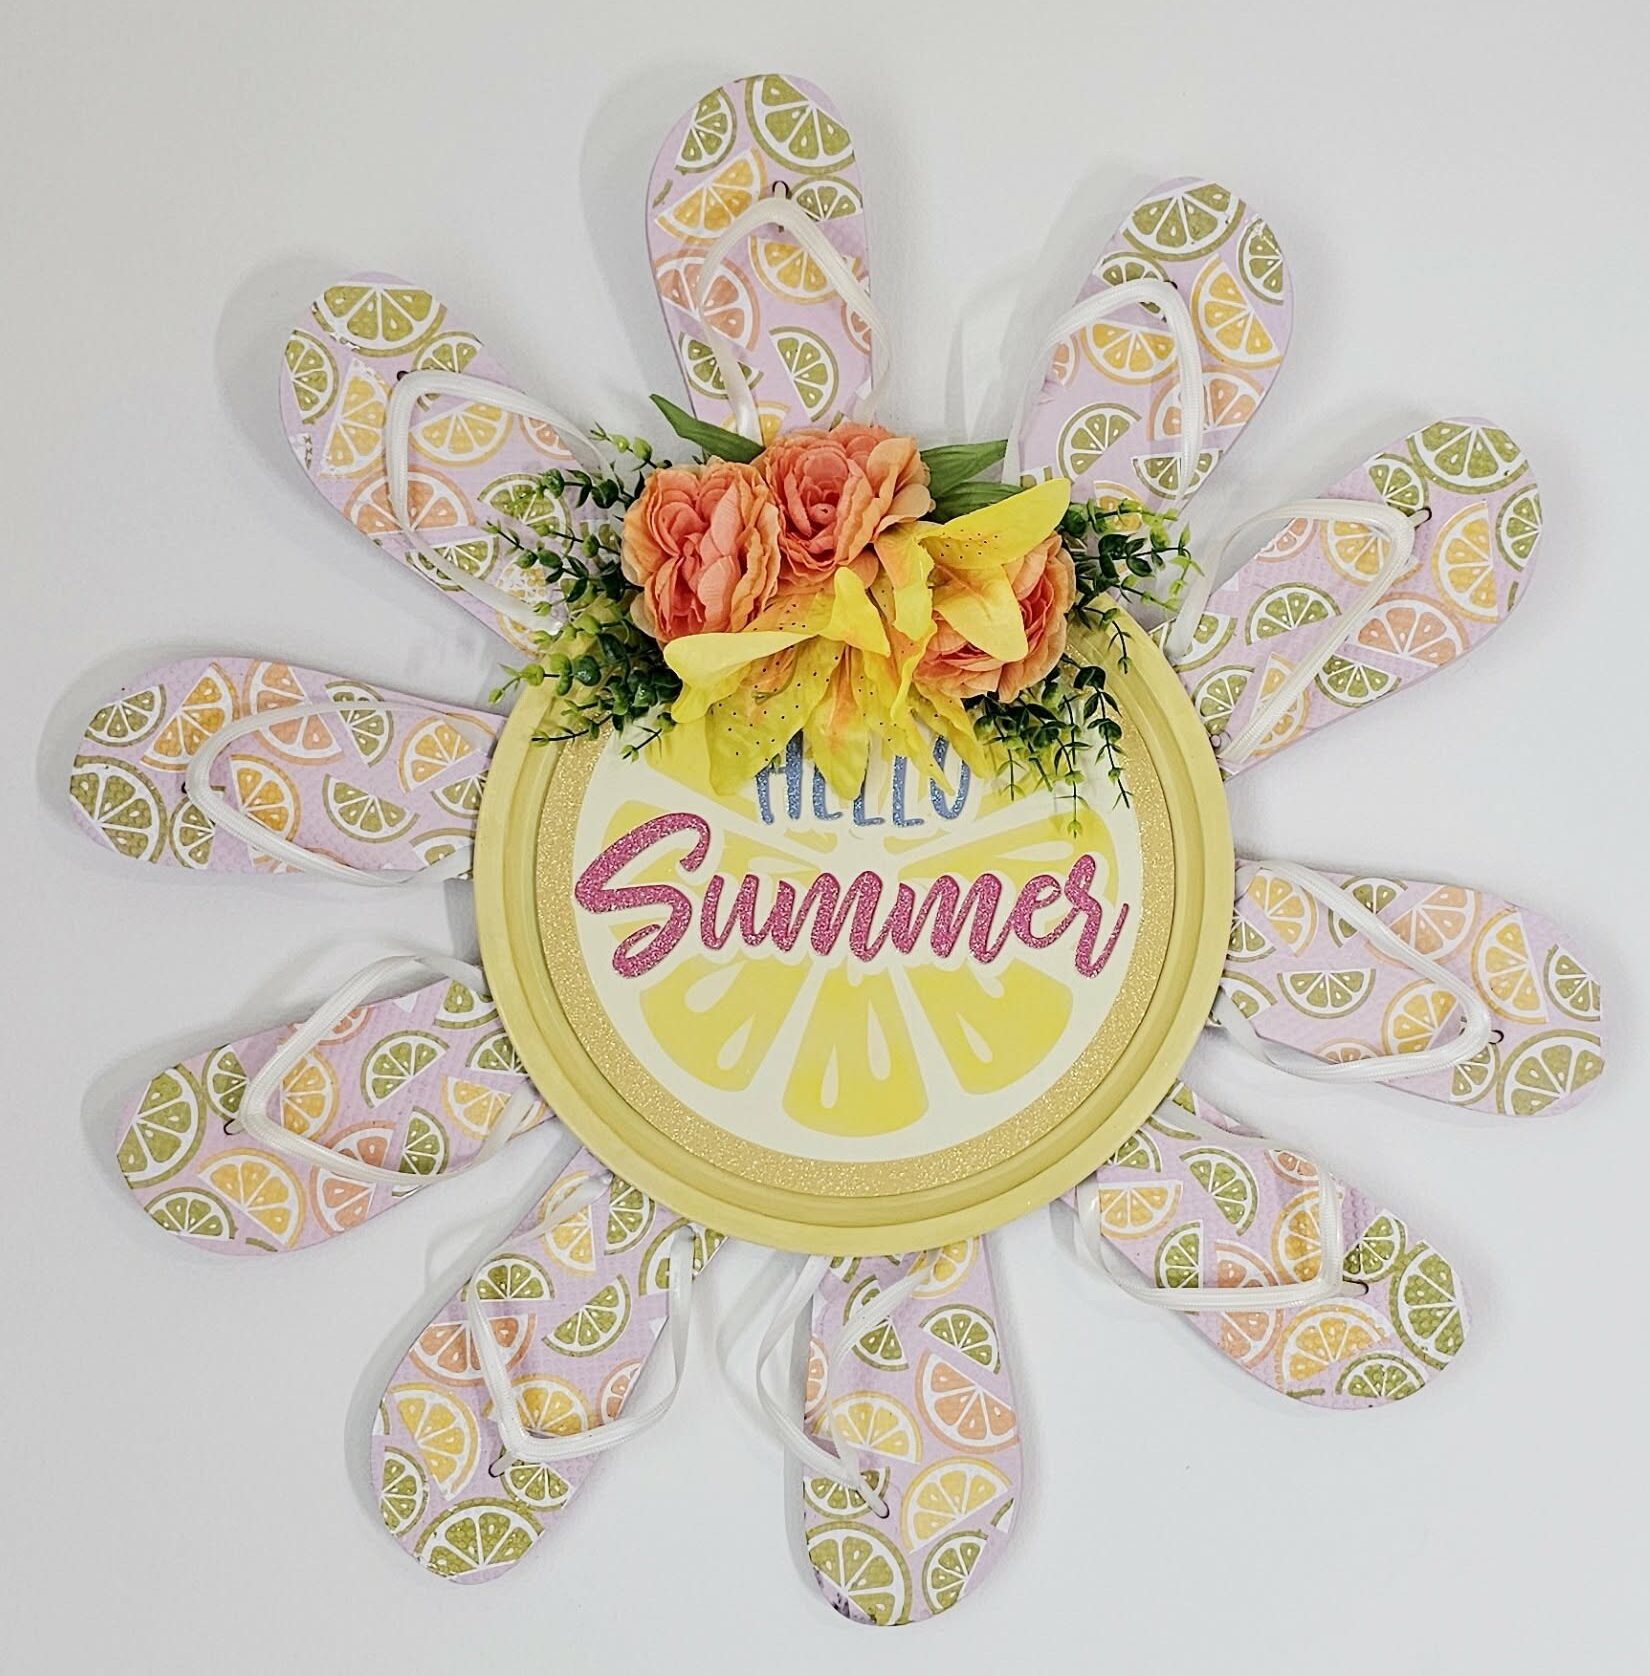
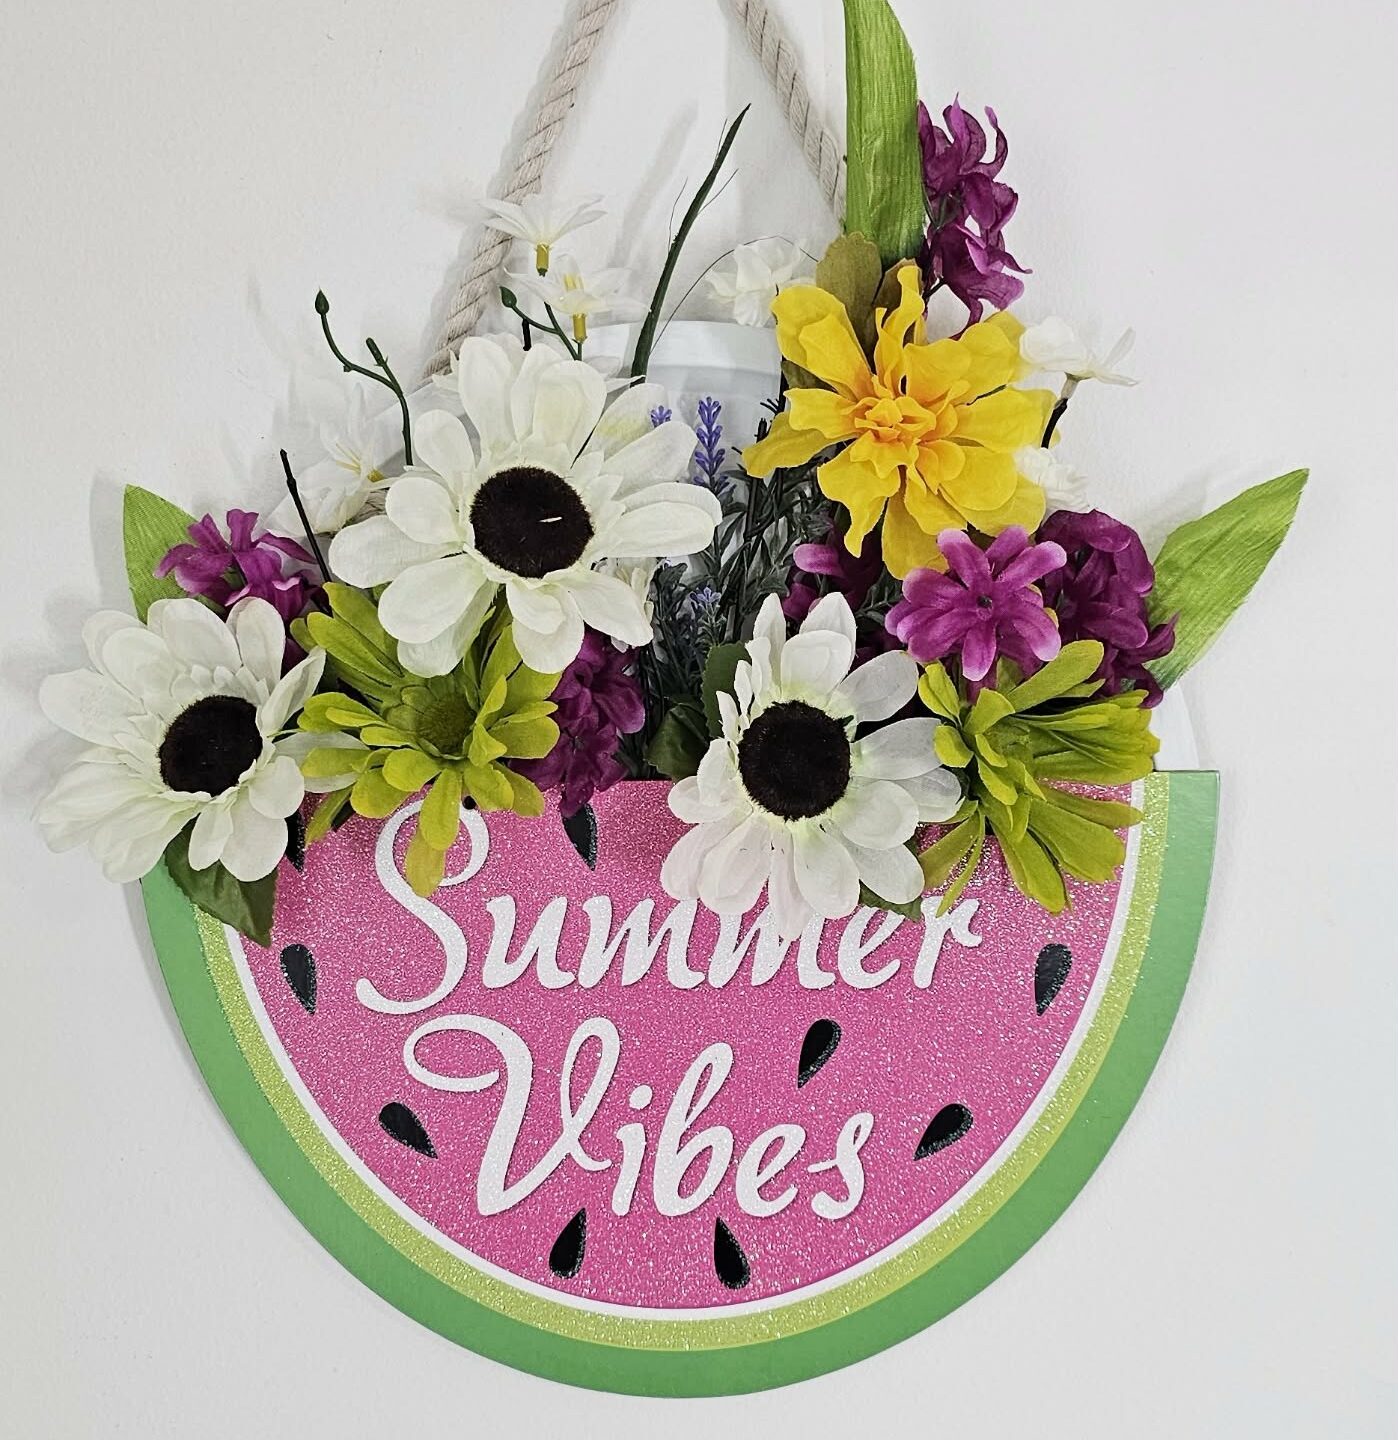
By now, you’ve seen how easy the process is with just 6 quick steps—and how beautifully it works for everything from Dollar Tree signs to custom gifts and seasonal décor. No more sticky messes, bubbling paper, or endless drying times. This genius Mod Podge technique gives you smooth, sealed, and professional-looking results every time.
Plus, this method opens the door for all kinds of creativity. You can layer, embellish, or seal different surfaces with confidence. It’s versatile, reliable, and completely addictive once you try it!
If you loved the original Mod Podge post, I promise this one takes it to the next level. And don’t forget to save or pin this tutorial so you can come back to it for future projects—it’s the kind of tip every crafter should have in their back pocket.
Have questions or want to show off your results? Drop a comment or tag me on Instagram—I love seeing how you bring these ideas to life!
Now go grab that Mod Podge and get crafting—the easy (and genius) way!
Check out my YouTube channel for more crafting inspiration!
Check out my second YouTube channel with tons of kids crafts inspiration!
Want to connect on social media? Click here!
Want to check out my favorite Amazon Finds? Click HERE!
Have fun crafting!
Lianep
** some links are affiliate links which I earn a small commission from at no extra cost to you.