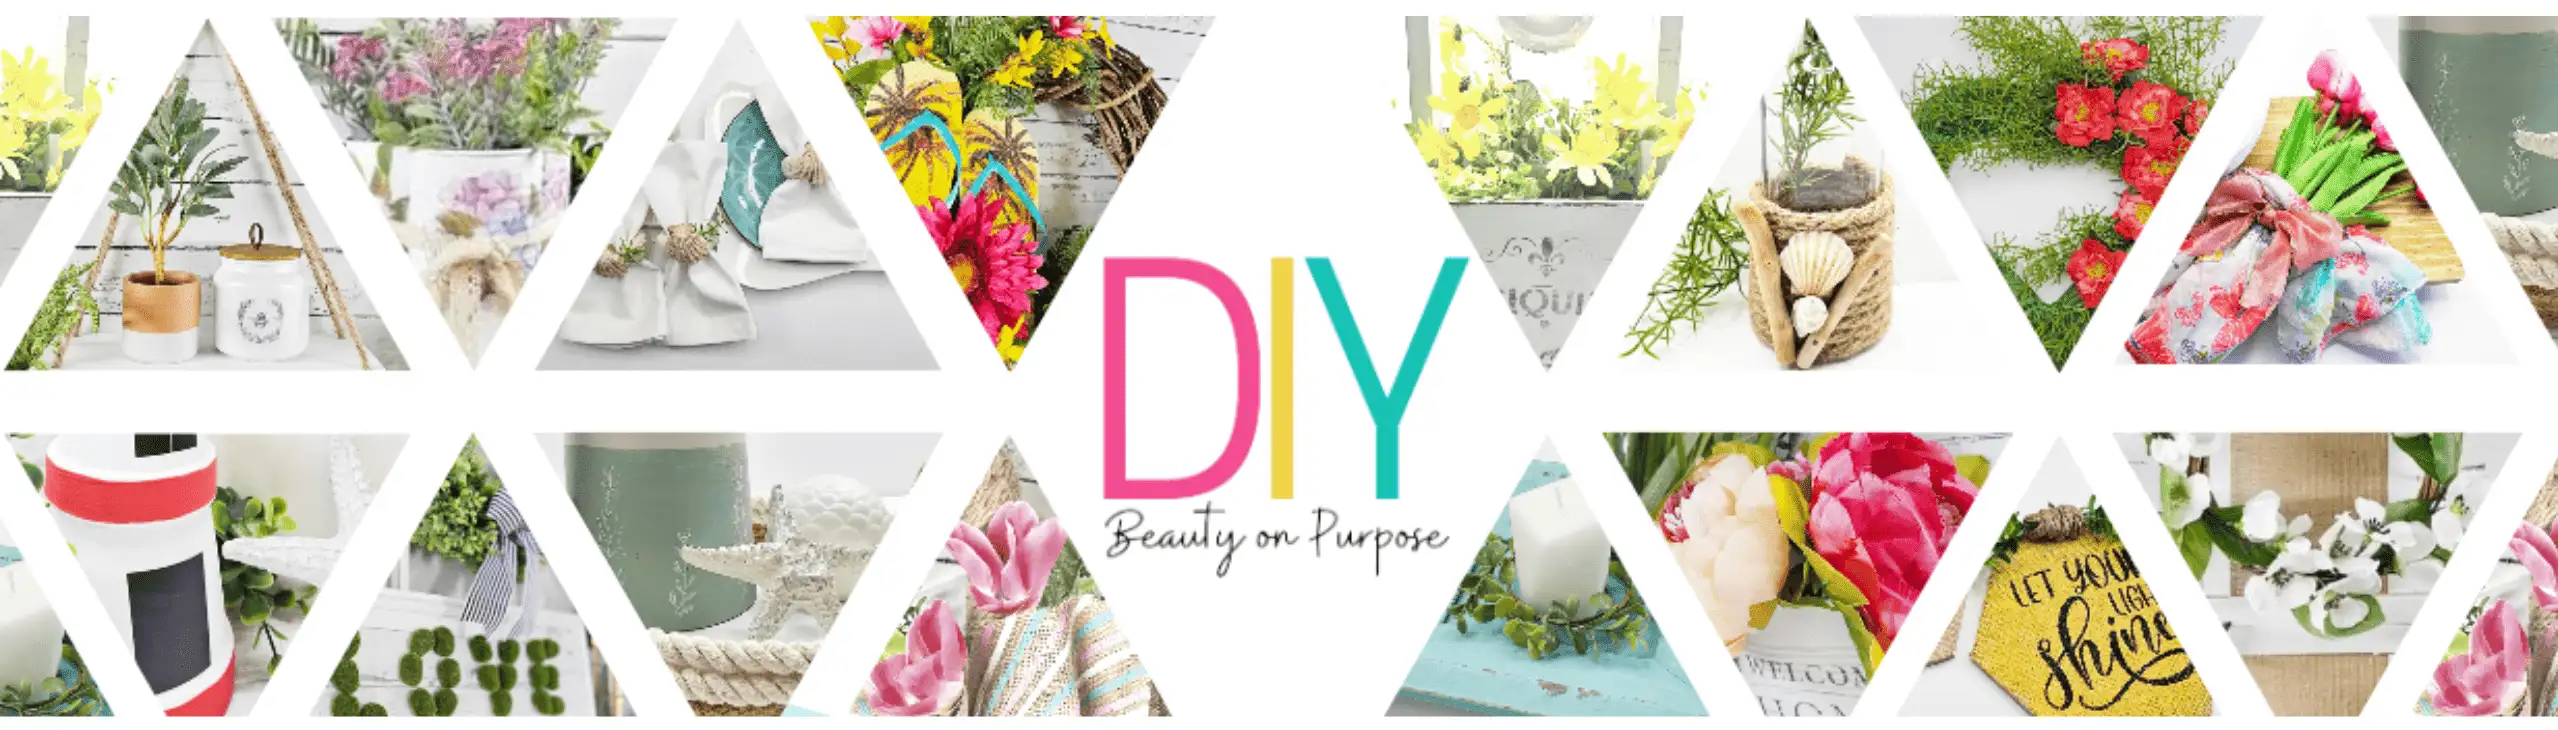
There is something so special about finding a diamond in the rough at the thrift store and giving it new life. You know I love thrifting, flipping and upcycling old home decor, but, did you know that one of my favorite things to flip are picture frames? It is! I just think they are so fun and versatile. Whether it’s a simple flip, or a complete upcycle, picture frames are perfect for it! On a recent video I upcycled five frames into beautiful, new creations.
Read the below step-by-steps on how I gave them a new, fantastic, look.
Old Frame Meets New Decorative Tray
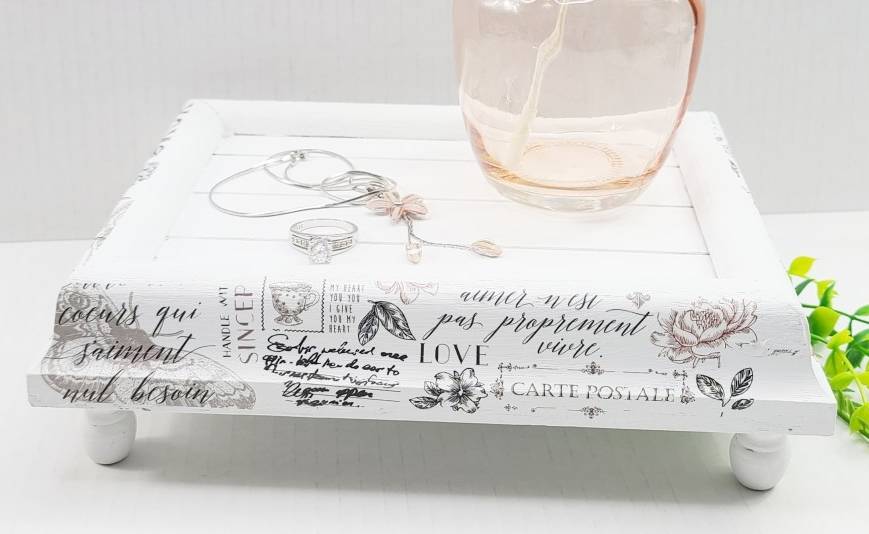
This gorgeous decorative tray was made with an outdated frame I found at the thrift store. It was dark brown, outdated and, simply, just needed new purpose.
I started by removing everything from it, including the glass front. I cleaned it and lightly sanded it for a smooth, clean finish.
I then took a planked board from the Target Dollar Spot and cut it to fit inside the frame, replacing the glass. I attached it using hot glue and permanent glue. I placed all the backing that was originally on the back of the frame and secured the clips for a tight close.
I gave everything two, fresh, coats of white chalk paint and let it dry .
I then added a rub-on transfer, from the Dollar Tree, to the frame. I cut it into slips of about 1.5 inches wide and rubbed it on using a scraper. I rubbed and pulled on the plastic simultaneously until the transfer was completely transferred all around the frame.
I painted four small, wood, dowel toppers from the Dollar Tree in the same white chalk paint. I glued those to the bottom of the frame with hot glue and permanent glue, giving the frame legs, and turning it into a tray.
And that’s it for this transformation. How beautiful is it!?
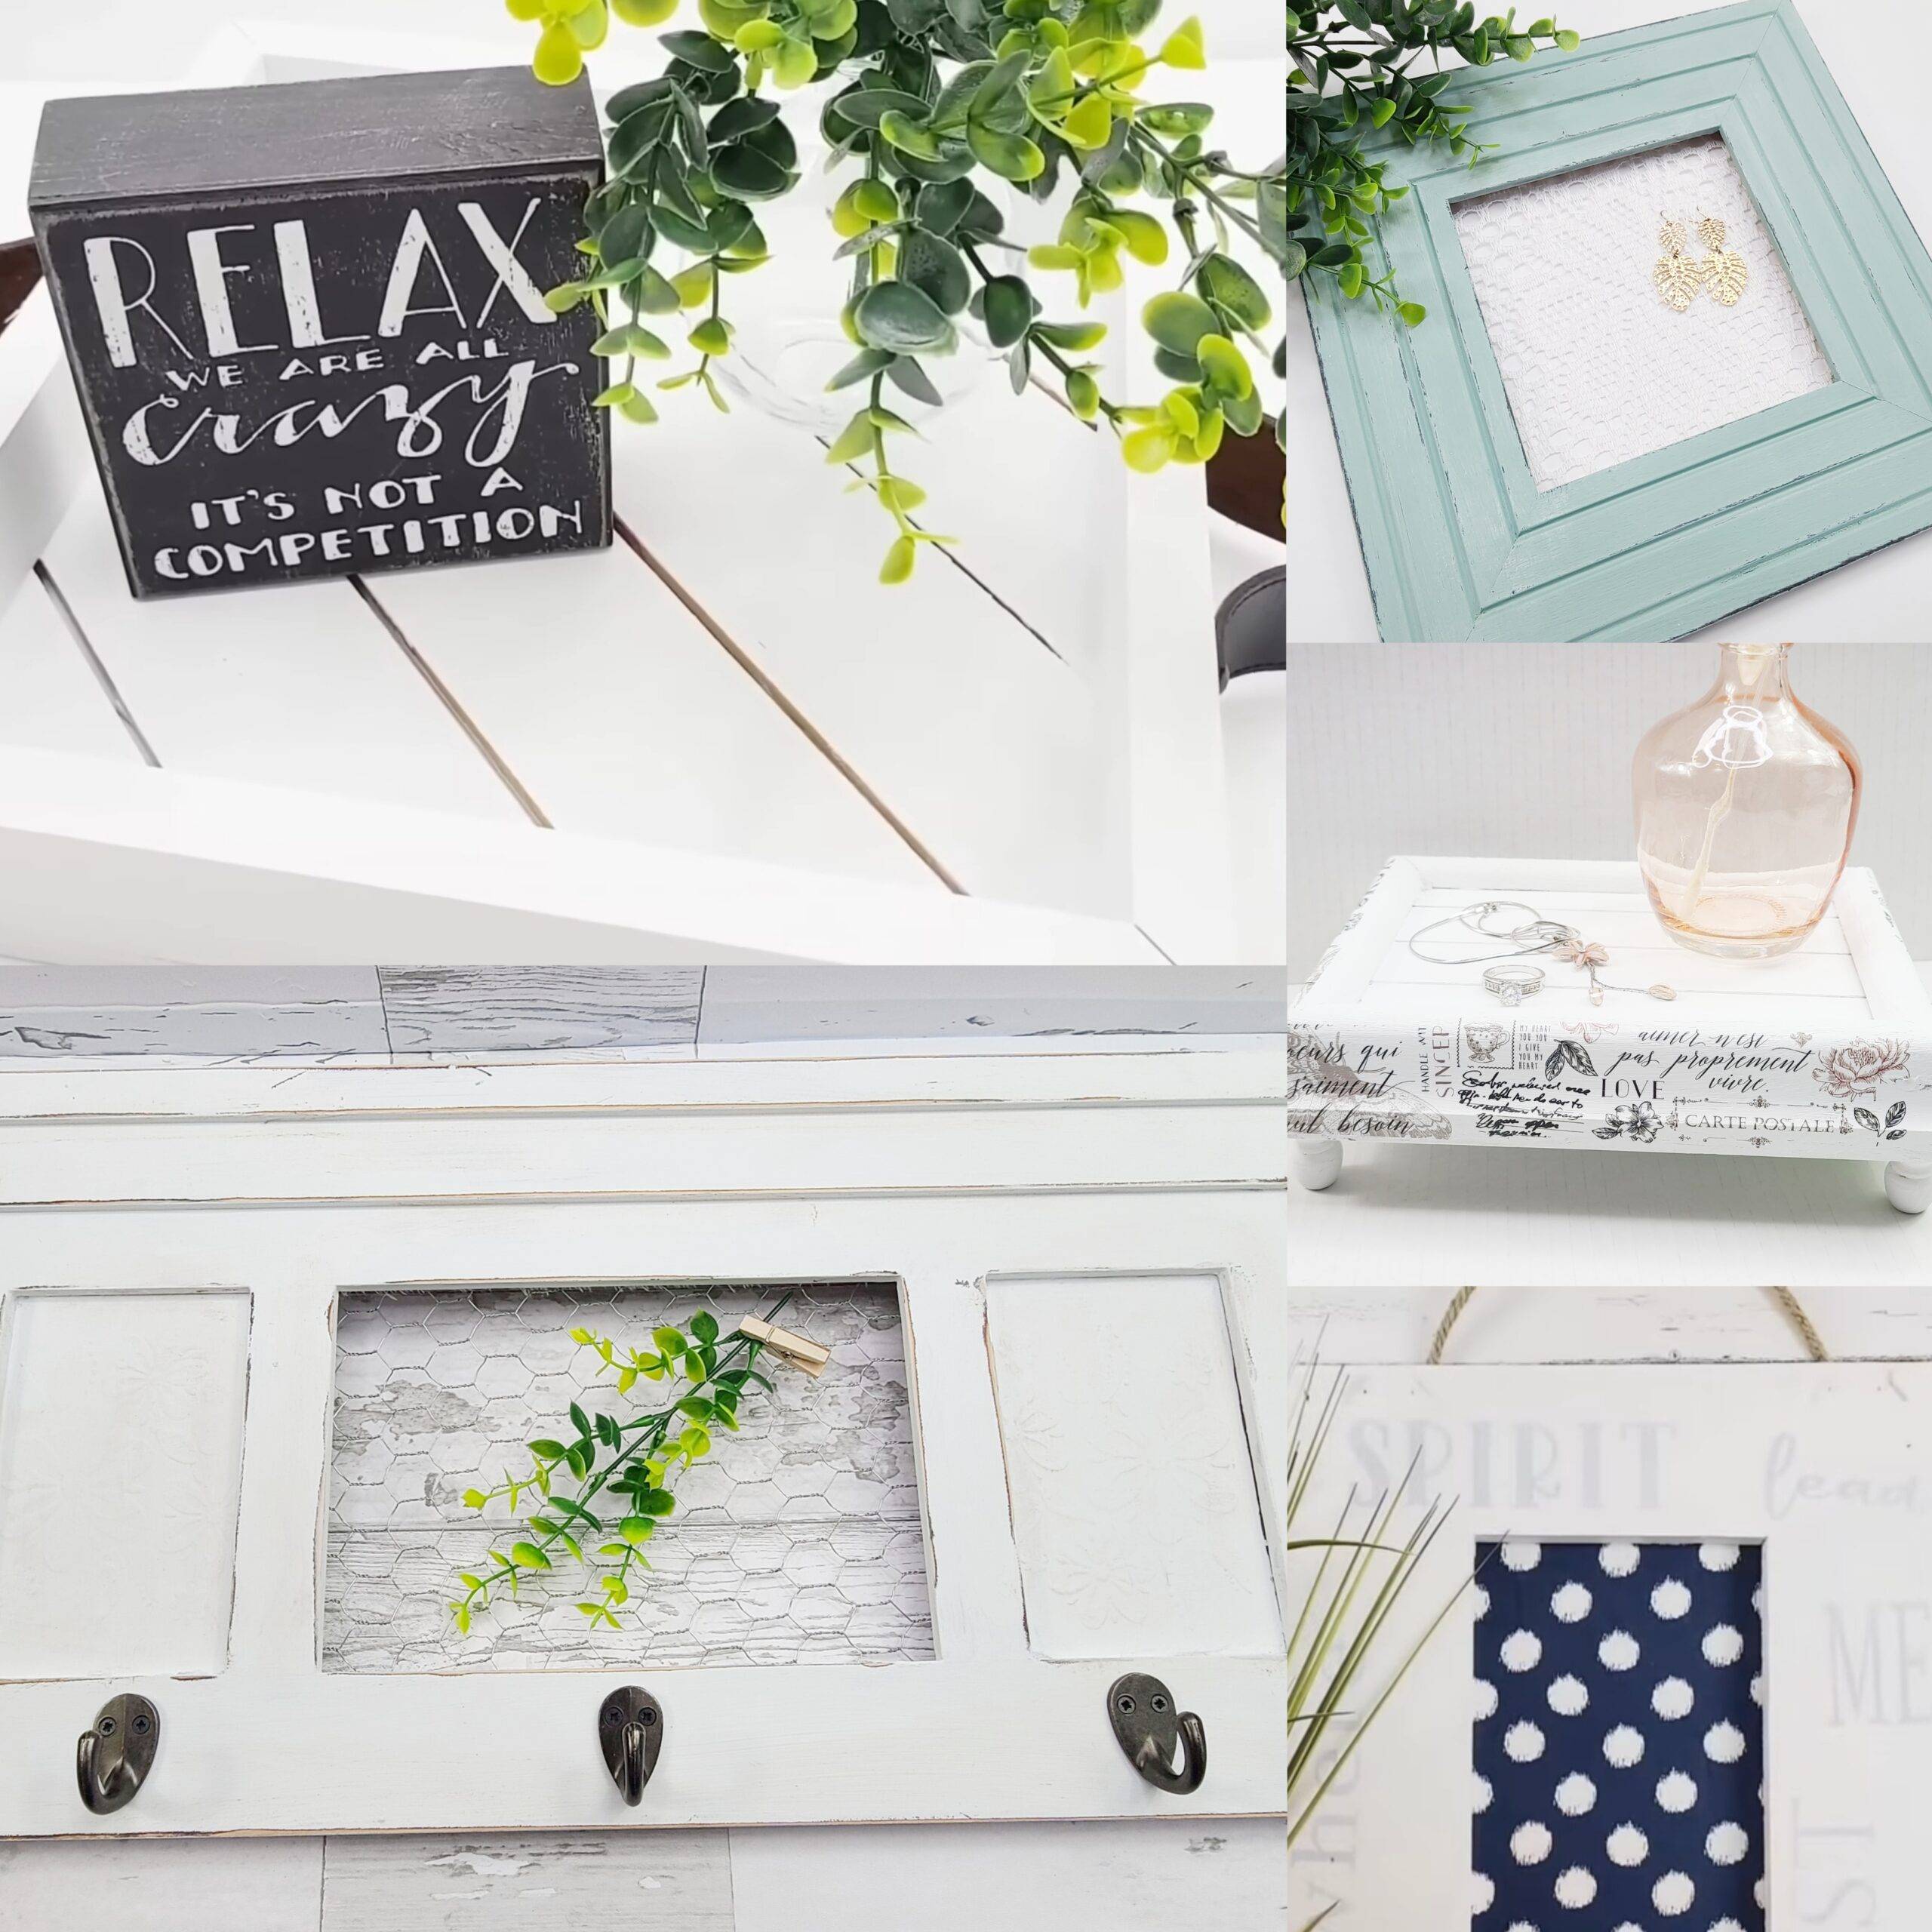
Old Black Frame Meets New Earing Holder
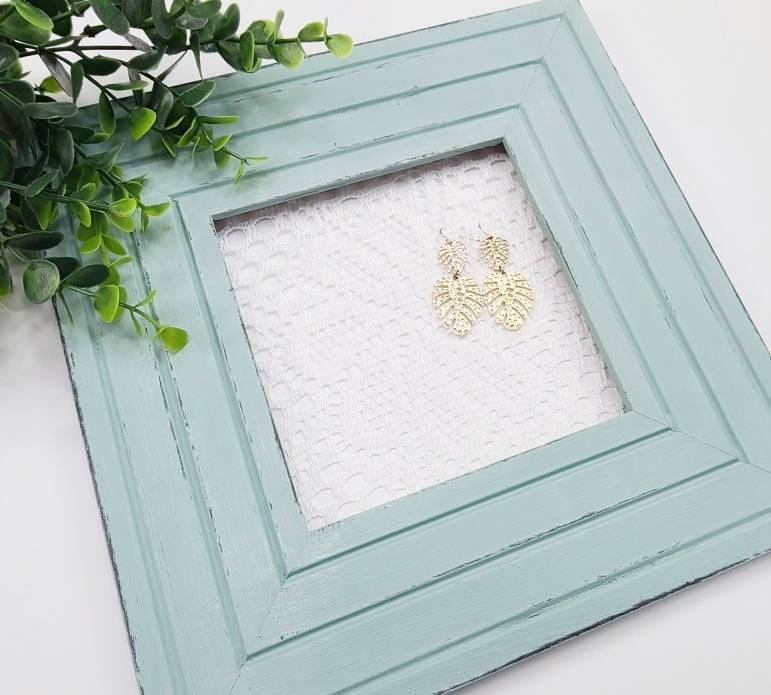
This stunning frame had a black finish and an outdated artwork in the center. It totally needed a new look!
I removed the center by, simply, pushing on it until the staples released it. I removed excess staples with pliers.
I cleaned it and gave it one coat of white chalk paint, as a base coat, and then added two coats of Rust-Oleum at chalk paint in the Serenity Blue.
I then lightly distressed it using a sanding block from Dollar Tree, to reveal some of the white and black undertones.
I took a doily from Dollar Tree and stapled it to the back of the frame, covering the space in the center. I lightly tugged on each side as I stapled, for a clean, tight finish. I removed the excess doily from the side using my rotary cutter.
I hung a pair of earings to it, and the results are just breathtaking! Talk about new life! What do you think of this one!?
Old Coat/Picture/Mirrow Holder Meets New Farmhouse Decor

This piece is an all-in-one piece. It had a mirror in the center, two picture holders on the sides and three hooks on the bottom. When I saw it at the thrift store, I just knew I wanted to turn it into a Farmhouse piece. It had an orange, dark brown, wood tone that was outdated and in desperate need of a new look.
I removed the mirror and the hooks and then prepped it by cleaning it and lightly sanding it.
I added a raised stencil on the glass of the two picture holders. I used a flower, reusable stencil and spackle/paint mixture. I scraped on the mixture using a scraper, removed the stencil and let it dry.
I then painted the entire piece using white chalk paint and gave it three and a half coats.
I distressed it using my power sander, focusing on the edges, for a distressed, farmhouse look.
I added a more antique look by adding Waverly antiquing wax to the stenciled sides and on other areas. I ended up adding a bit too much antiquing wax, so I toned it down using a bit more white chalk paint.
I flipped it over and added crafting chicken wire to the open center, where the mirror was. I stapled it using my electric stapler, removed the excess wire from the sides using my wire cutter, and added pieces of drop cloth with hot glue to cover the pointy edges of the chicken wire.
And this is it for this one! What a transformation!
Old Sewing Machine Frame Meets New Inspirational Frame

This frame was a top piece of an old sewing machine I flippped years ago. It deperately needed a new look!
I cleaned it and painted it using white chalk paint.
I then stenciled lyrics of one of my favorite worship songs to the white frame using a stencil I cut with my Cricut. I used light blue paint and a make-up sponge to stencil it.
I added a blue and white, polka dot fabric to the back, covering the opening in the center. I stapled it using my electric stapler and tugged lightly while stapling it for a flat, secure look.
To finish it off, I stapled nautical rope to the back of the frame to be able to hang it.
And that’s it for this one! It is huge and beautiful! Love it!
Old Wood Box Meets New Decor Tray

This box had great bones! It had a natural wood tone and was, pretty much, a blank slate.
I gave it two coats of white challk paint and let it dry.
I wanted to add some cool handles, so I took an old, thrifted, black, belt and cut two, five inch pieces off of it. I attached them using upholstery tacks, leaving 2 inches in each side. I did the same thing on both sides of the box.
This is it! This was definitely the easiest flip from today, and one of my favorites!
What do you think of these flips!? Which one is your favorite?
Dont forget, you can watch the step-by-step video tutorial here 👇
Have fun creating ❤️….. Lianep