Exploring the Versatility of Dollar Tree’s Reusable Stencils
Welcome to a world of endless artistic possibilities, where creativity knows no bounds and budget-friendly solutions abound! In this blog post, I’ll dive into the delightful realm of reusable stencils from Dollar Tree, unlocking the secrets to easy, fun, and inexpensive DIY Crafts.
Join me as we embark on a journey where imagination takes center stage, and even the simplest of objects can be transformed into works of art. Discover the magic of Dollar Tree’s reusable stencils, which offer a gateway to effortless creativity. These affordable stencils prove that one need not break the bank to unleash their artistic flair. So, grab your brushes, embrace your inner Picasso, and let’s explore the enchanting world of reusable stencils together!
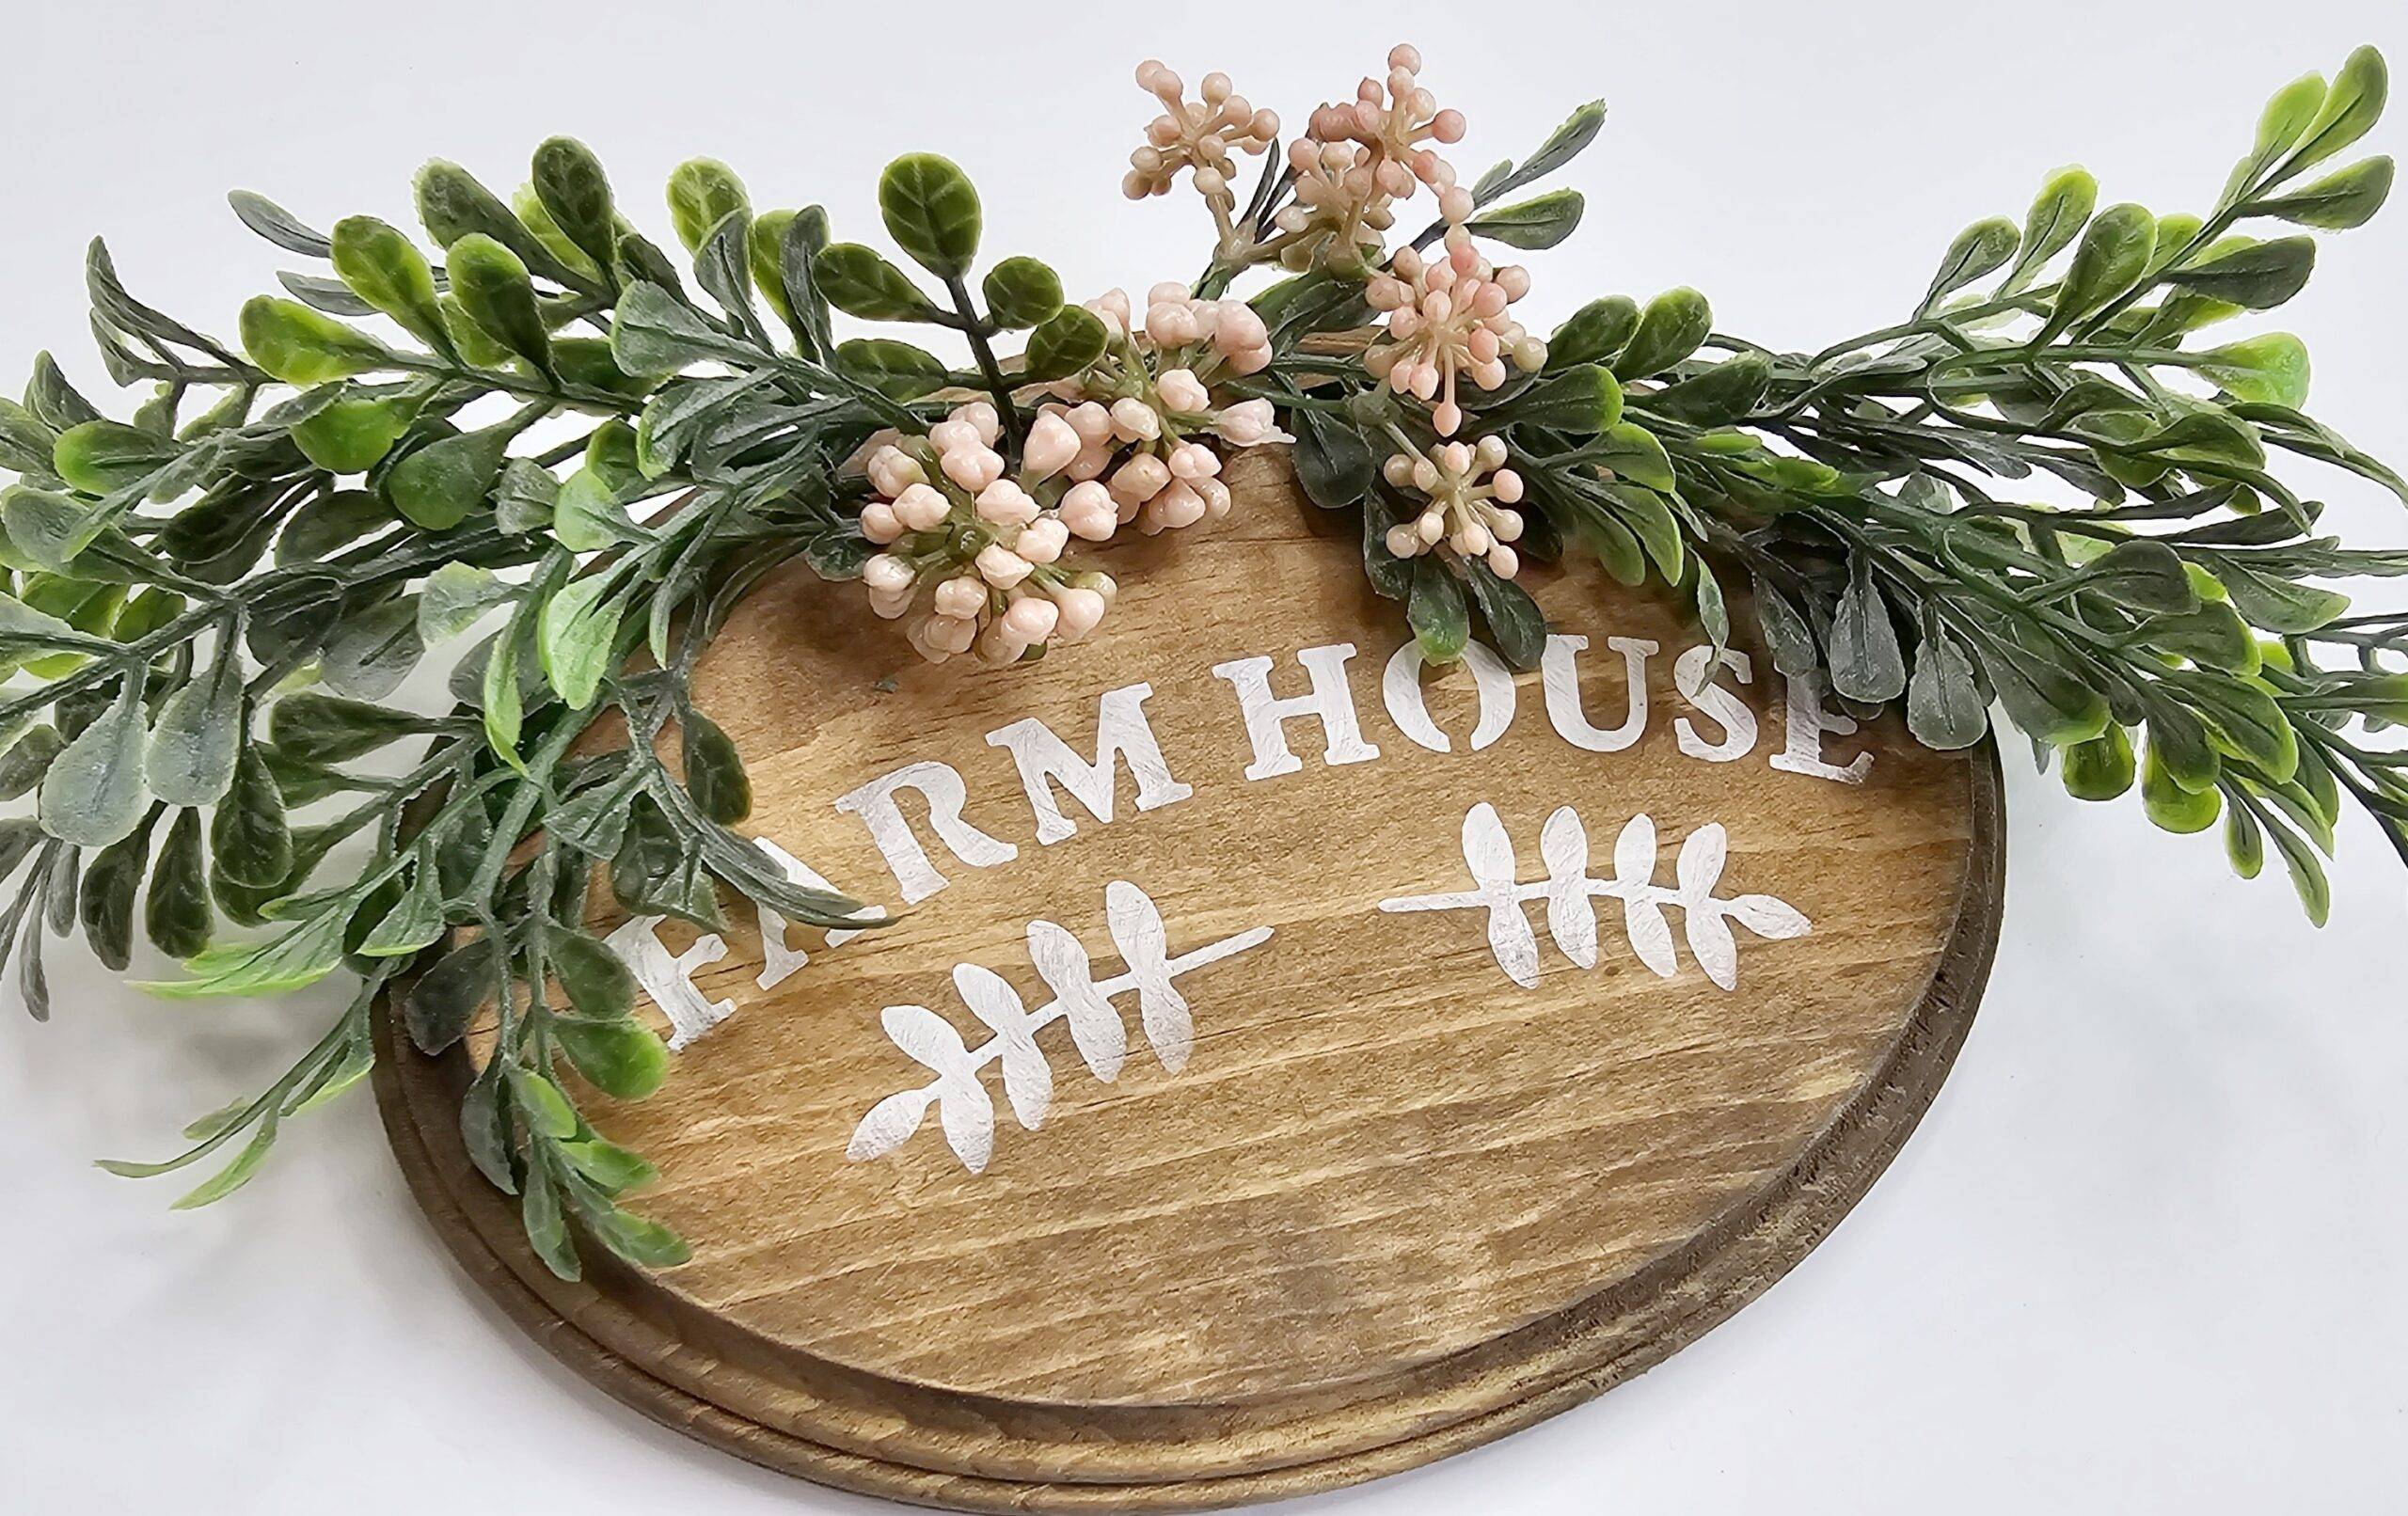
- The first thing you’ll want to do is get a wood blank from Dollar Tree. I used an oval one from their wood crafting aisle. You’ll want to remove the sticker from the back.
- Now you can sand it smooth by using a light sand paper. Sand every side and wipe it very well.
- Now you can stain or paint as you want. I decided to stain it using Rustoleum Chalked Glaze in the brown tone.
- Once dry, take a reusable stencil from Dollar Tree of choice, and begin stenciling it using the paint of choice. I chose a “farmhouse” stencil and used Waverly Chalk paint in the white.
- You can now add any florals you’d like to the top. I used greenery from Walmart and stapled it to the top.
- I also added small flowers to the center with hot glue.
- I hammered a sawtooth hook to the back.
That’s it! What do you think?

This farmhouse wood decor is so beautiful and so inexpensive to make!
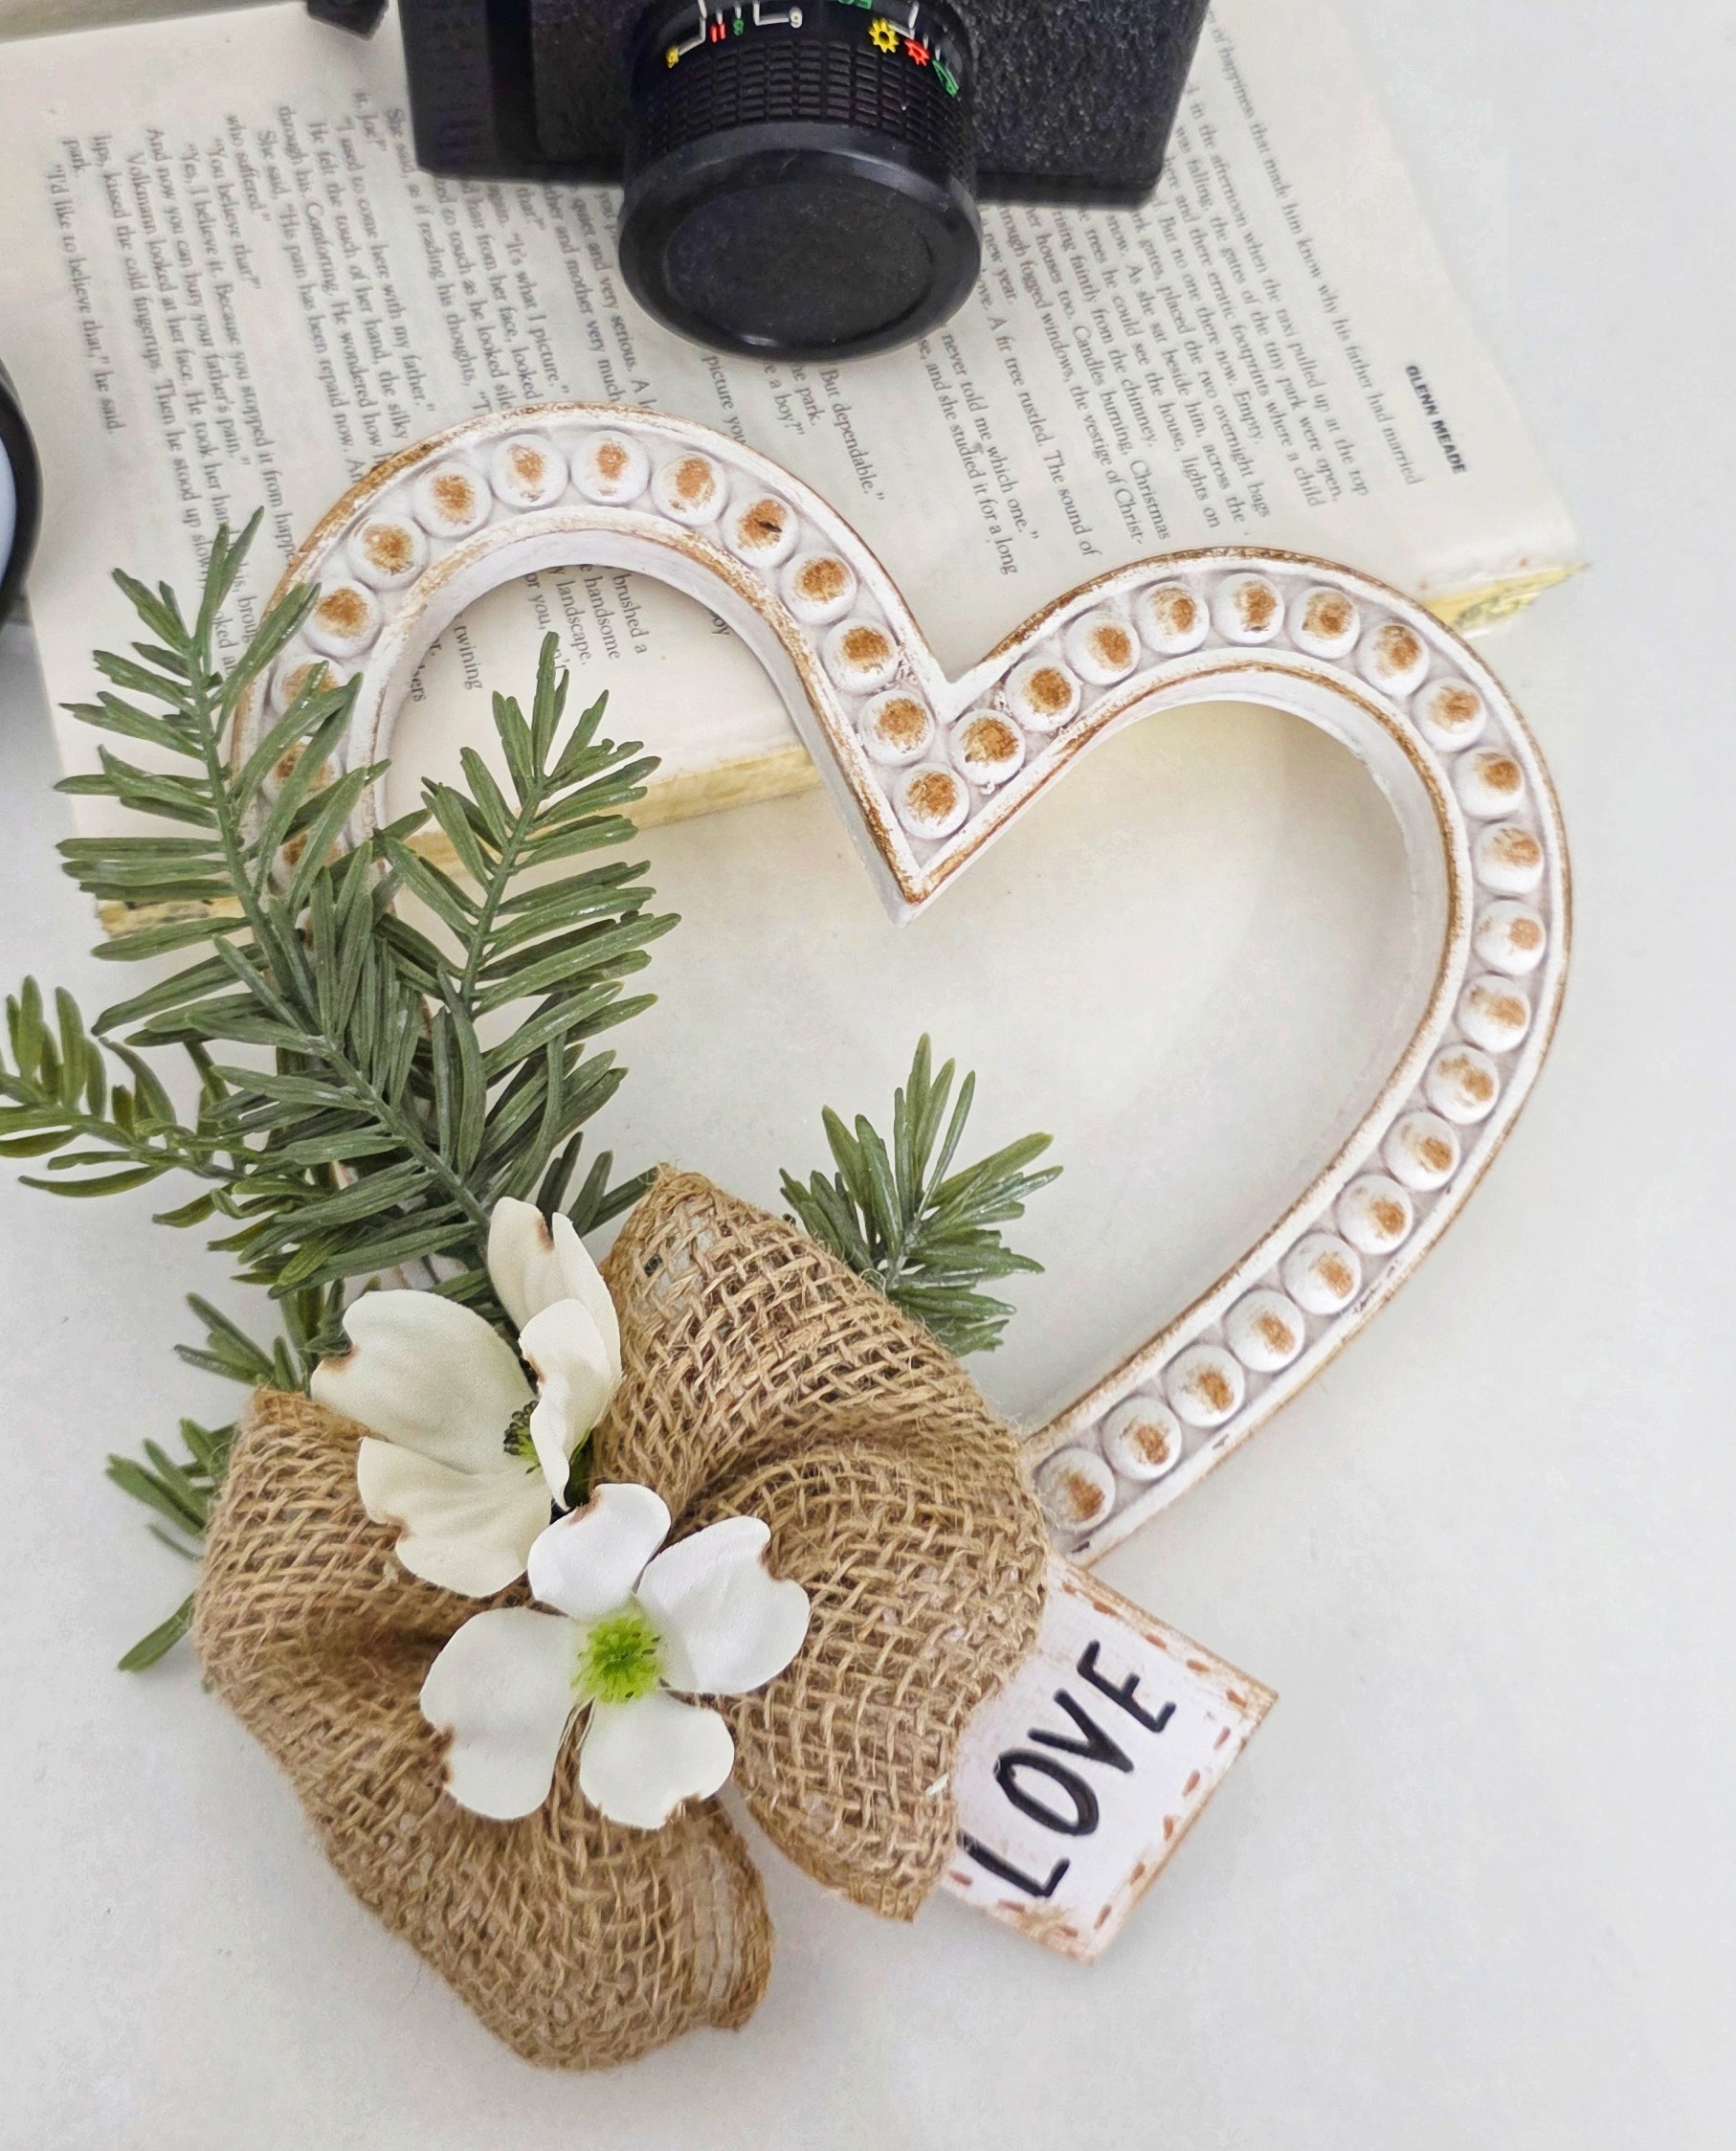
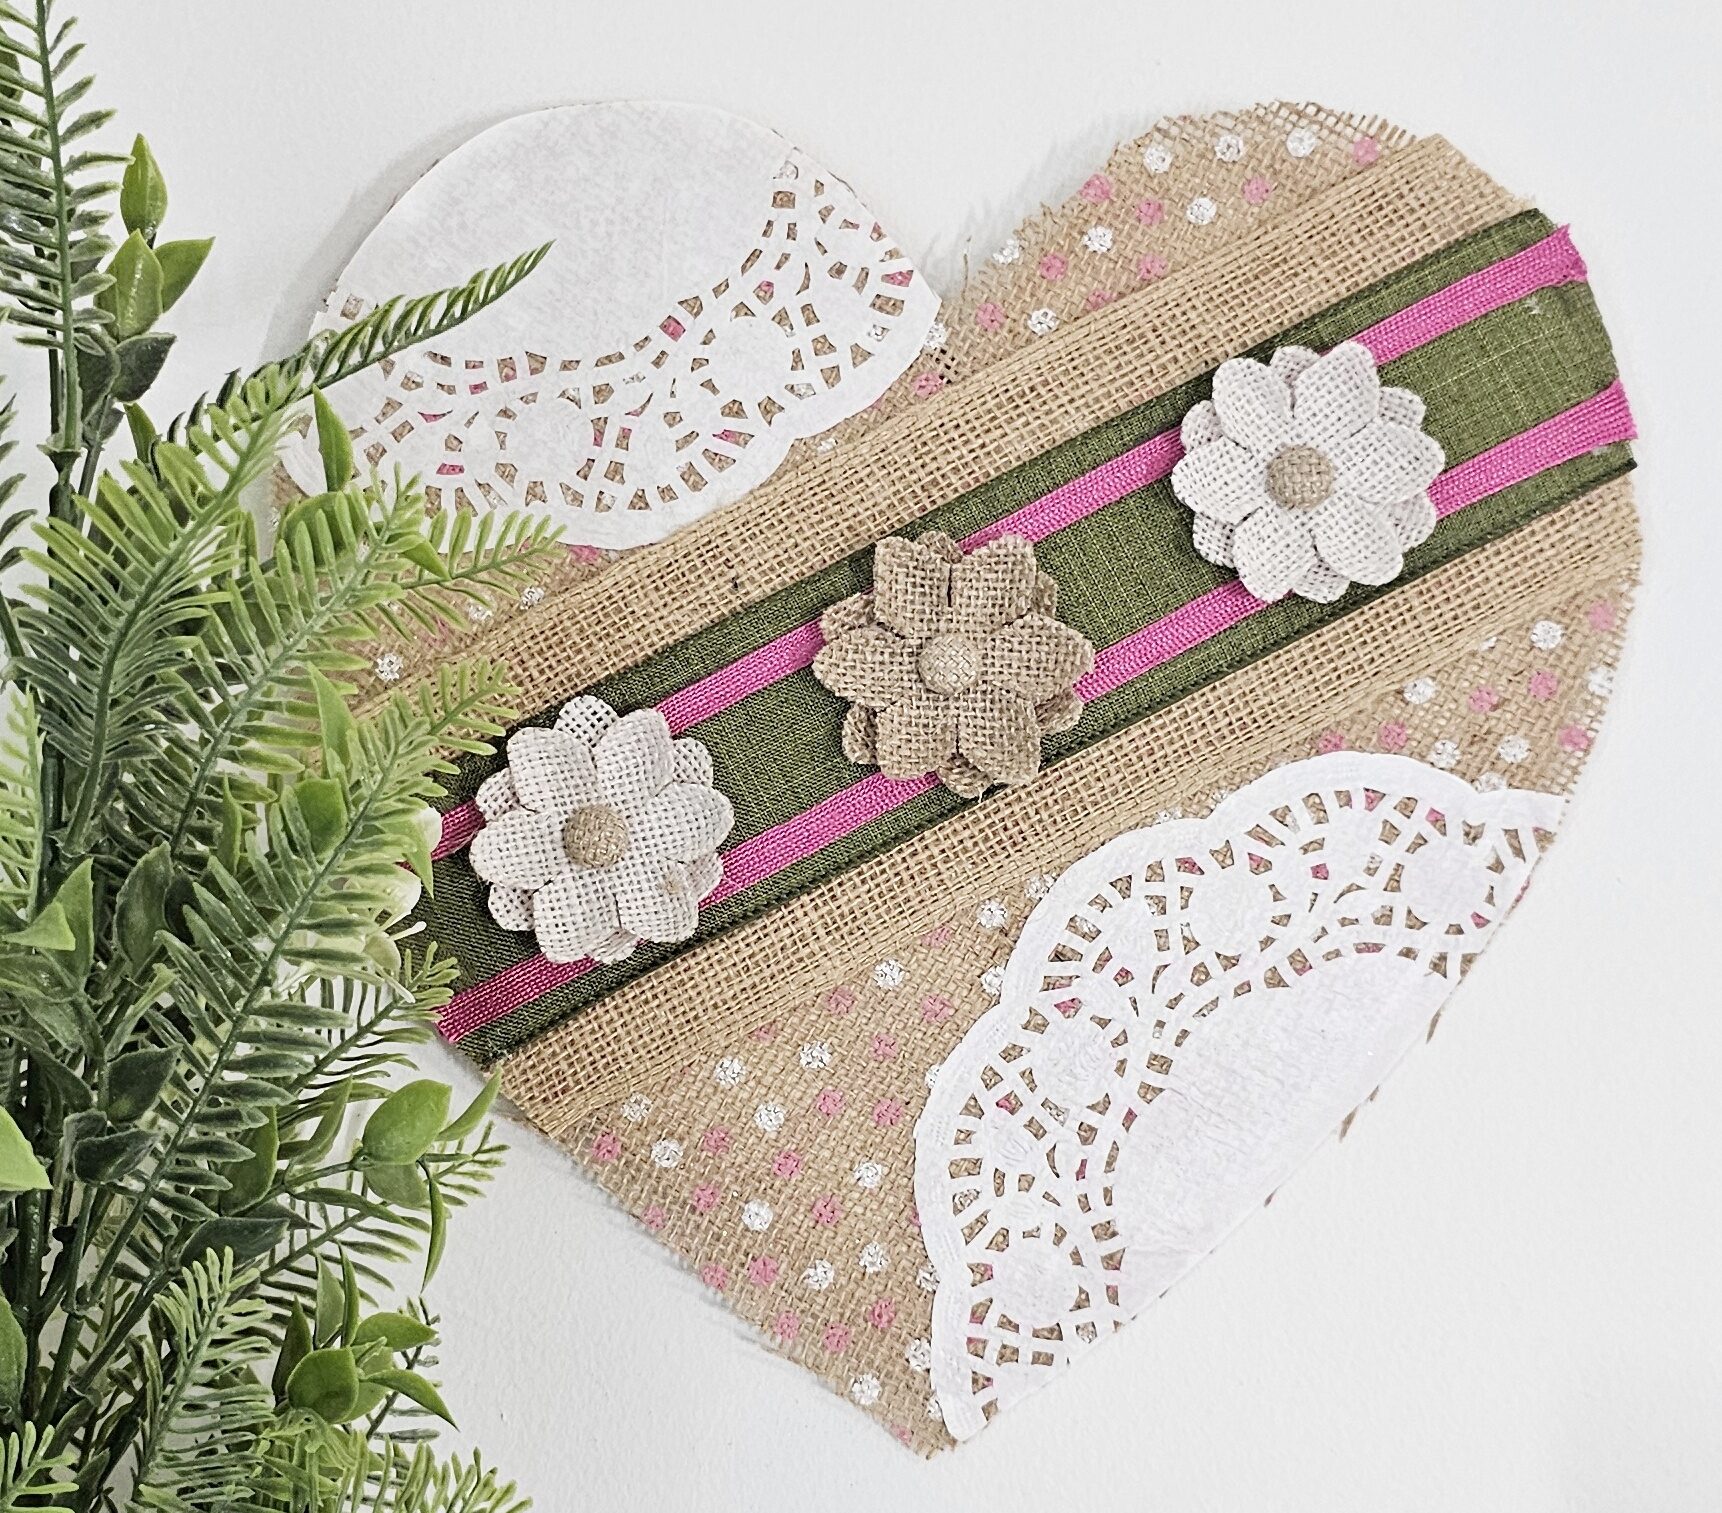
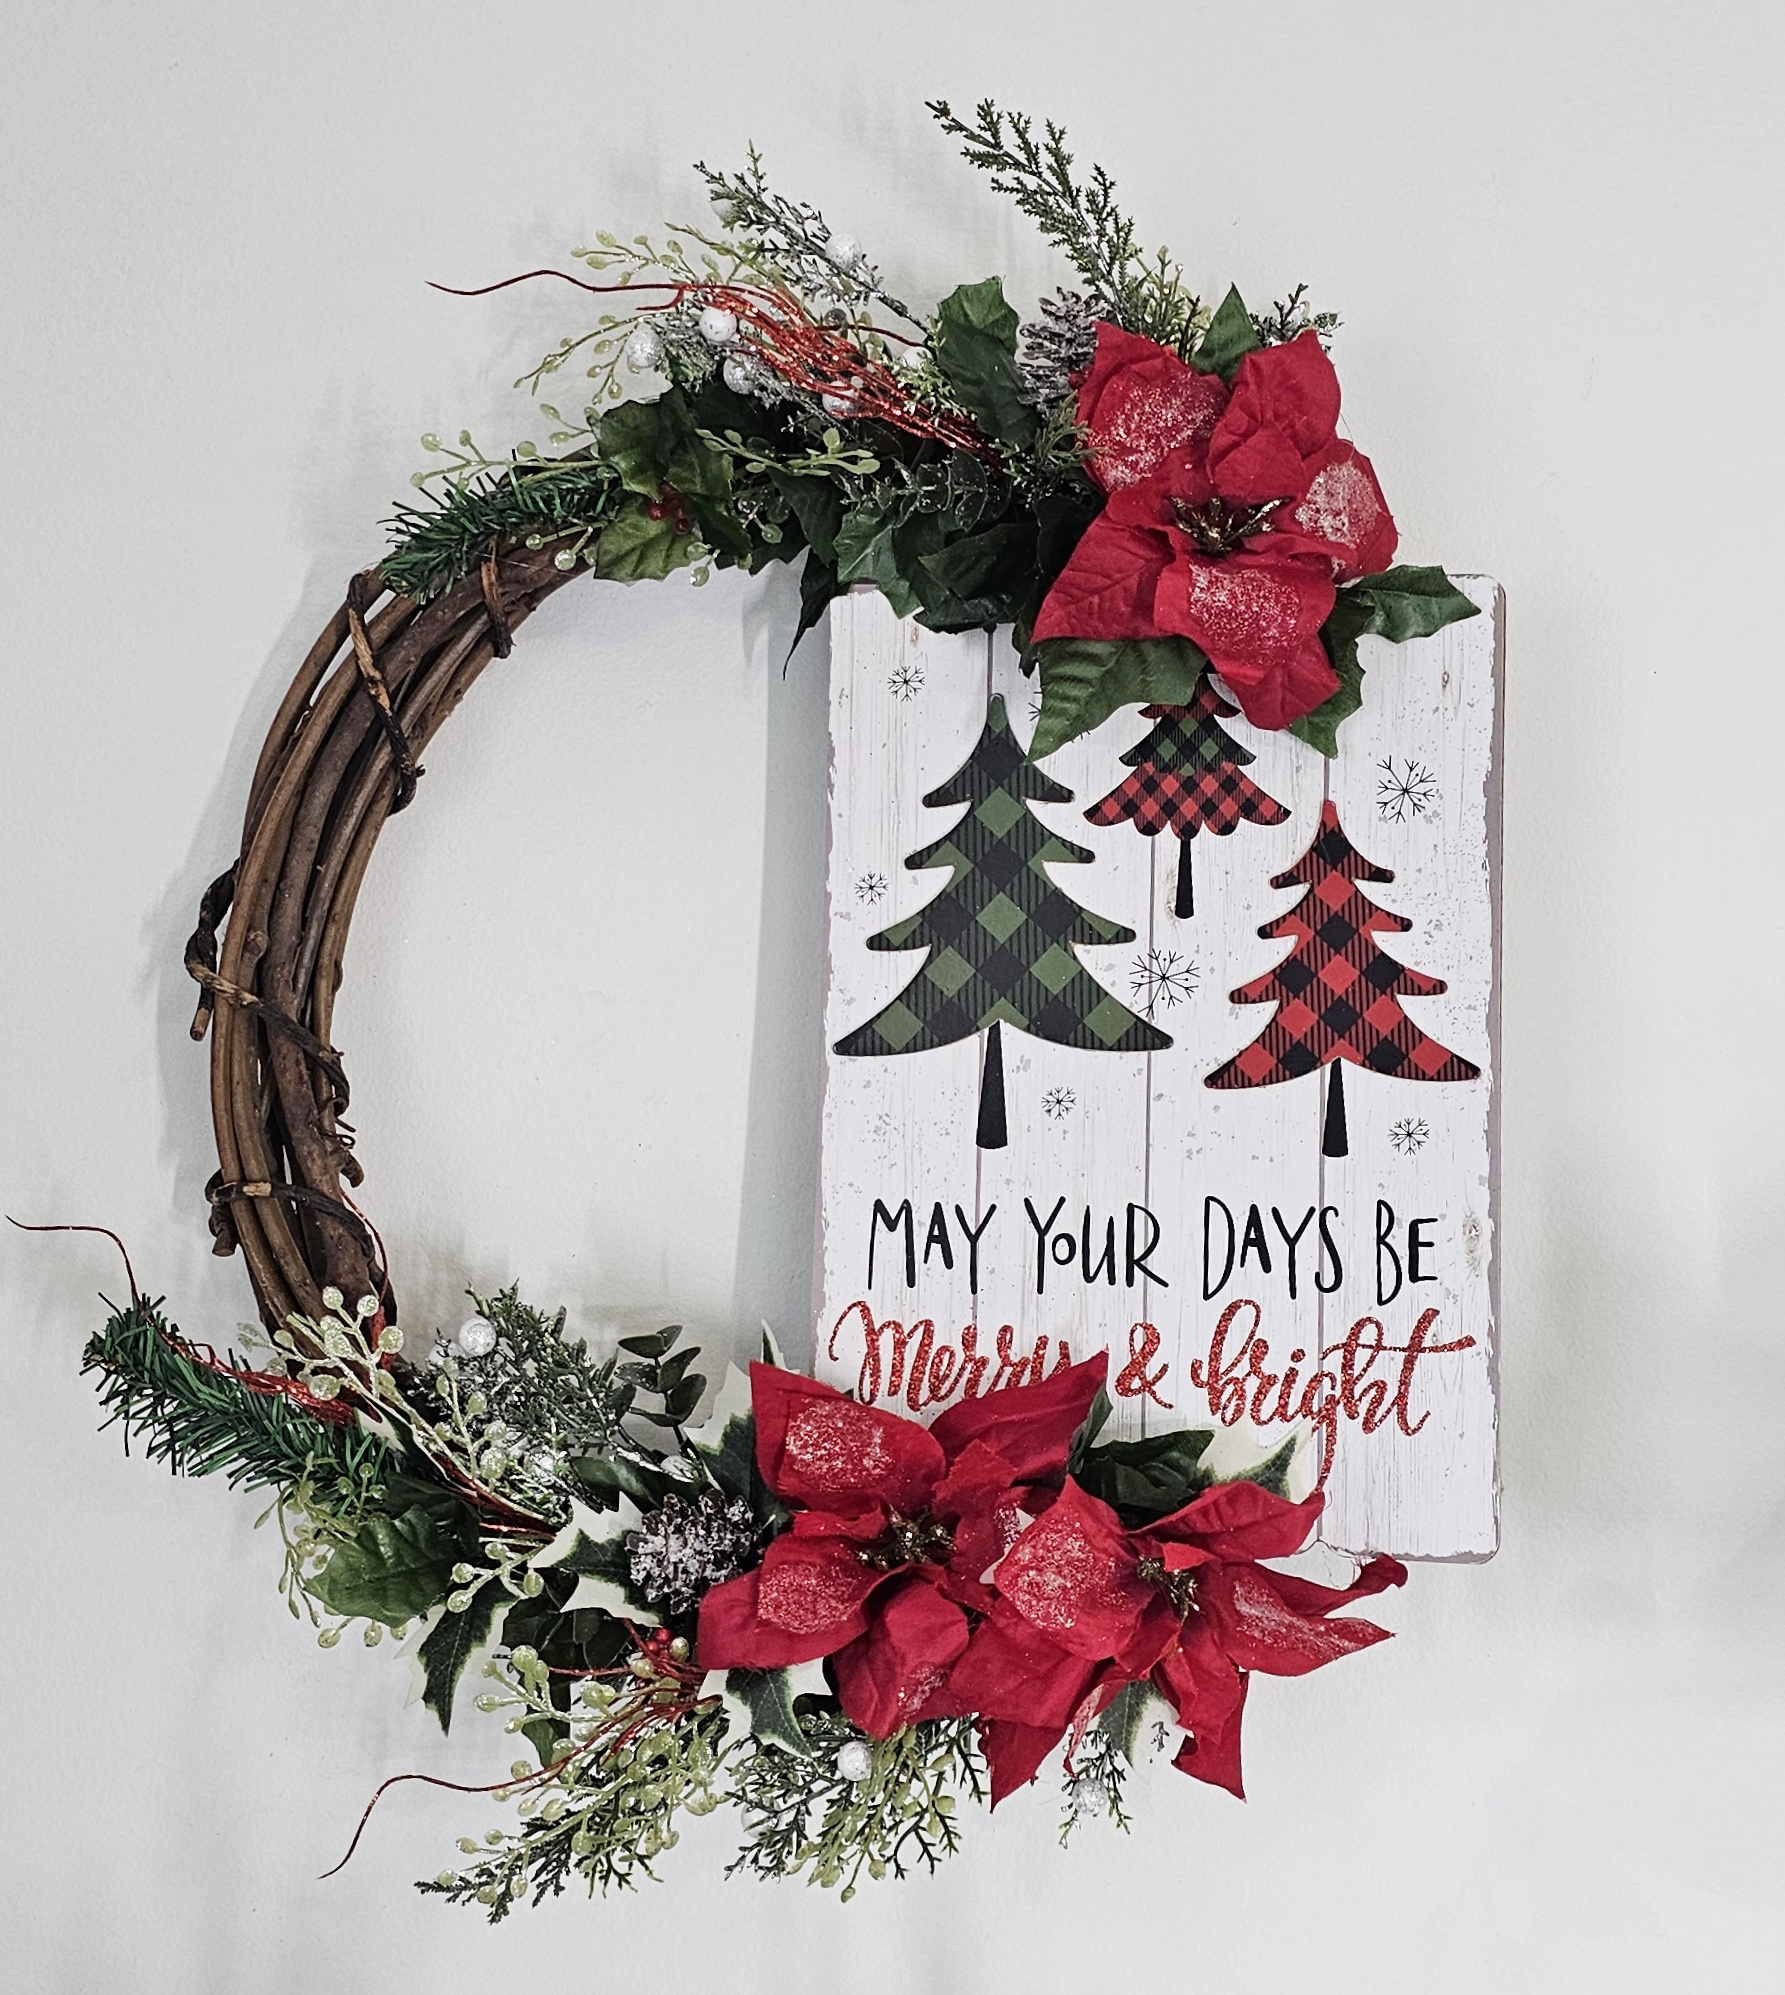
You can watch the step-by-step video tutorial here in this video below! PLUS! You can watch three additional DIY crafts using these stencils!
Have fun creating!
Lianep
Want to connect on social media? Click here!
You can find more DIY crafts inspiration on my YouTube channel!

