
EASY Dollar Tree Easter Egg DIY Craft
Looking for a fun and easy Dollar Tree Easter egg DIY craft that won’t break the bank? Look no further! In this blog post, I’ll show you how to create an adorable Easter egg decor using a Dollar Tree egg and fabric.
Whether you’re a crafting novice or a seasoned pro, this Dollar Tree Easter DIY craft is perfect for all skill levels, even kids! With just a few simple materials and a little bit of creativity, you can transform plain fabric into beautiful Easter DIY crafts. Not only is this craft budget-friendly, but it’s also a great way to get into the Easter spirit. Easter DIY crafts are always a fun activity to do with family and friends. This Easter DIY craft is super large, but it can also be done with a smaller egg.
So grab your scissors, gather your Dollar Tree fabric, and let’s get crafting!
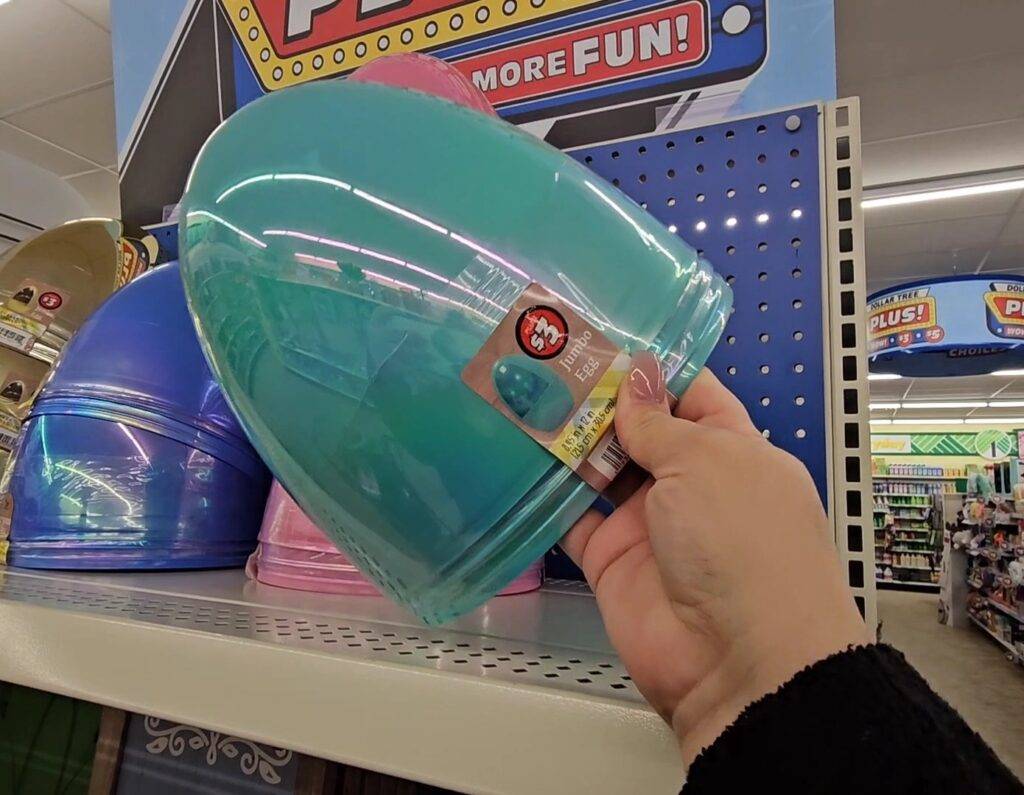
First things first, grab a large, plastic easter egg from your local Dollar Tree. You can chose any size, but the larger the better! I used a large one for this Dollar Tree Easter DIY craft.
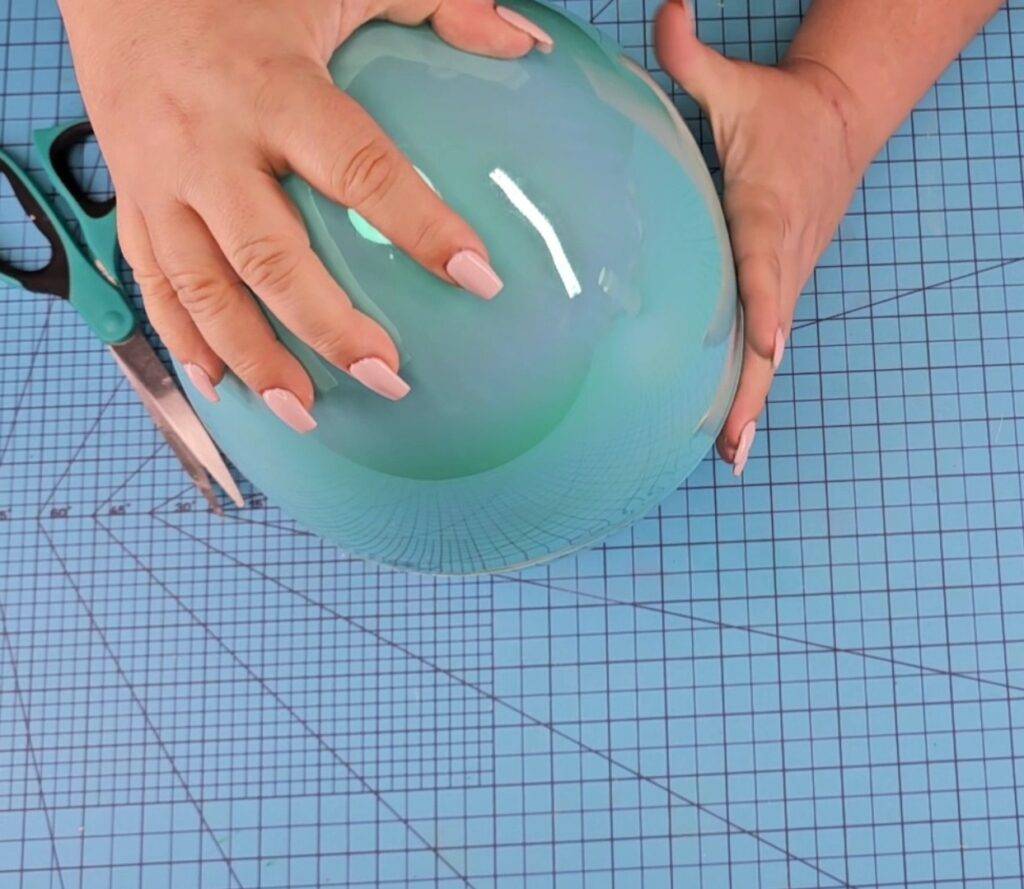
Put the Dollar Tree easter egg together, however, no need to hot glue it. Just snap the top and bottom portions together.
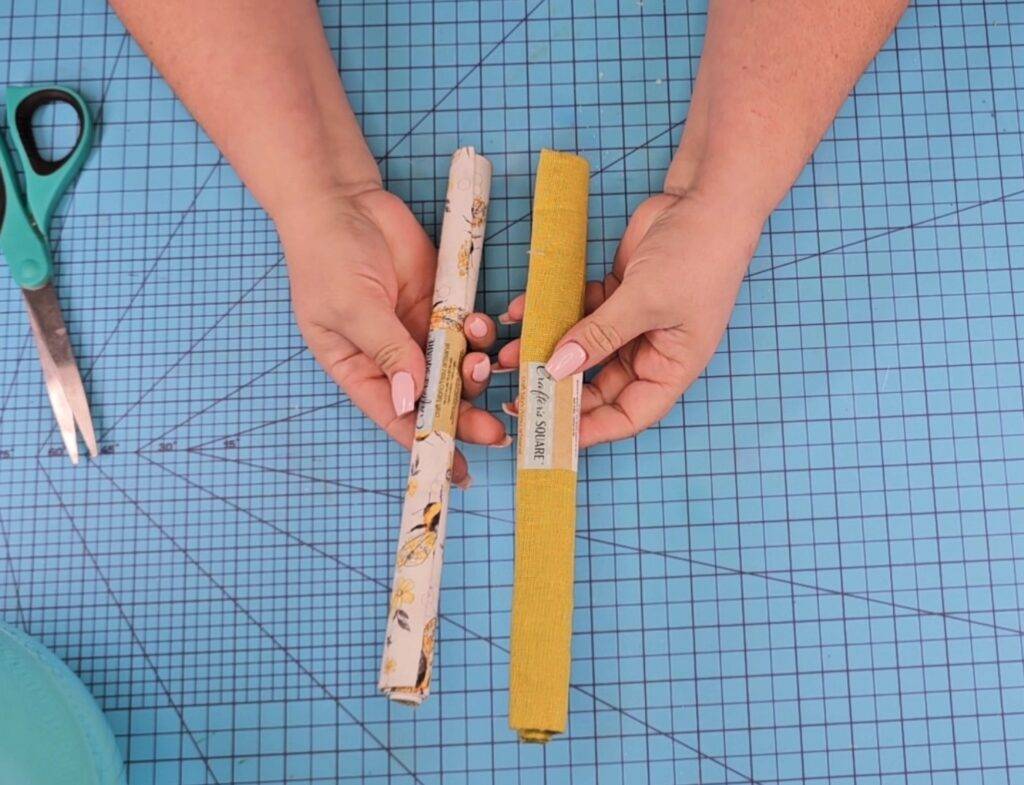
Grab a couple of fabric rolls from Dollar Tree in the design of your choice. You can choose one design or multiple, up to you. These fabric rolls are perfect for Easter DIY crafts.
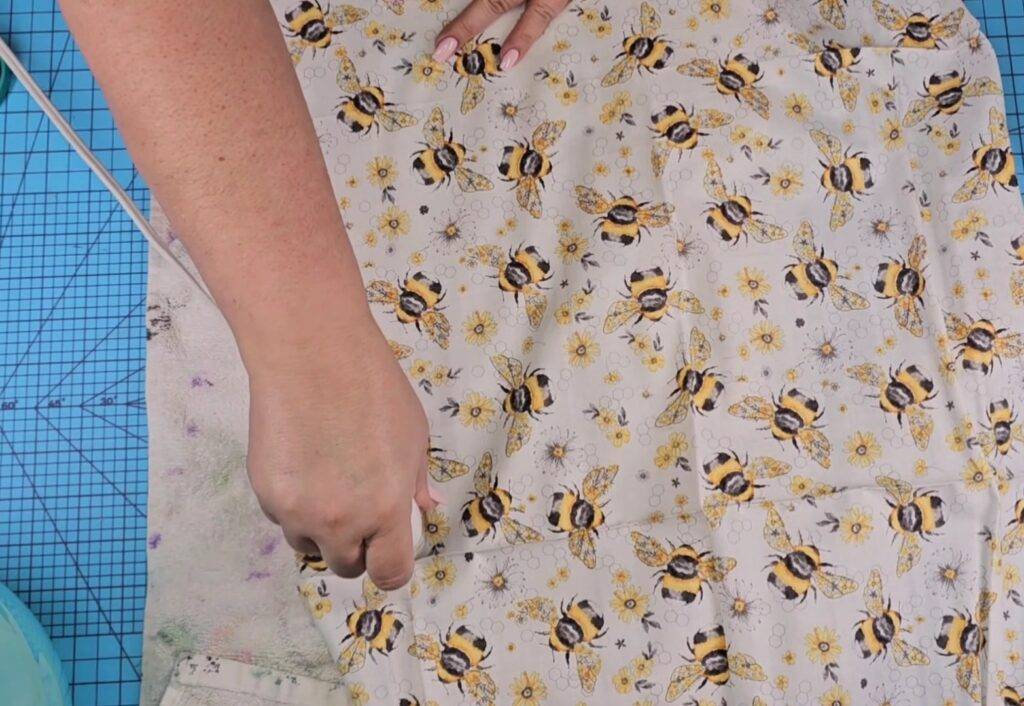
Iron the fabric as needed to remove any wrinkles. Remove as many as you can, but no need to be perfect.
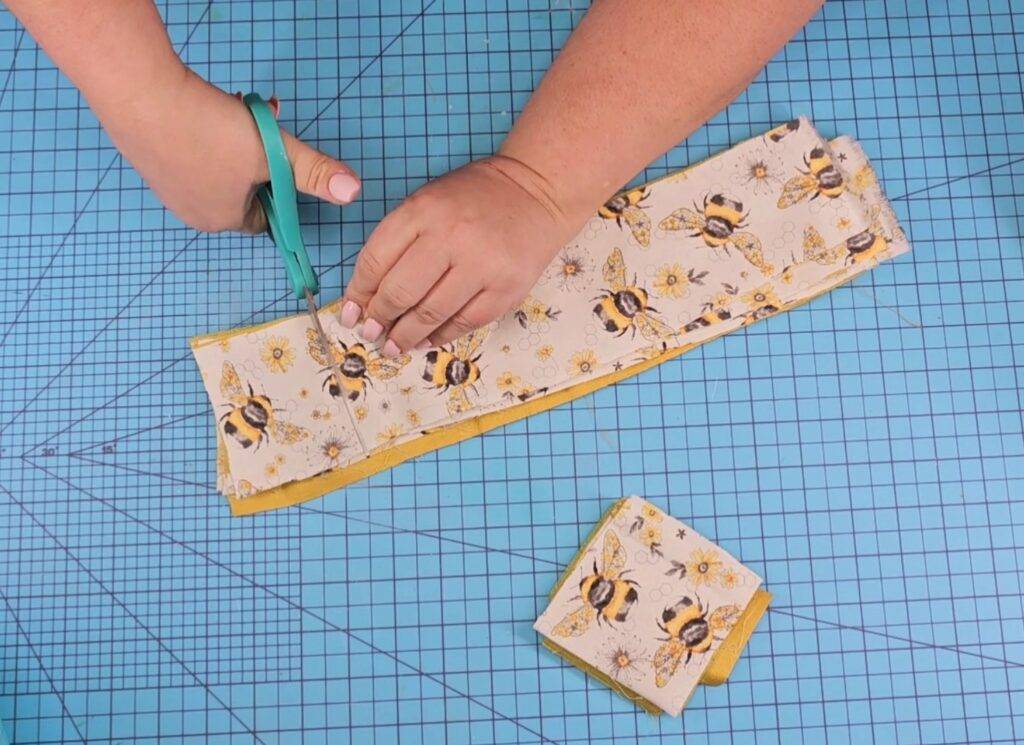
Then cut the fabric in squares that are about 3″ x 3″, give or take. they can be larger or smaller if you’d like.
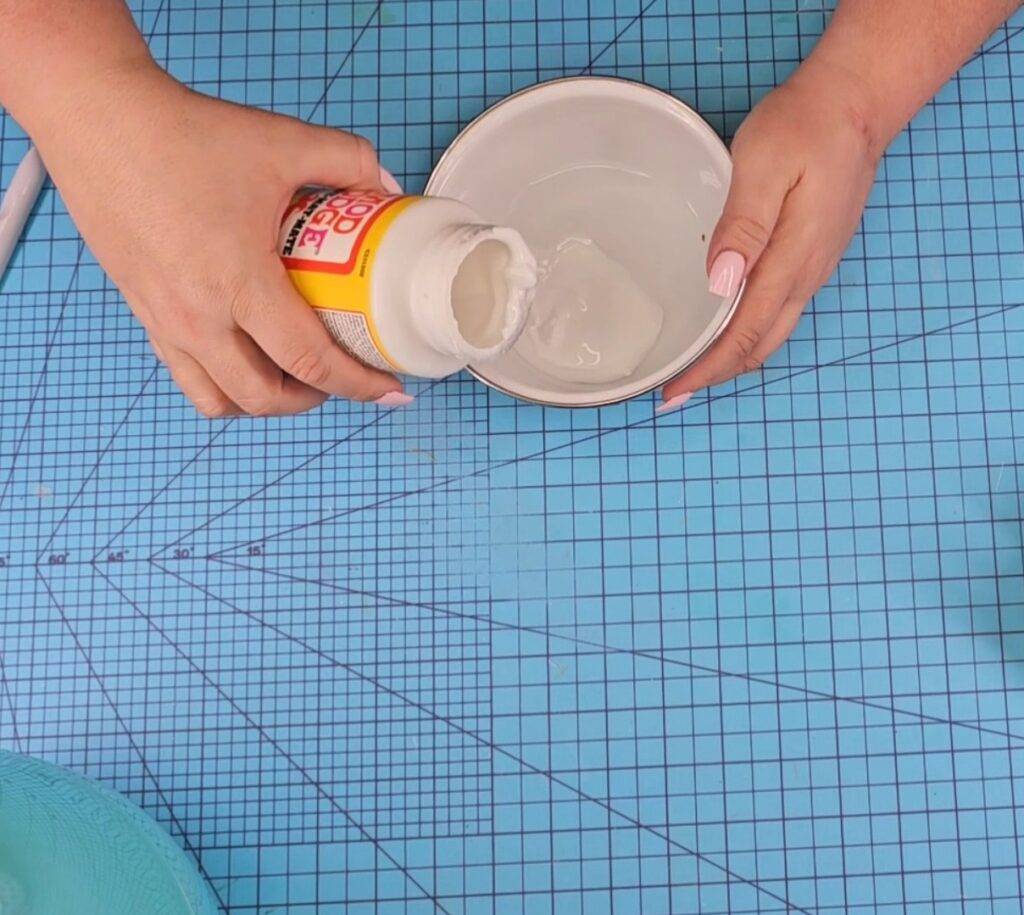
In a bowl, water down modpodge or white glue. Add as much as you think, you can always make more if you run out.
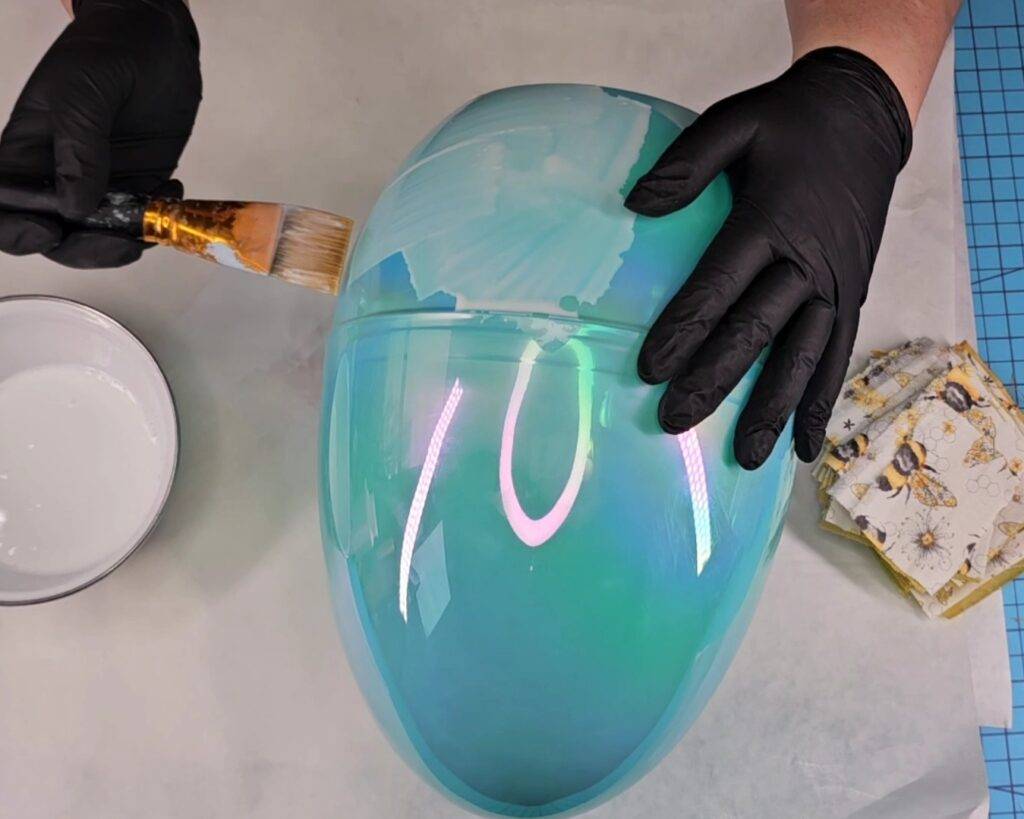
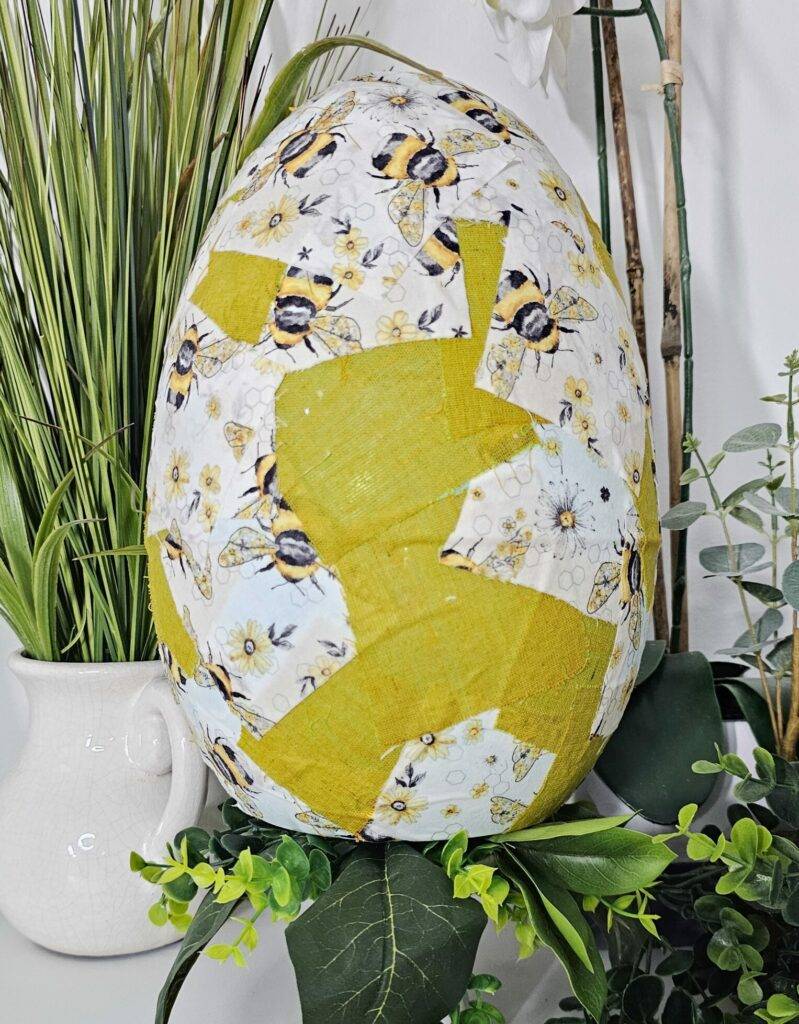
Now it’s time to cover the egg. Work small areas at a time. Add the watered down glue to the egg and then add a square of fabric. Then add more glue over the fabric. This is why watering down the glue is such a crucial step. the fabric absorbs the glue perfectly.
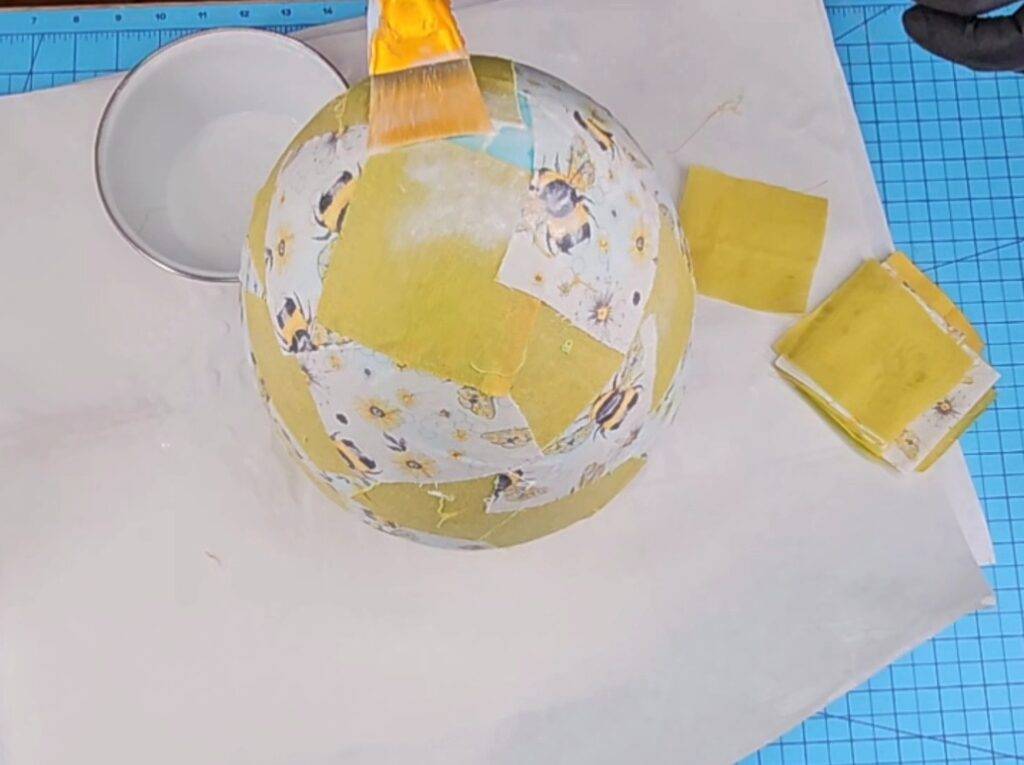
Repeat this process until the entire egg is covered. Make sure to alternate and overlap the fabric squares as you are attaching them. Once it’s all covered, put to the side to dry. I put mine under a fan to dry a bit faster.
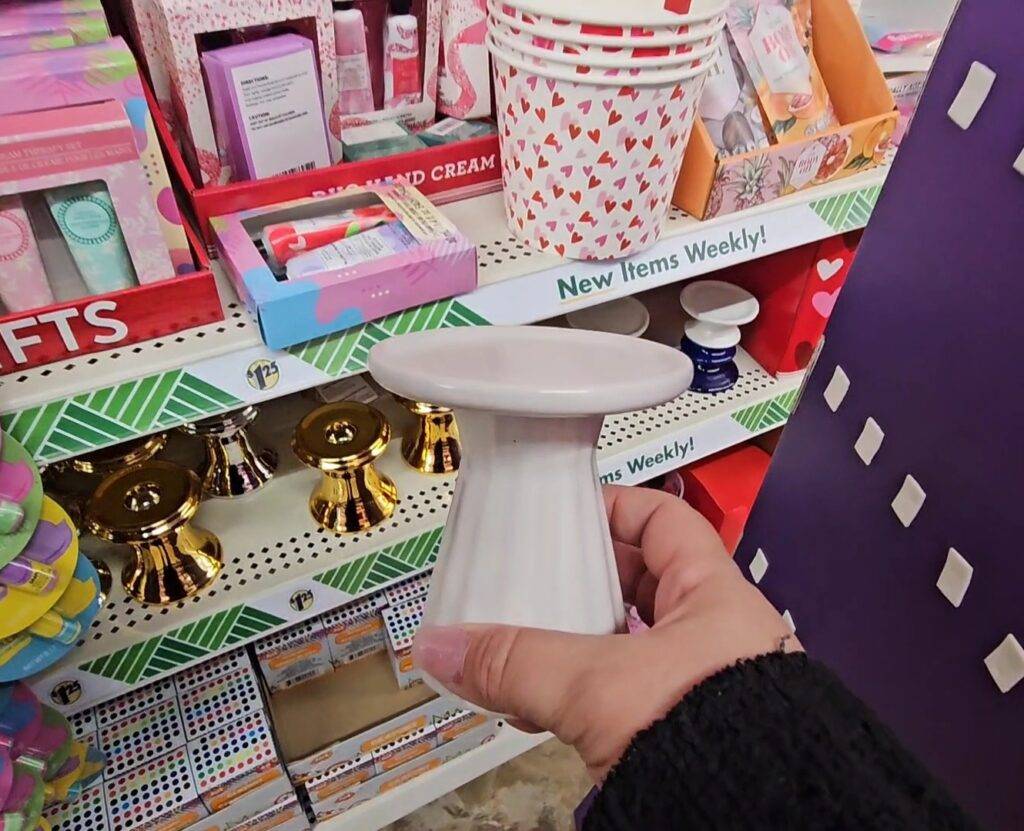
Now take a candle holder like the one above. I found this one at Dollar Tree. You can also use one found at the thrift store or Walmart.
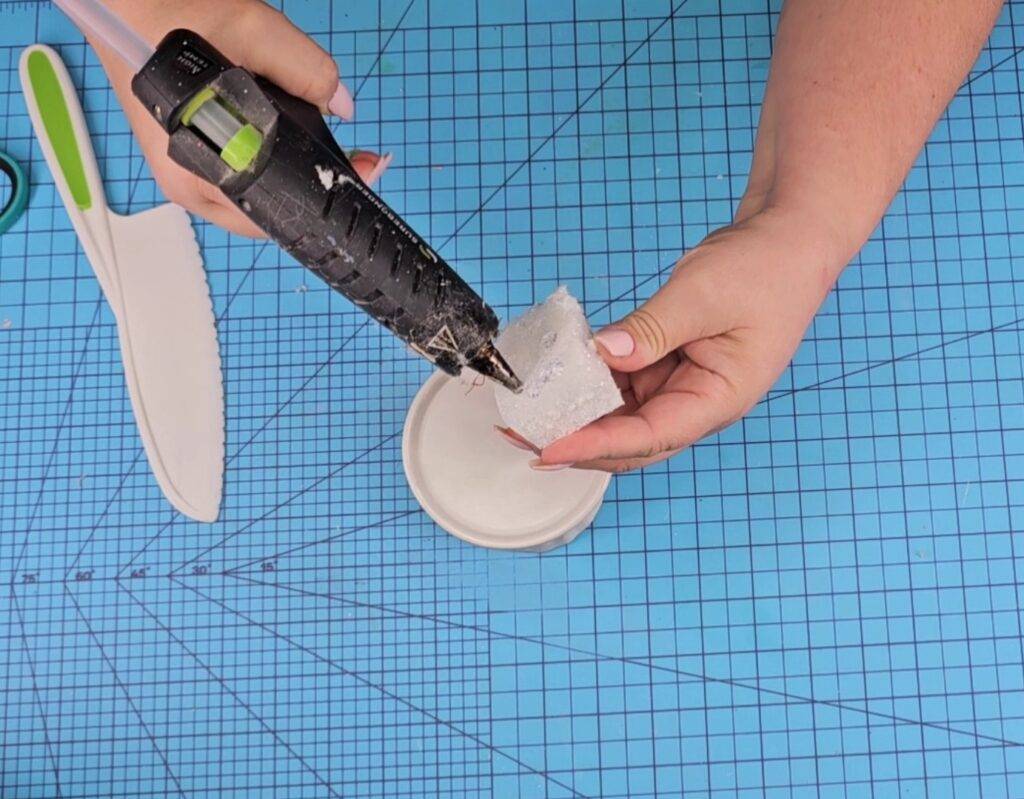
I added hot glue to a piece of foam to the top of the foam using my SureBonder Cordless Hot Glue Gun. the foam melts with the glue to be careful not to burn yourself.
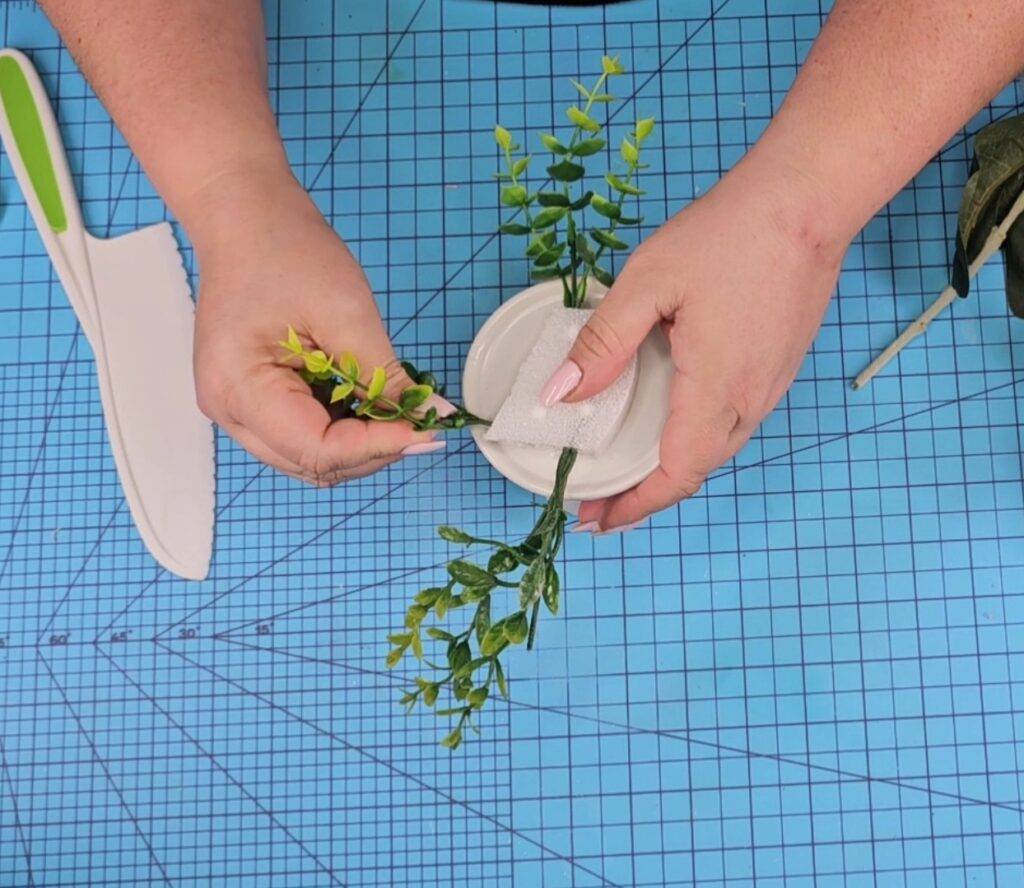
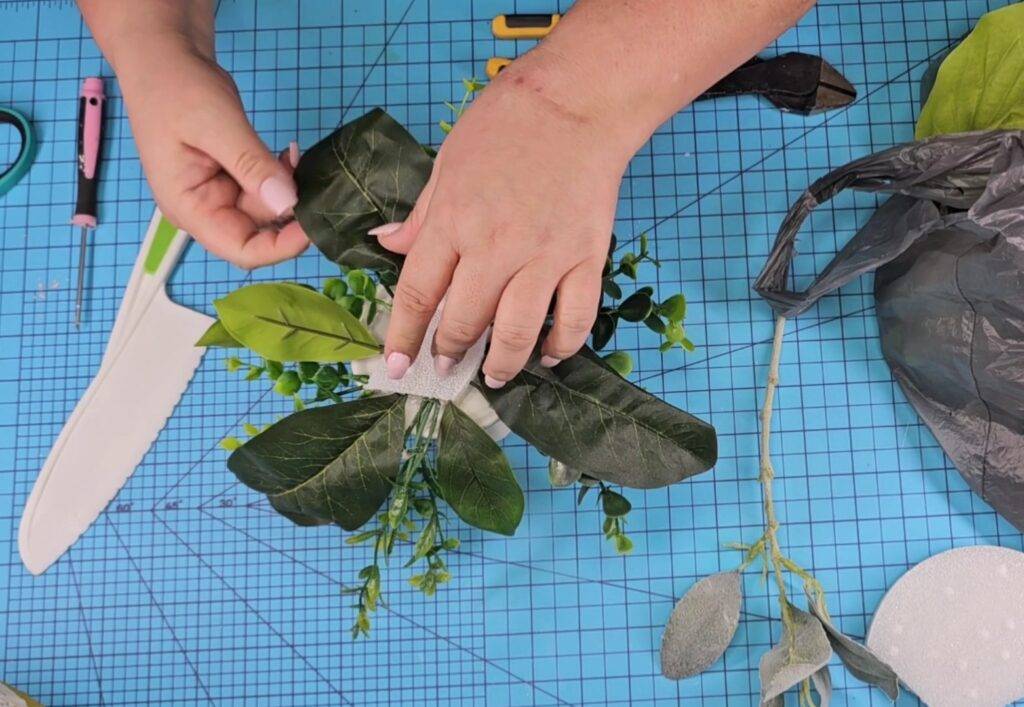
Then add greenery to the outside edge until the entire thing is covered. Don’t add any to the top.

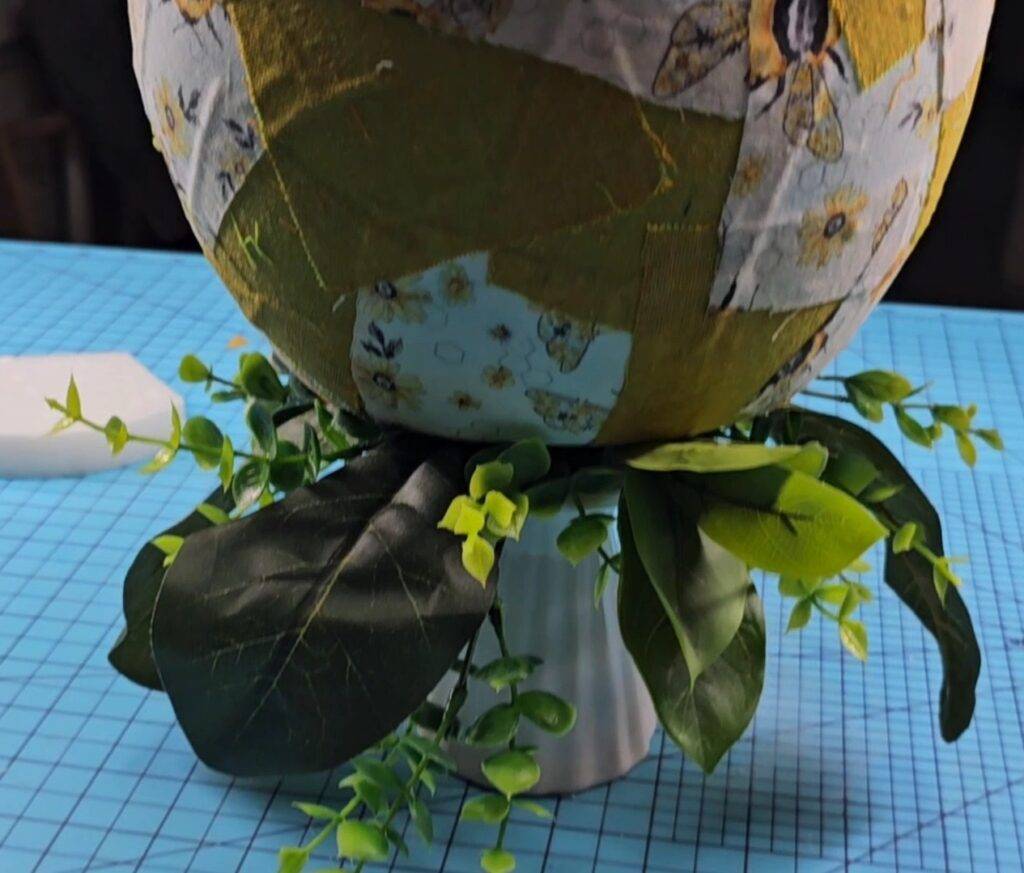
Add hot glue to the top of the foam and then place the egg on top. Hold it steady until it hardens.
And that’s it! How fun was this Dollar Tree Easter DIY craft!? What do you think?
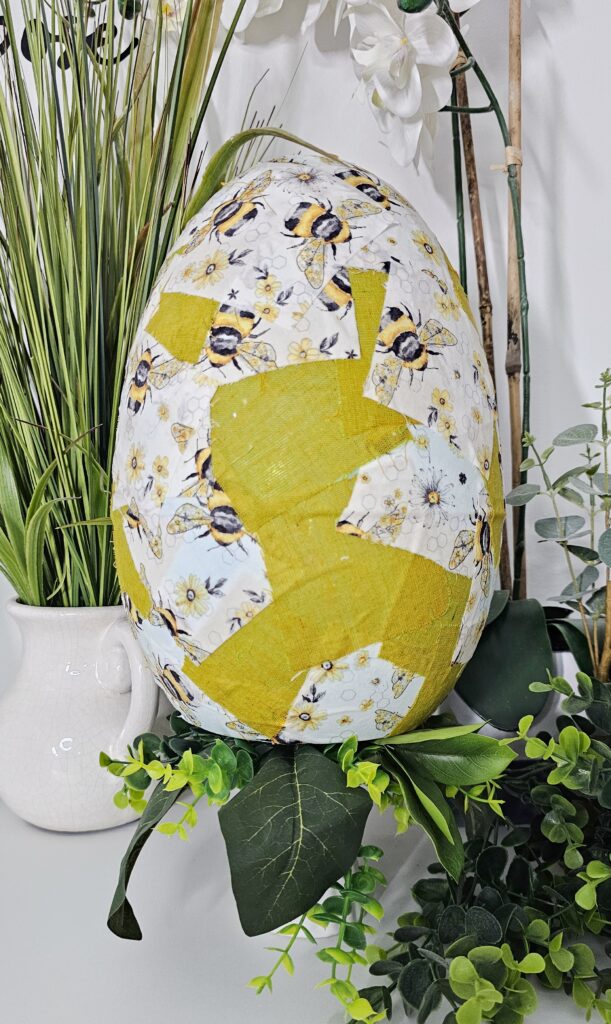
Will you give Dollar Tree Easter DIY craft a try this Spring?
Don’t forget that you can watch the step-by-step video tutorial here below, plus three additional fabric Easter DIY crafts!
If you loved this post, you’ll love this one too!
Follow me on social media!
Have fun creating!
Lianep
Want to connect on social media? Click here.
Want more inspiration? Click here.
** Some links are affiliate links which I earn a small commission from at NO extra cost to you.