Use a Napkin for this Beautiful Spring DIY Craft
Spring is a magical time of the year when nature awakens, and vibrant colors start to blossom everywhere. It’s the perfect season to indulge in some creative endeavors that celebrate the spirit of renewal. If you’re looking for a spring DIY craft project that is suitable for crafters of all levels of experience and won’t break the bank, I have just the thing for you!
In this blog post, I will introduce you to an incredibly simple and inexpensive spring DIY craft that captures the essence of spring. With minimal supplies and a little bit of imagination, you can create a beautiful masterpiece that will bring joy and freshness to your home.
Whether you’re a seasoned crafter or a beginner, this project is designed to be accessible to all. You don’t need any specialized skills or expensive materials to get started. Our step-by-step guide will walk you through the process, providing helpful tips and tricks along the way.
So, gather your creative spirit and get ready to welcome spring with open arms. Let’s dive into this easy and affordable spring DIY craft that will unleash your inner artist and fill your space with the vibrant energy of the season.
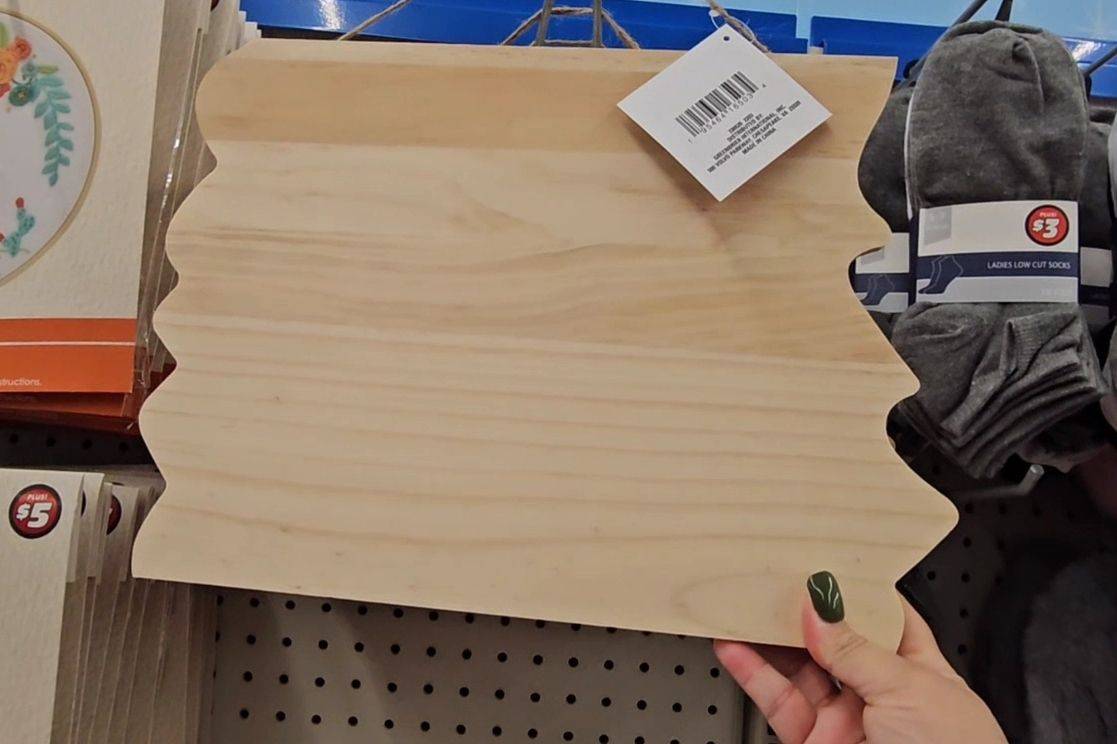
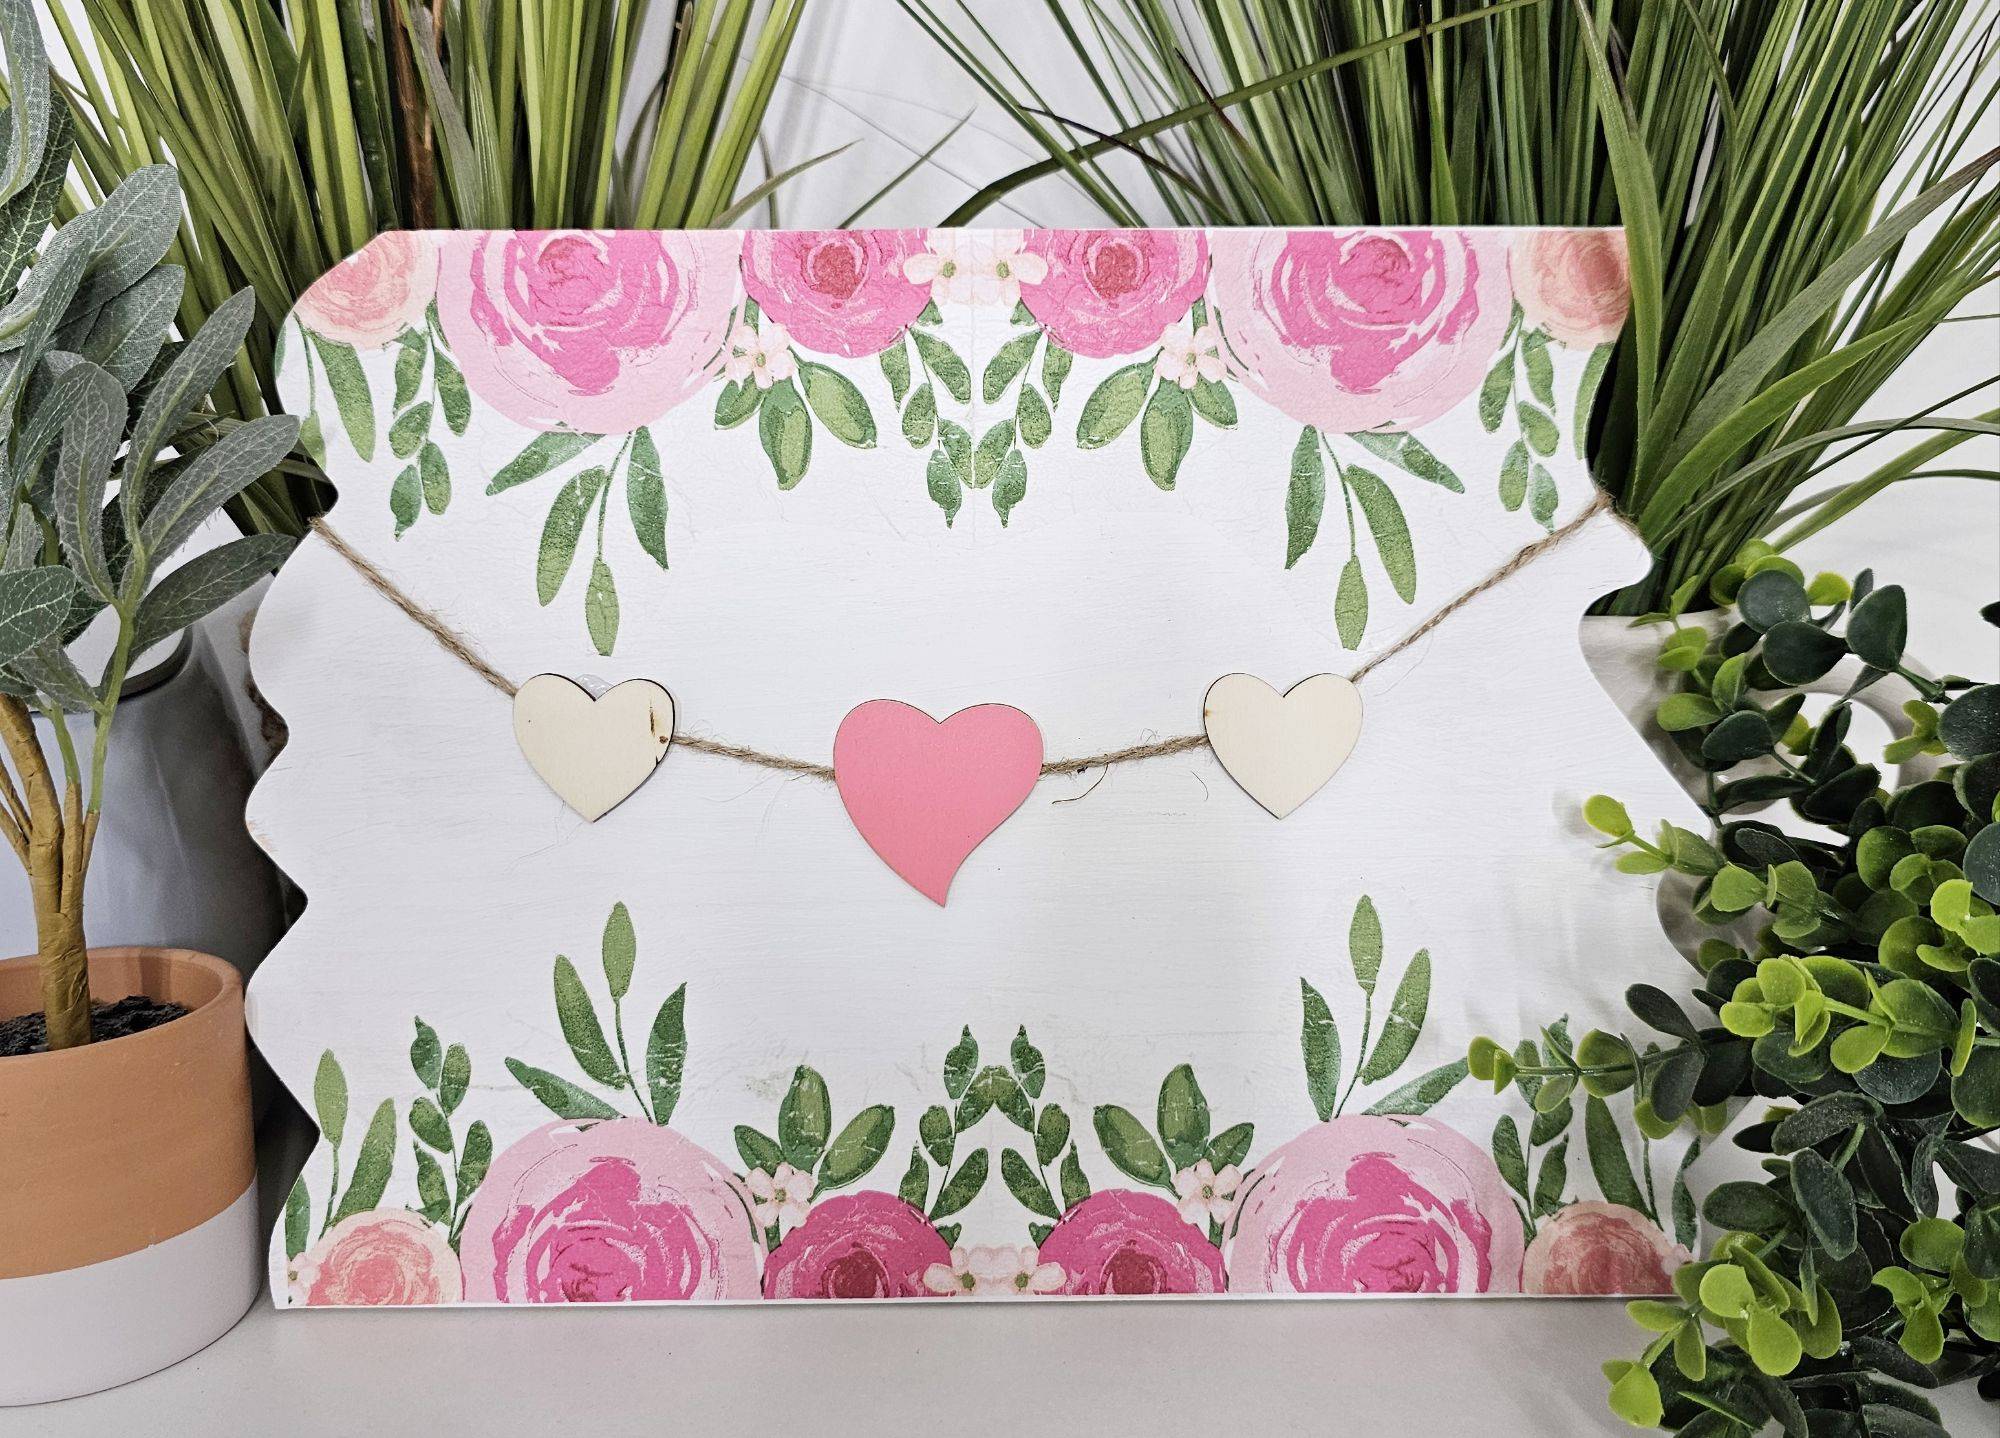
The first thing you’ll need is a wood piece from the dollar store similar to this one.
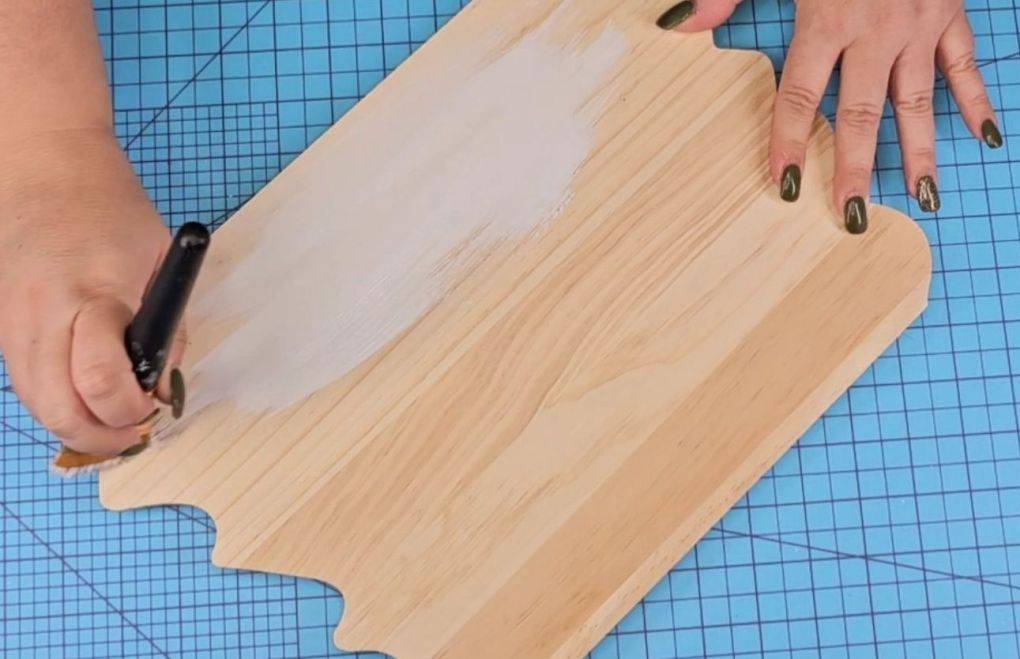
Paint it in the desired color, preferably one that compliments the overall design.
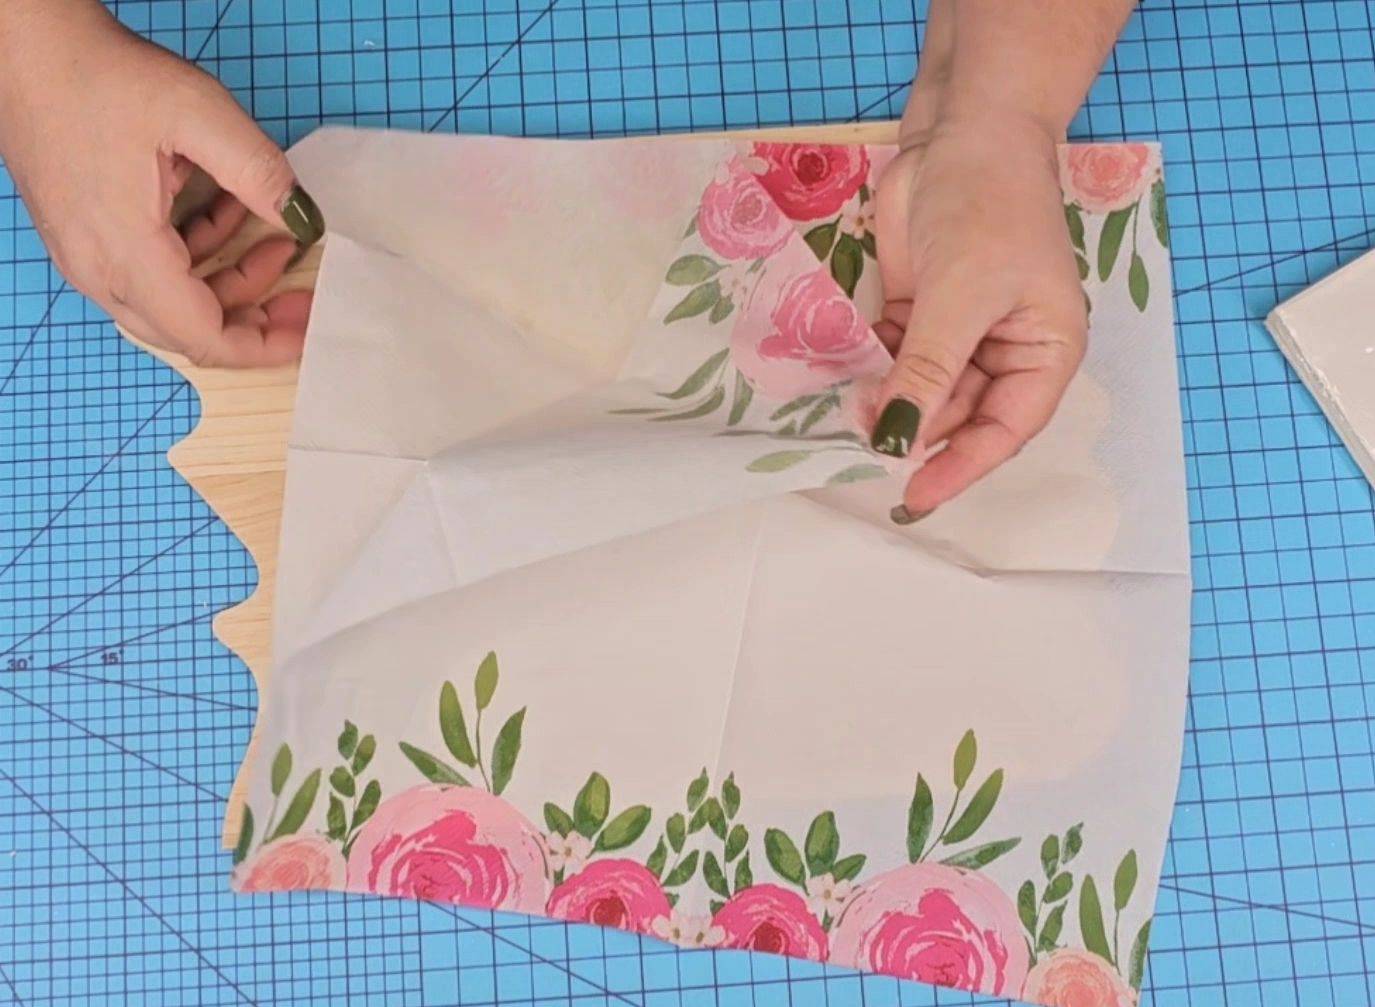
Grab a napkin that you love and has a beautiful spring design. Remove all plies, leaving the one with the design.
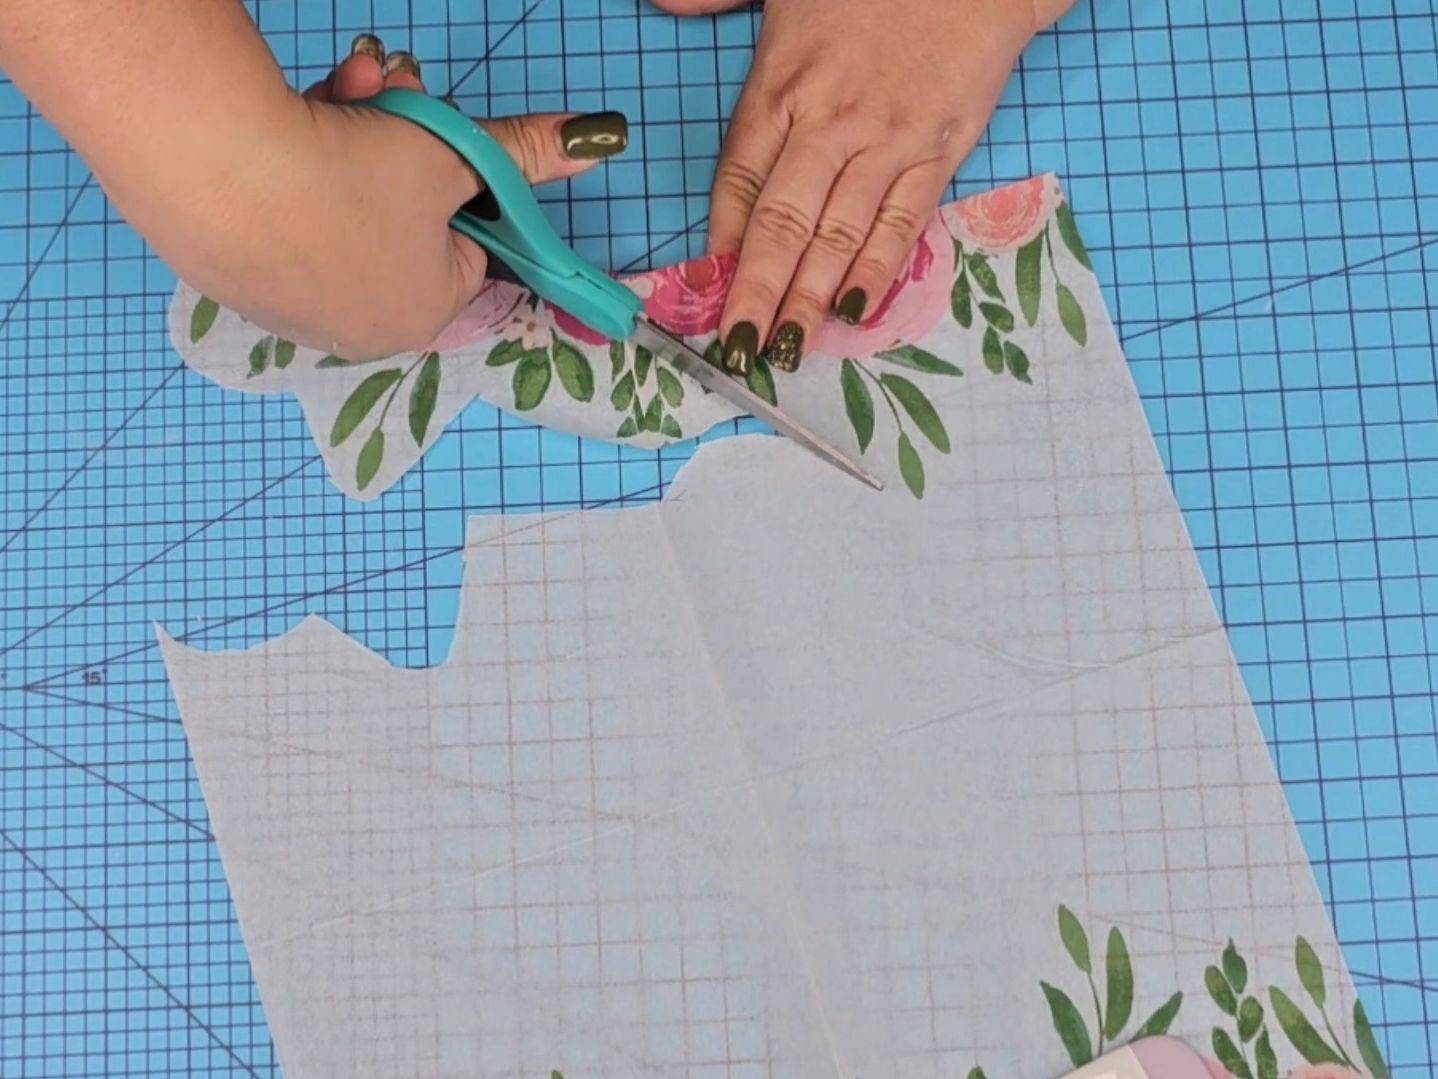
Cut off any portion of the napkin that you want to use.
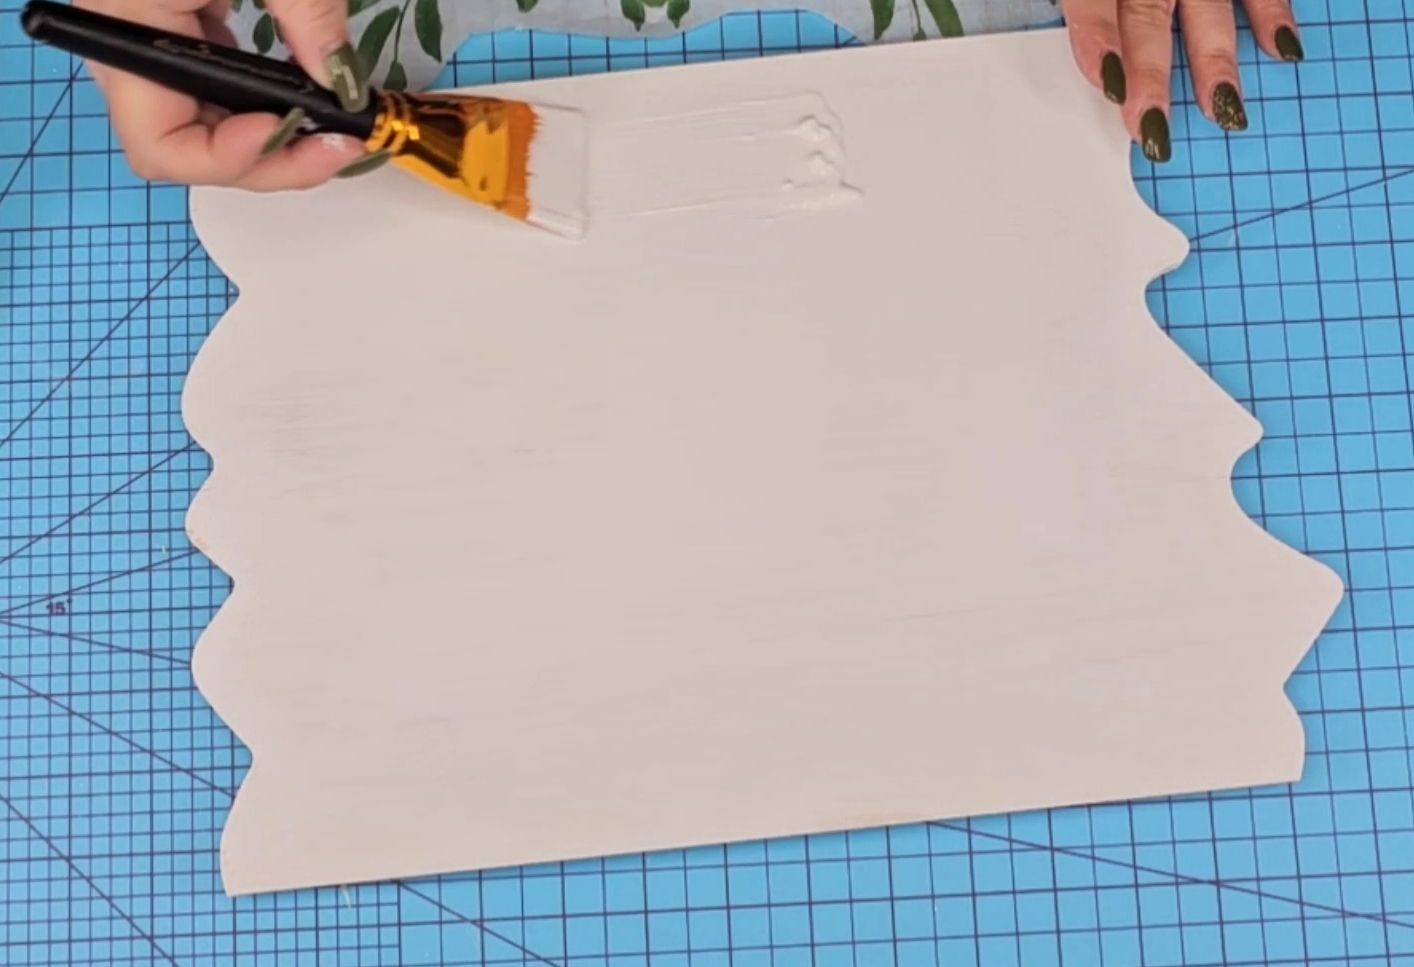
Add modpodge anywhere you need to on the board.
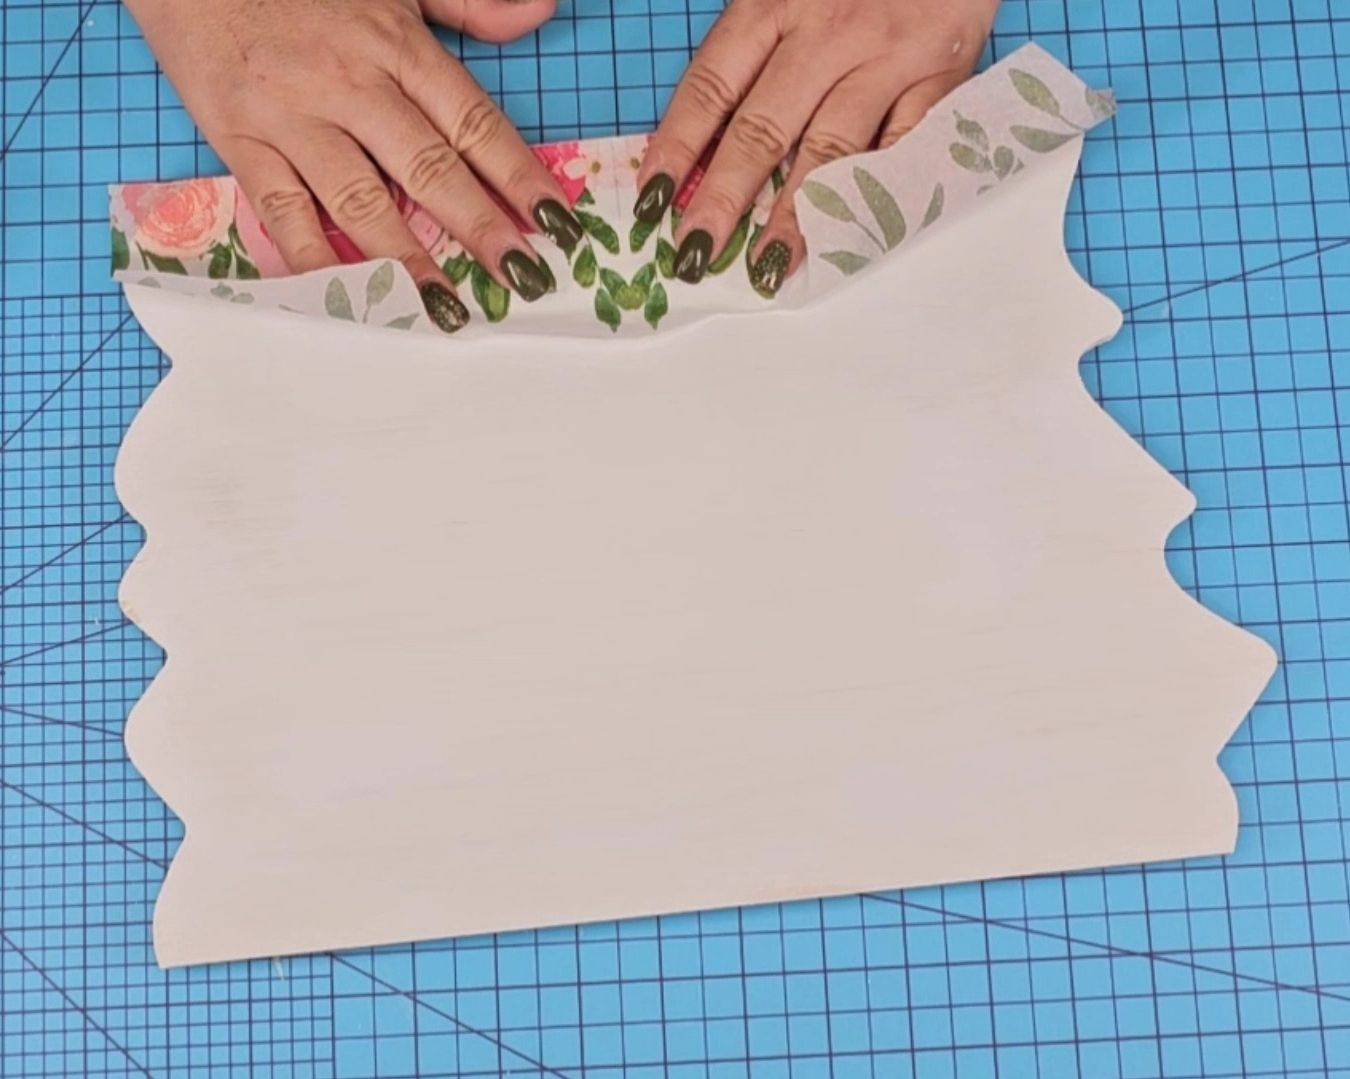
Then add the cut napkin to it. Place wherever you want it.
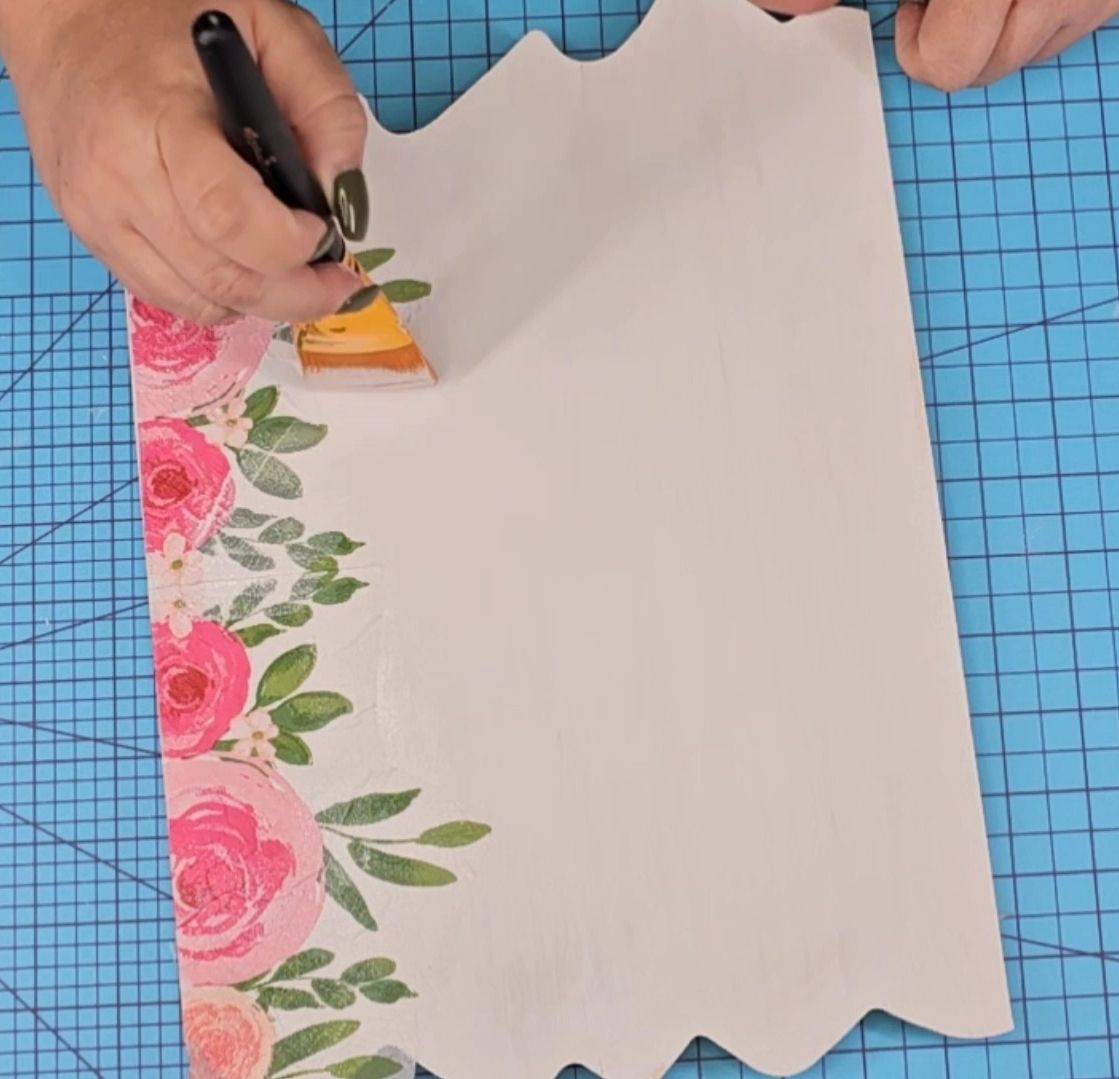
Add another layer of modpodge over the napkin to seal it. Repeat the process wherever you need it. And let it fully dry.
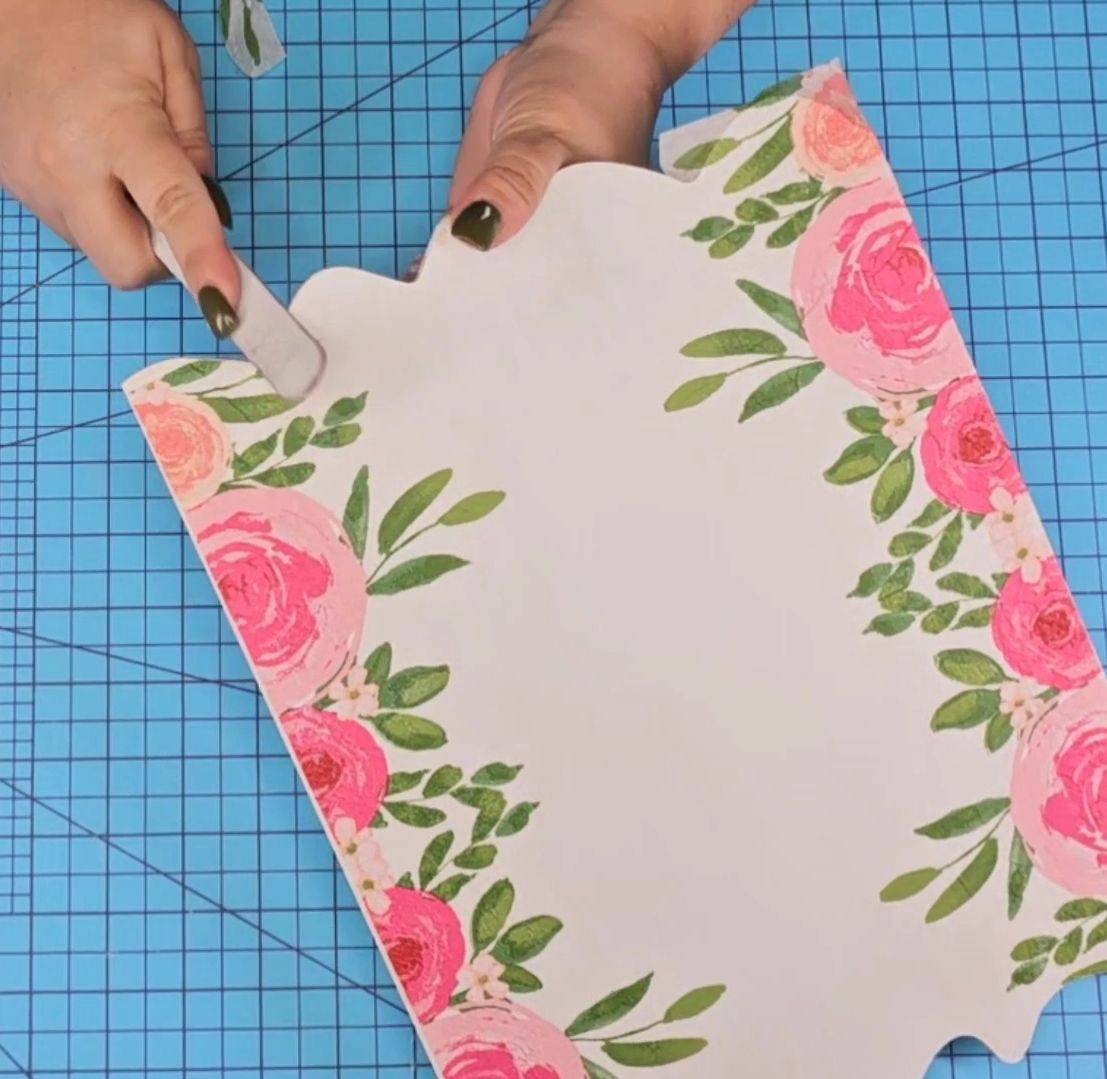
Use a sanding block or nail filer to sand down and remove any excess napkin from the edges.
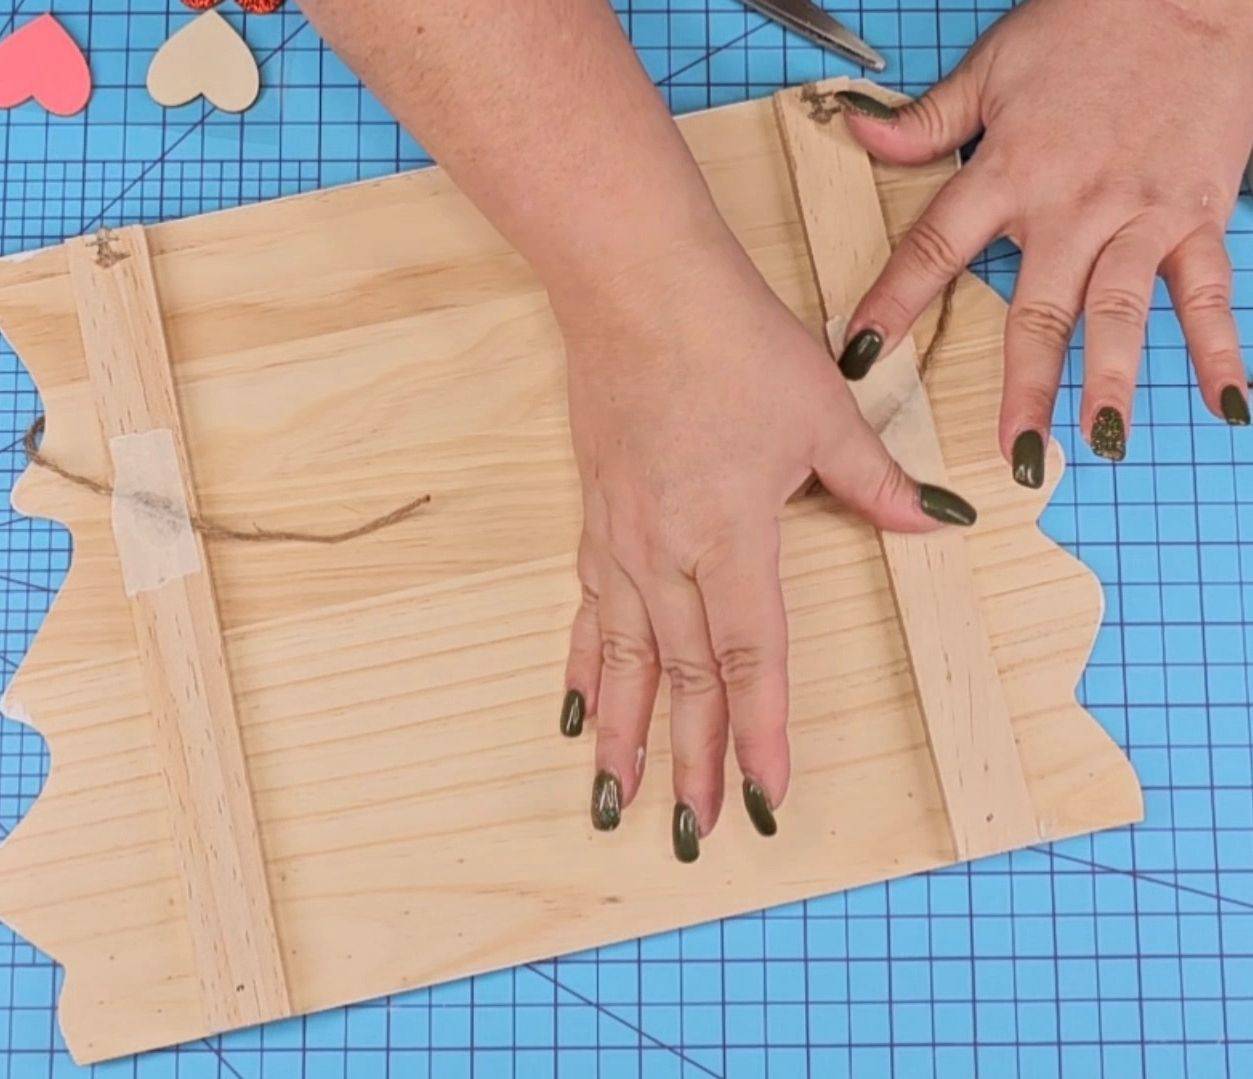
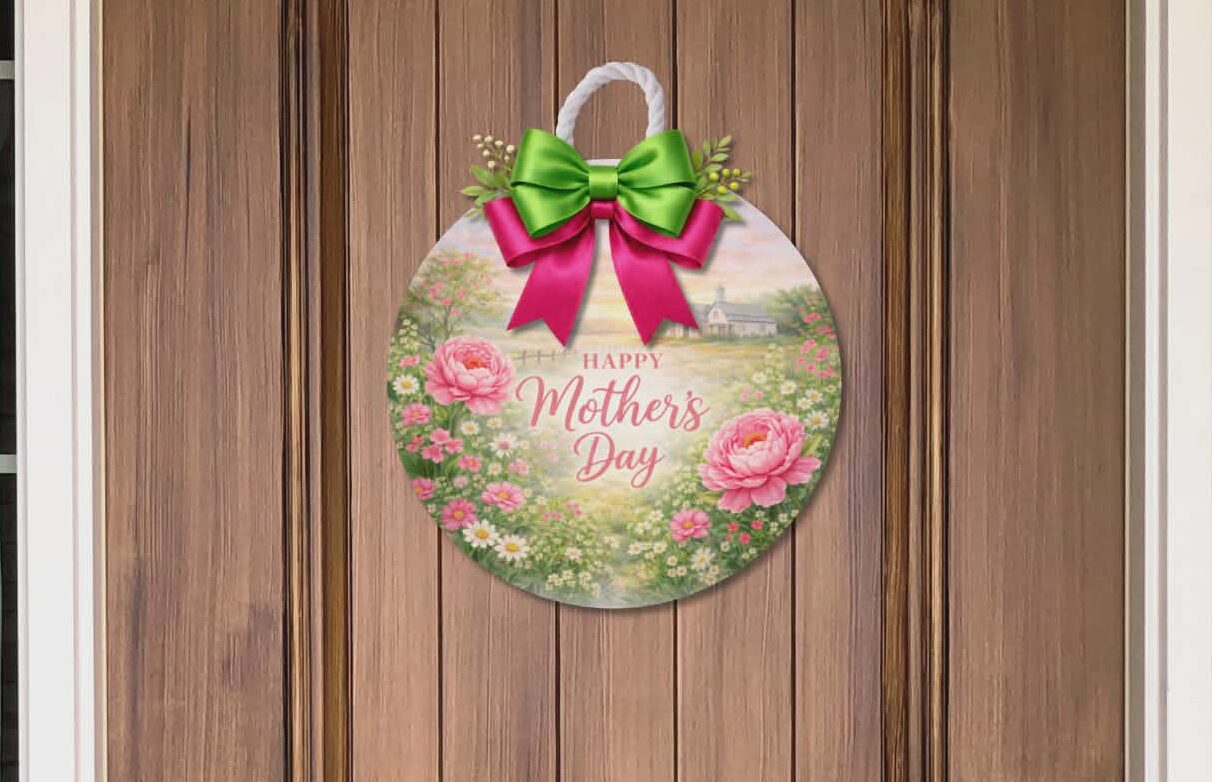
Add jute string to each side of the back, leaving a bit of a hang in the front. Secure with hot glue and tape. I used my Surebonder Hot Glue Gun.
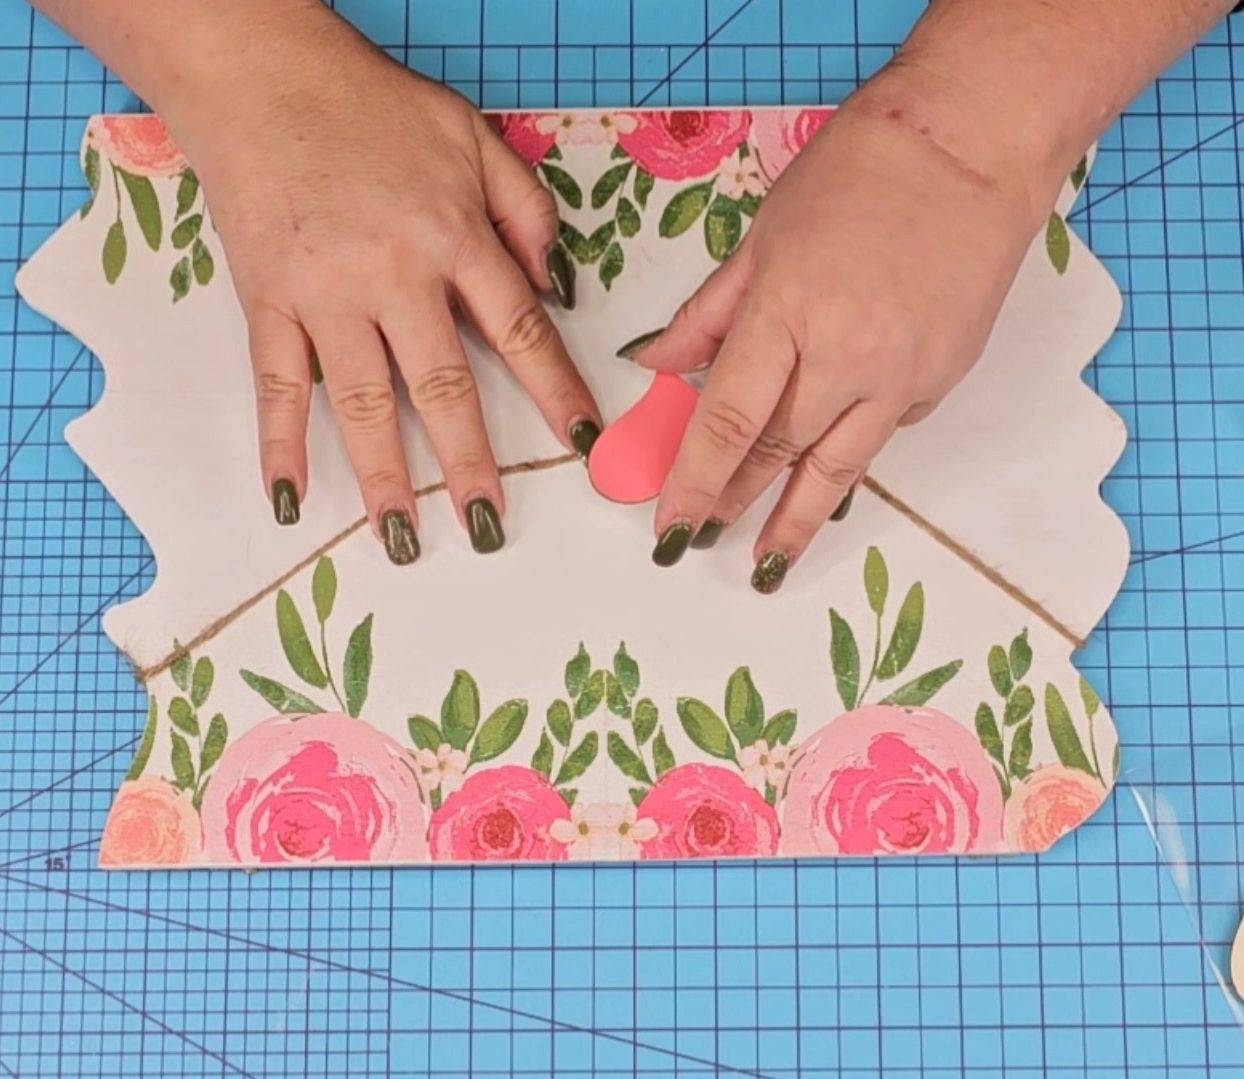
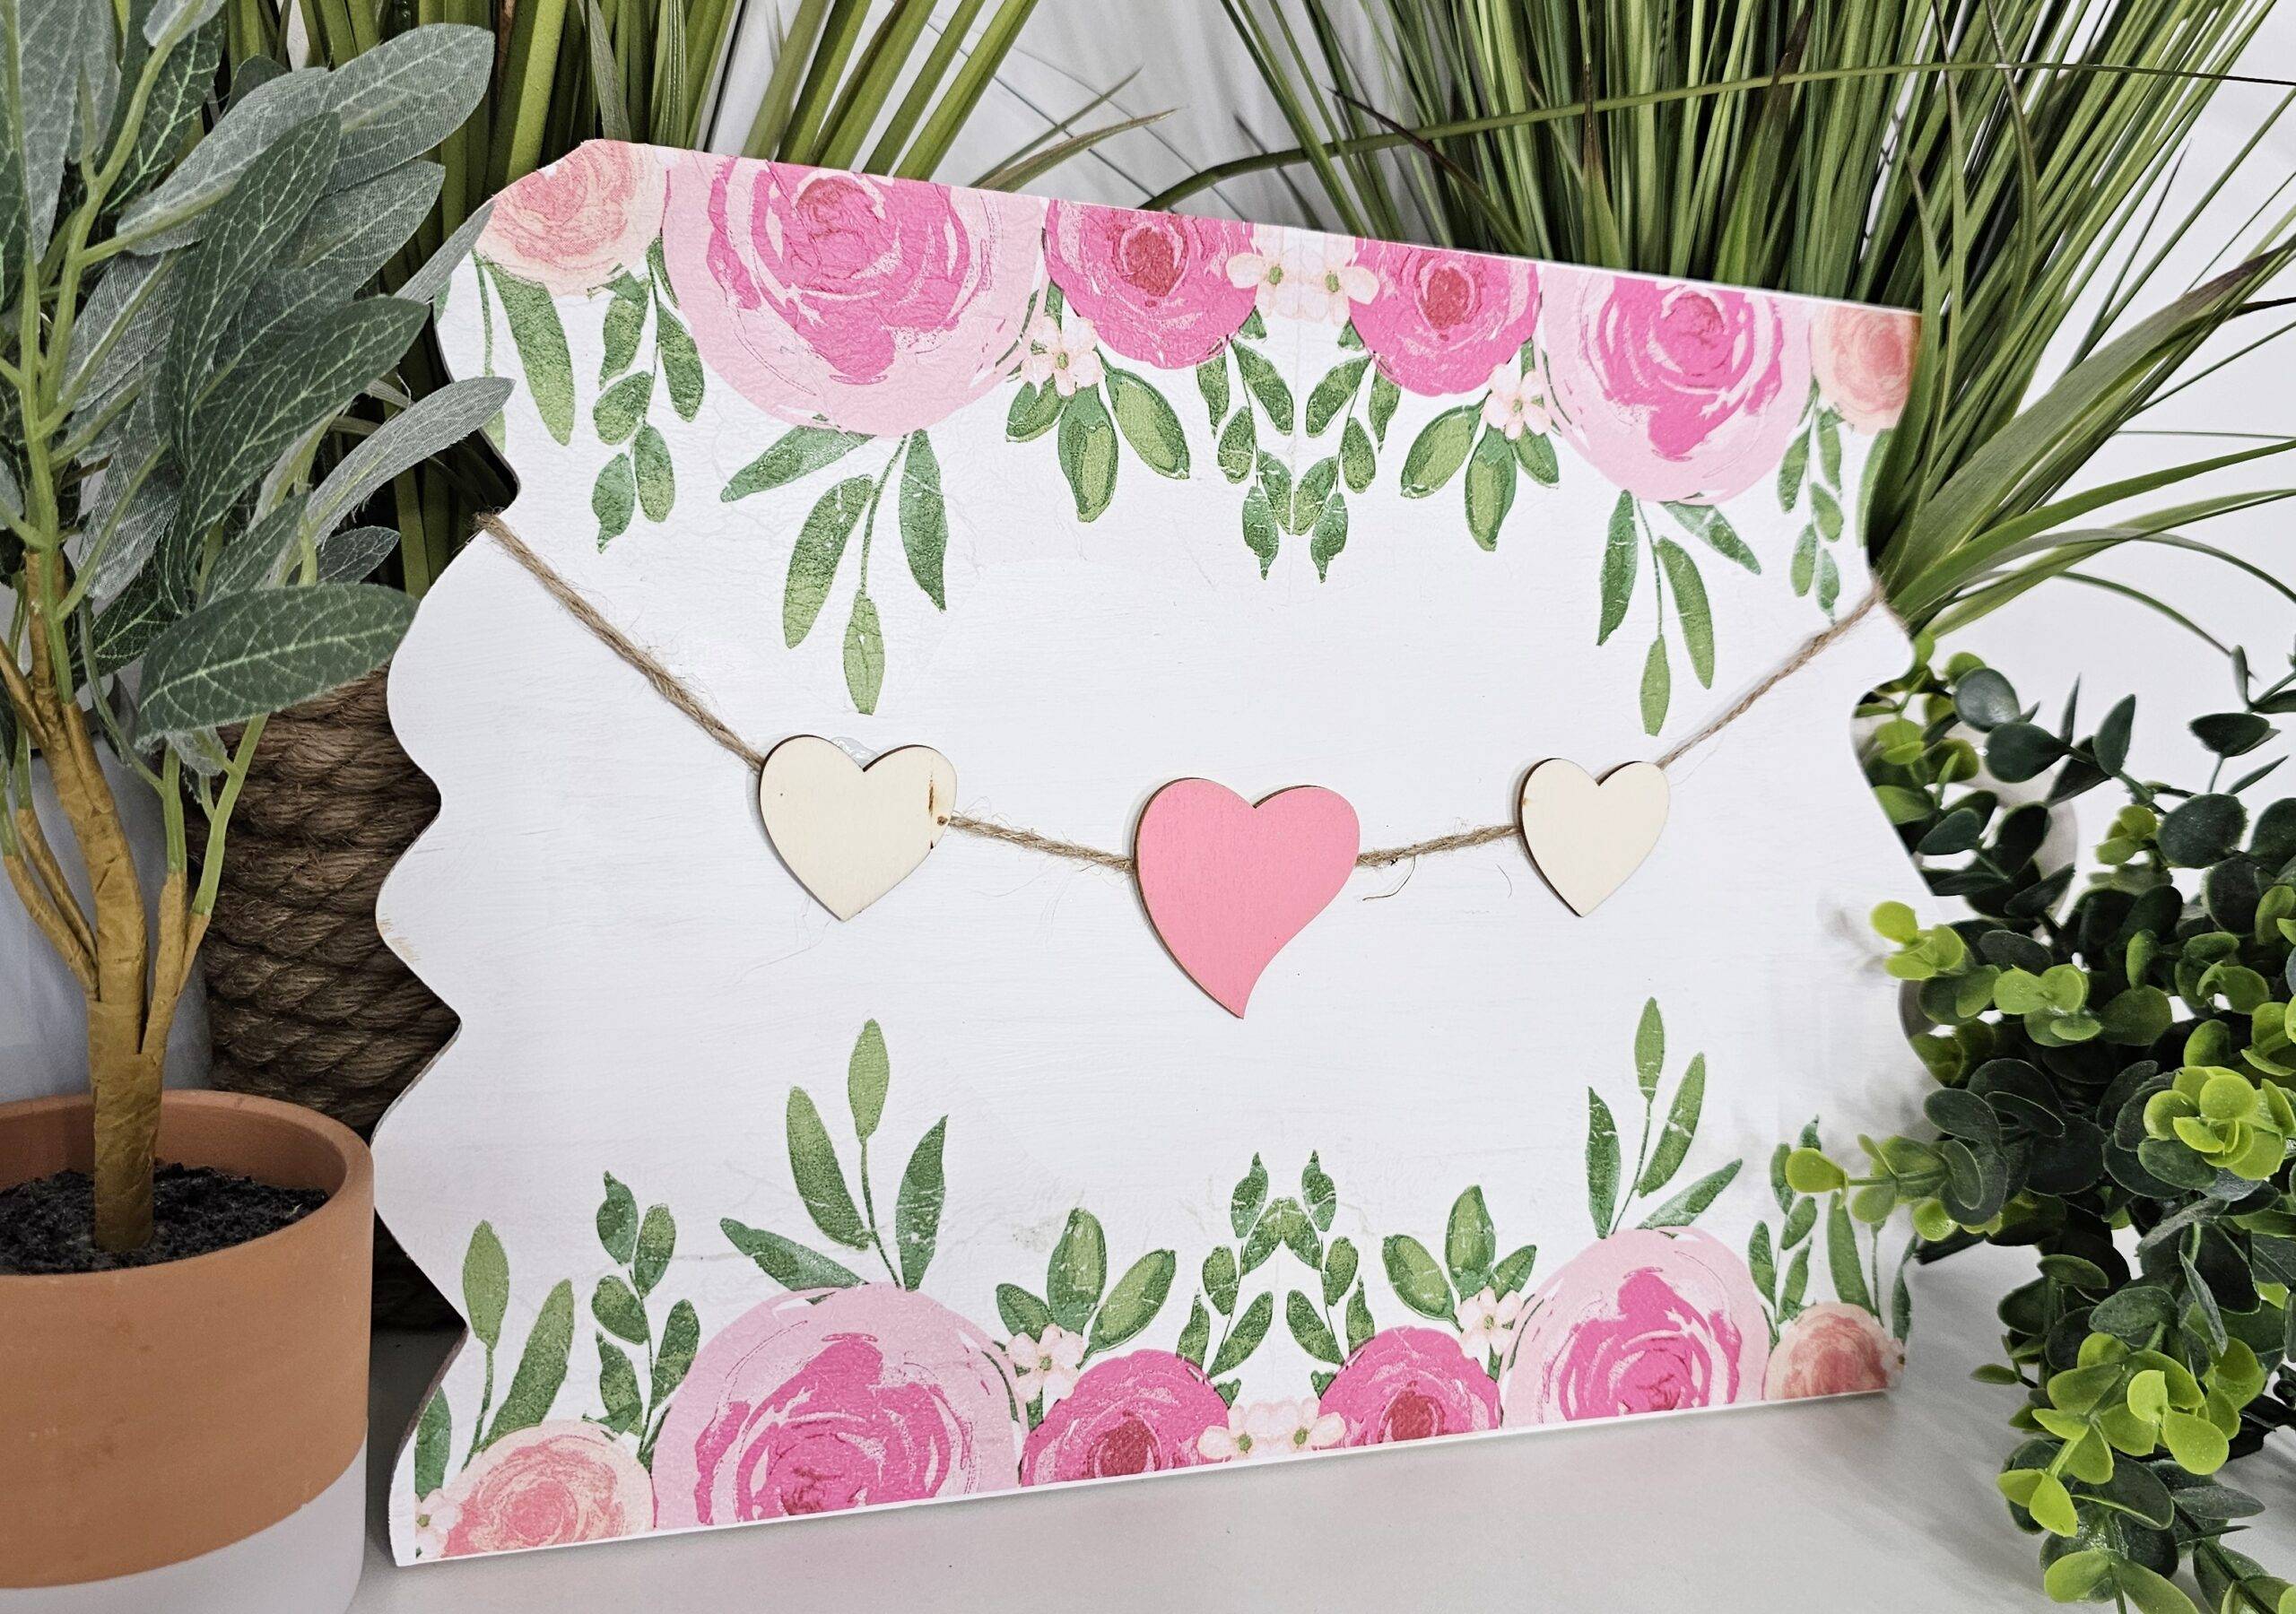
Add stickers like I did here or anything you’d like. Make sure to pull the string down a bit to show the hang. Keep adding stickers as needed. You can also add small clothespins and photos!
That’s it! What do you think!? Easy, right?
Will you try this DIY craft this spring season?
You can watch the step-by-step video tutorial here below! Plus, three additional napkin crafts!
Have fun creating!
Lianep
If you liked this post, you will love this one! Click here.
Want to connect on social media? Click here.