If you’re anything like me, you probably have piles of boxes laying around in your home. Right?? With constant, weekly deliveries, they pile on fast! Plus, after this past Christmas we had an insane amount of boxes to recycle. However, before we tore them and flatten them, I kept a few for crafting. It’s become one of my favorite ways to craft!
On a recent video I created four, absolutely, stunning spring decorations using cardboard! You are not going to believe how easy and beautiful they are!
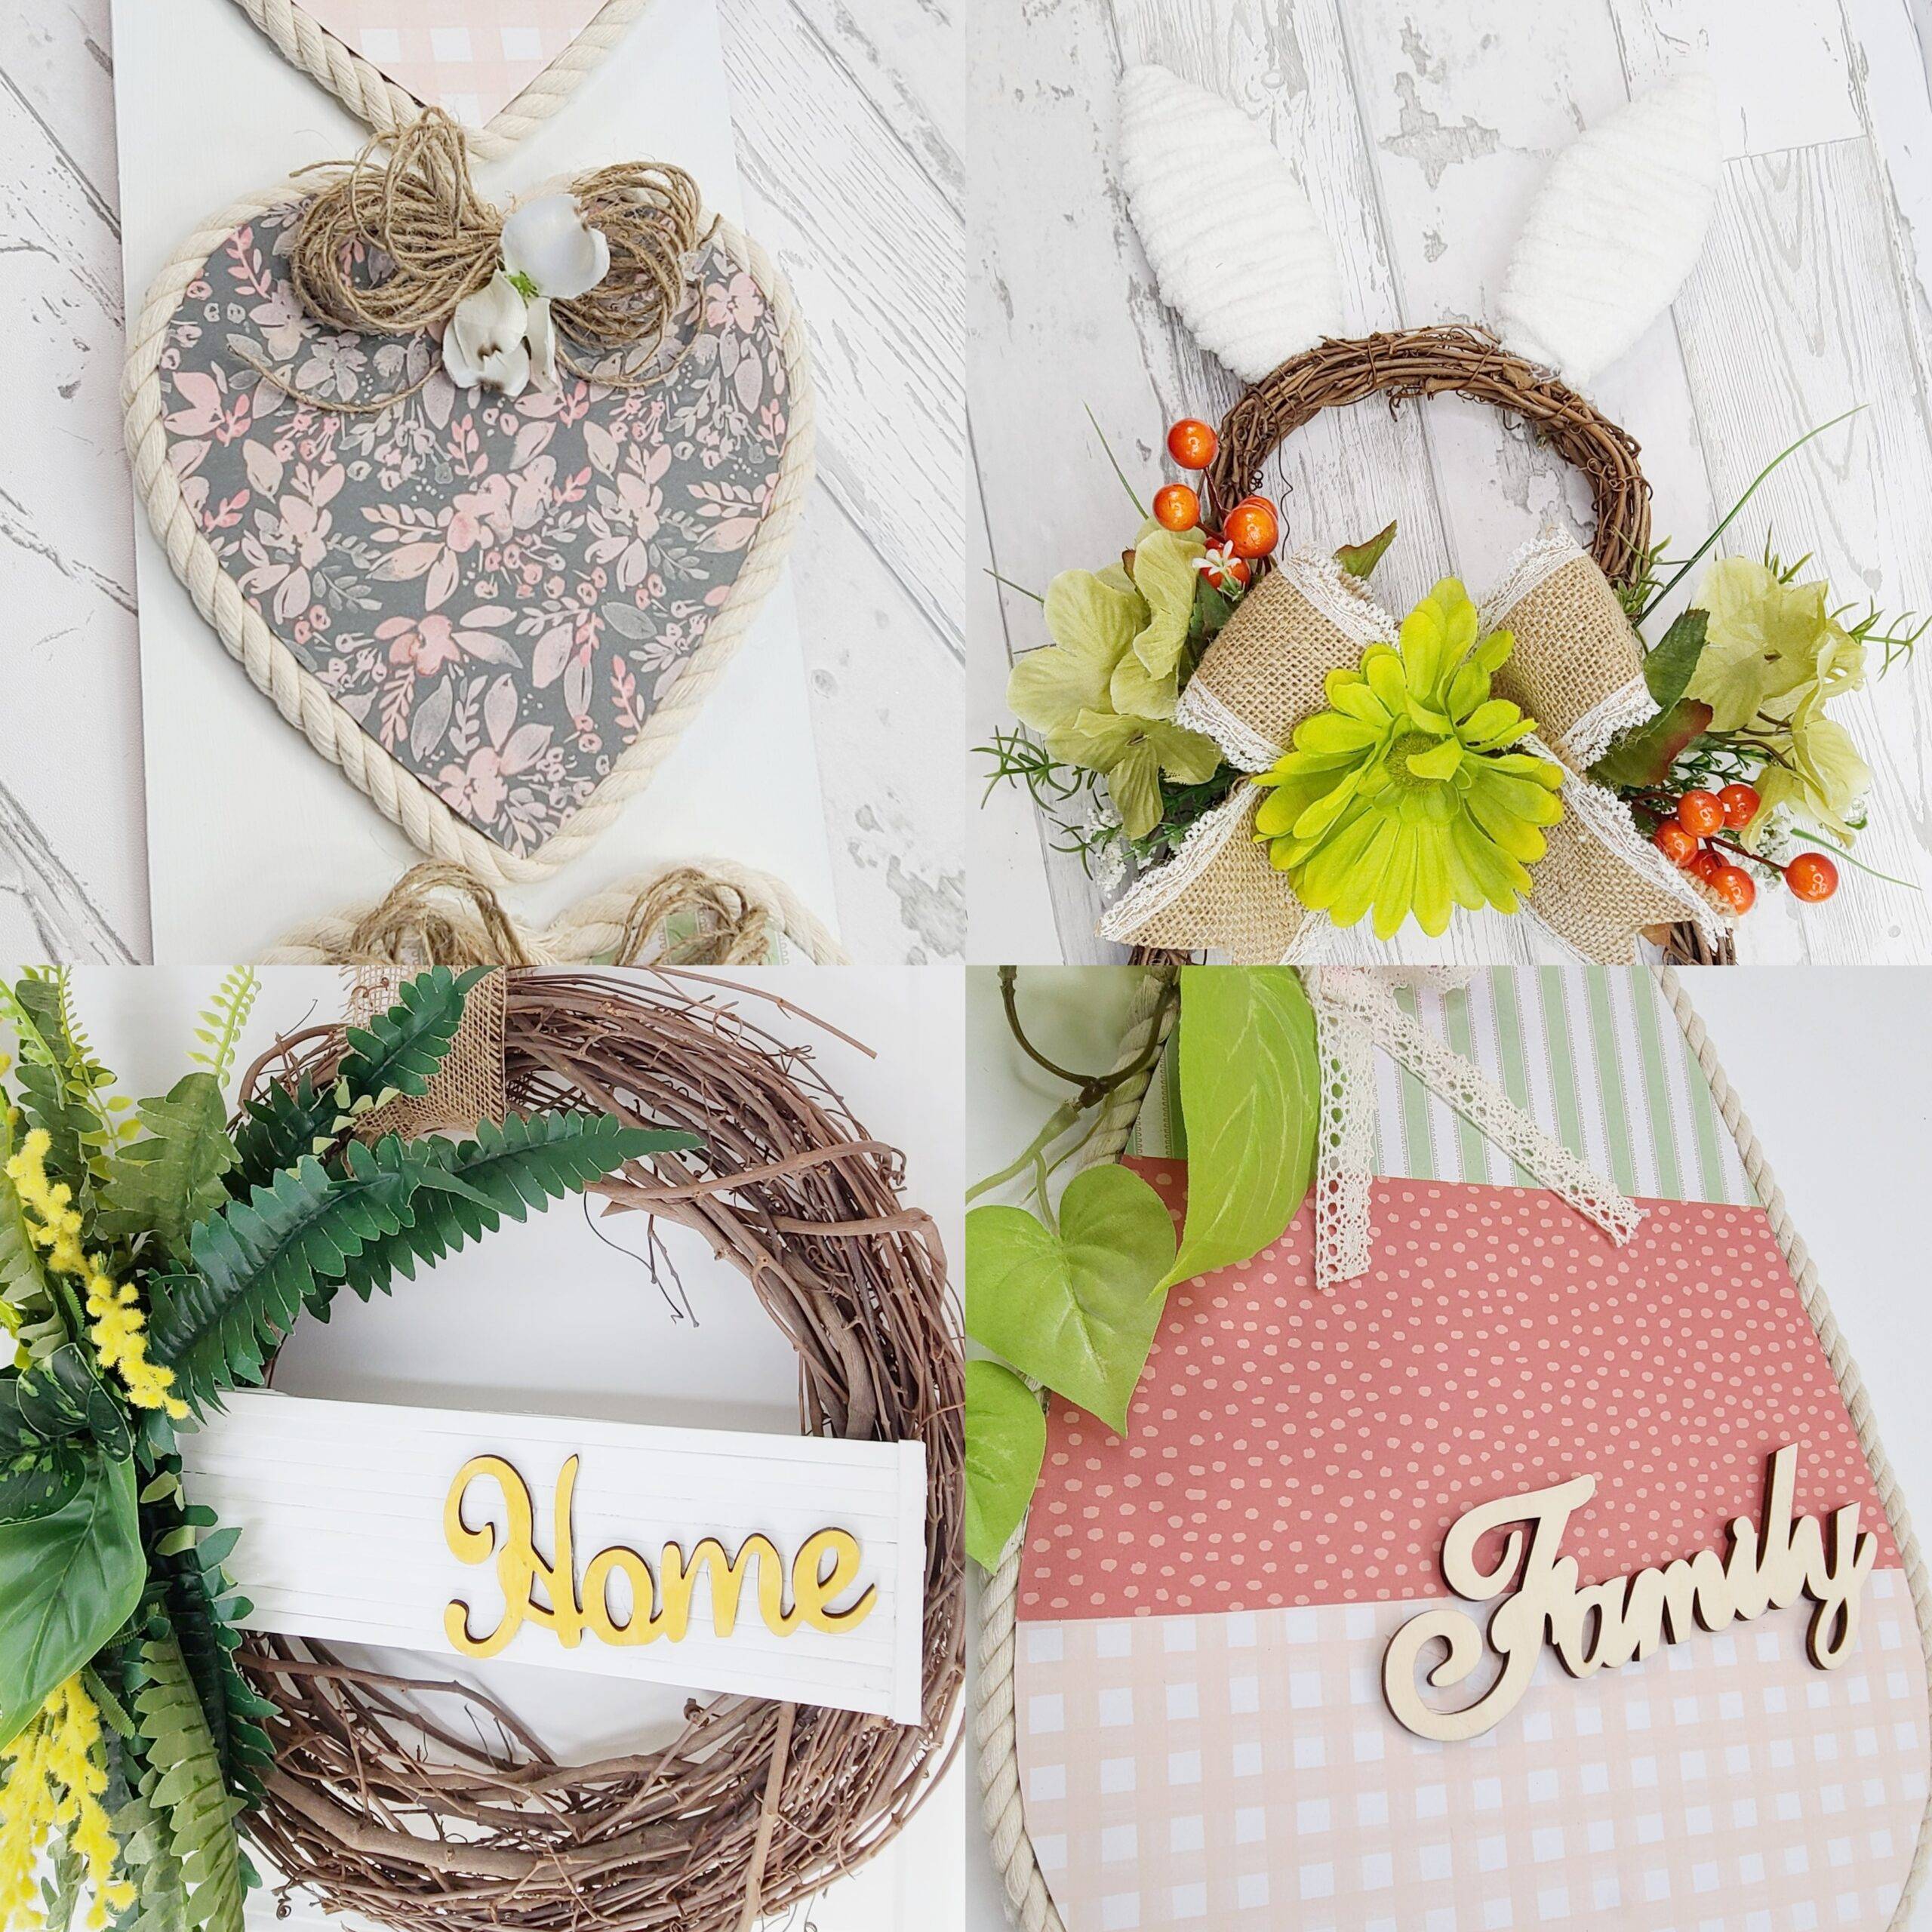
Vertical Heart Spring Wall Decor
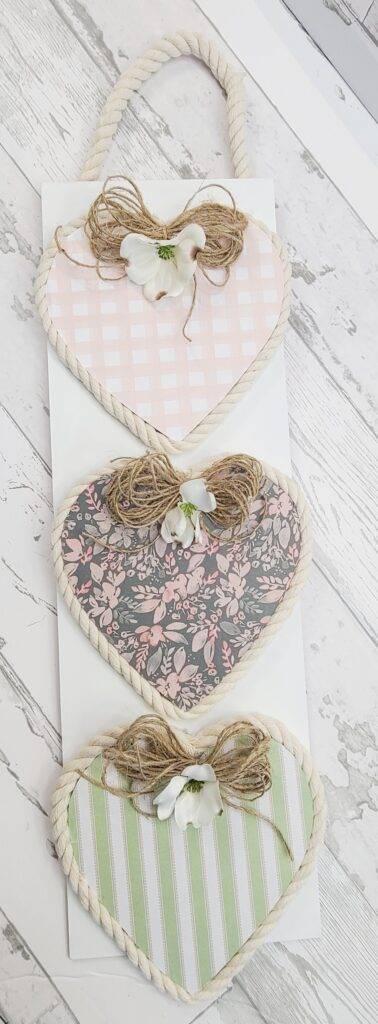
This beaty was so easy to make! I took a Dollar Tree board, from their Summer collection, and removed the sail boat from the top. I score it with a blade knife, snapped it and sanded it smooth. I then gave it two coats of Waverly Chalk paint in the white.
I took a wooden heart from the Target Dollar Spot and used it as a guide to trace three hearts on a piece of cardboard. I then cut them using my blade knife.
I covered each heart with three different craft paper, with complimenting designs. I attached the paper to the cardboard hearts using adhesive spray. And then cut off the excess paper using my craft knife.
I used white nautical rope from Dollar Tree and hot glued it around the edge of each heart, to cover the “cardboard” look from the sides. I made sure to start and finish at the top of each heart.
To add a bit more character and texture, I made simple bows with jute string and hot glued them to the top of each heart, covering the begining and end of the nautical rope.
And finally, to finish the piece off, I added a small white flower to the bottom of the bows and hot glued each heart vertically on the board. That’s it! So easy and so beautiful!
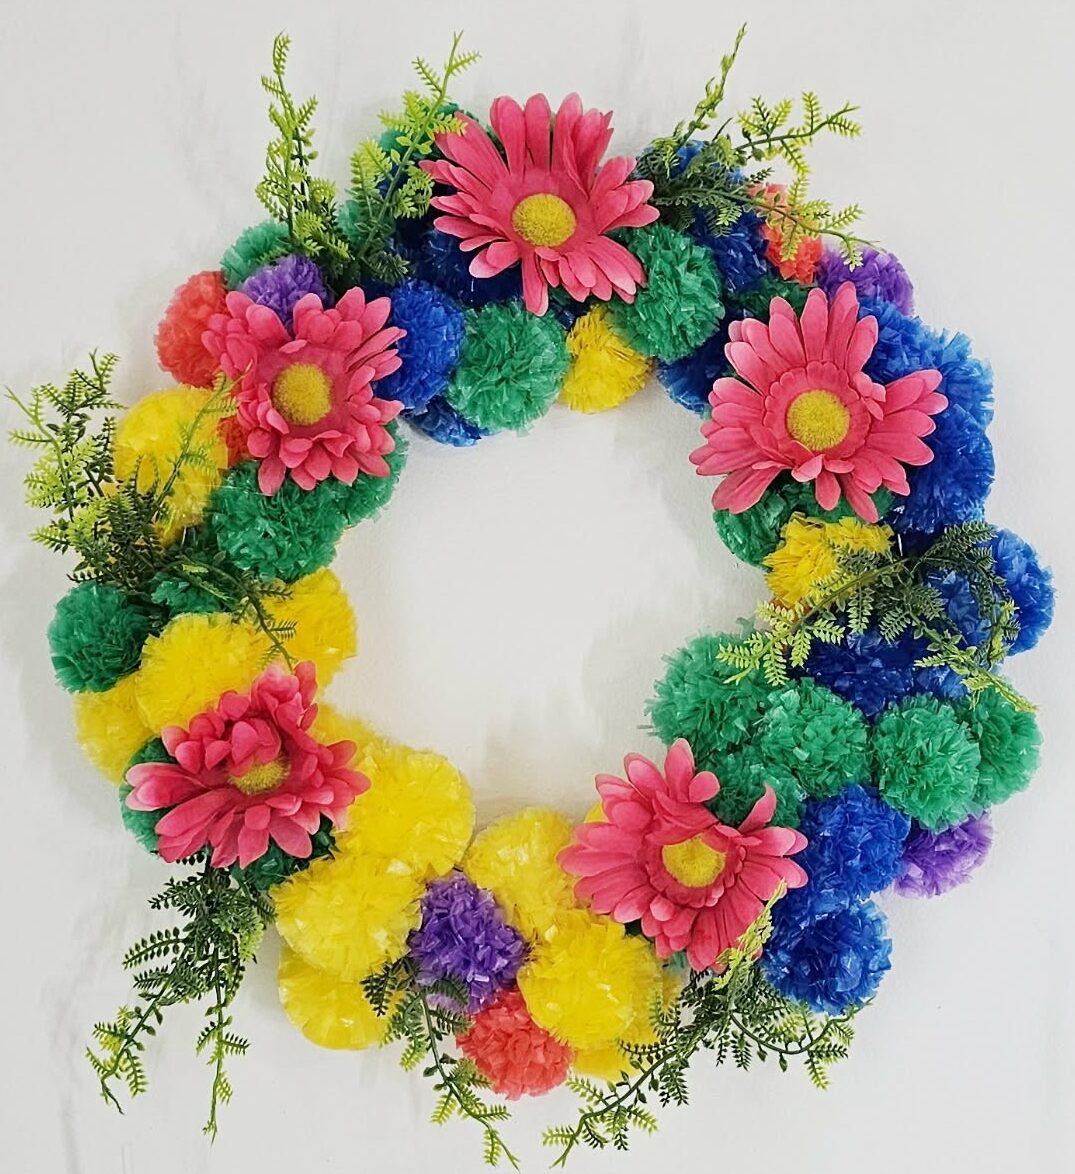
Spring Bunny Wreath
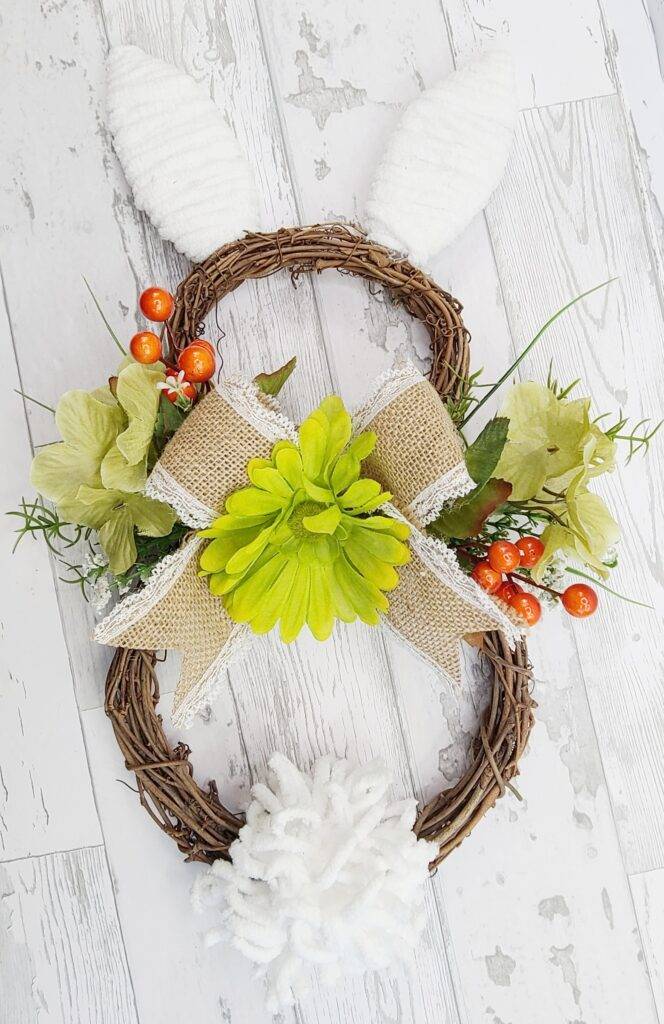
This bunny is my absolute favorite from today! It is perfect for spring and Easter.
I started with two grapevine wreath forms, one smaller than the other one. I joined them together, smaller one on top of the larger one, with jute string.
I free-handed the shape of a bunny’s ear on a piece of cardboard, and cut it using a blade knife. I then used that one to trace and cut a second one.
I wrapped each ear with fluffy, white yarn until they were fully covered. And then hot glued each ear to the top of the “head” of the bunny.
I then created a “bunny tail” using the same white yarn by wrapping yarn on a piece of 4 or 5 inch cardboard. I removed the yard from the cardboard and tied it in the center with another piece of yarn. I then slightly trimmed the ends creating a “messy” pom pom. I hot glued it to the bottom of the bunny.
I then added decorative embelishments to the “neck” of the bunny. I added a bow made from burlap ribbon, and a combination of greenery and florals, for a fun, spring look.
Is this not the cutest bunny wreath you’ve ever seen??? What do you think?
Natural Home Wreath
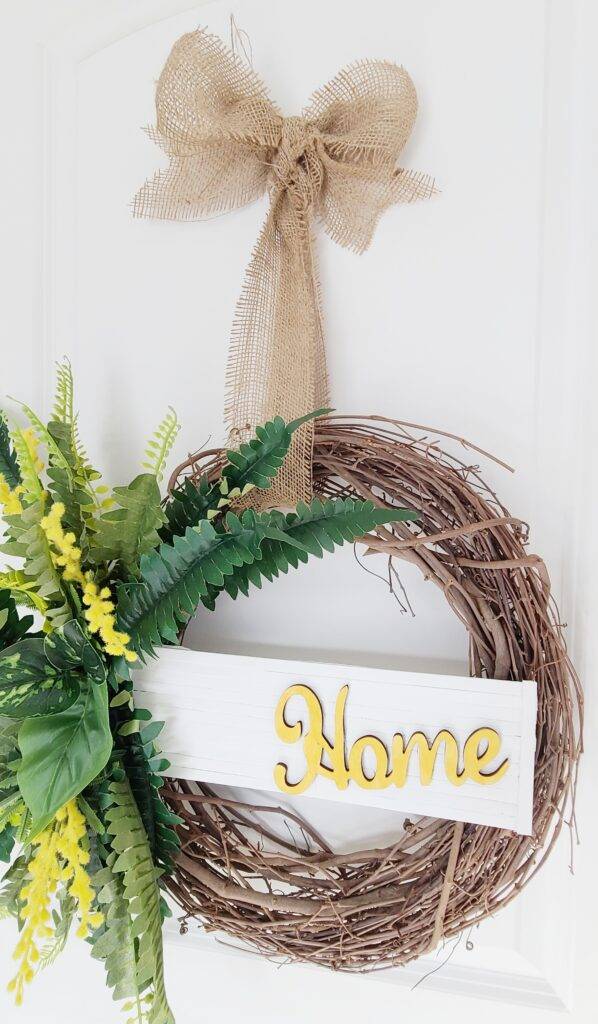
This wreath is so fresh and natural.
I started with a piece of cardboard 12″ x 4″ and covered it with flat dowels, cut to size and hot glued. I added two pieces of flat dowels to the sides to cover the uneven cuts.
I then painted it with white chalk paint.
I took a wooden “home” word from Dollar Tree and painted it with Venetian yellow from Rust-Oleum Milk paint. Then hot glued it to the right, bottom side of the white board.
I then hot glued the board to the center of the wreath.
I added faux fern picks from Dollar Tree and attached them to the left side of the wreath with hot glue. I made sure to attach them in between each other for a natural look.
I added burlap ribbon to the top and made a lose bow on top, to be able to hang the wreath.
So beautiful and so natural! What do you think?
Giant Decorative Easter Egg
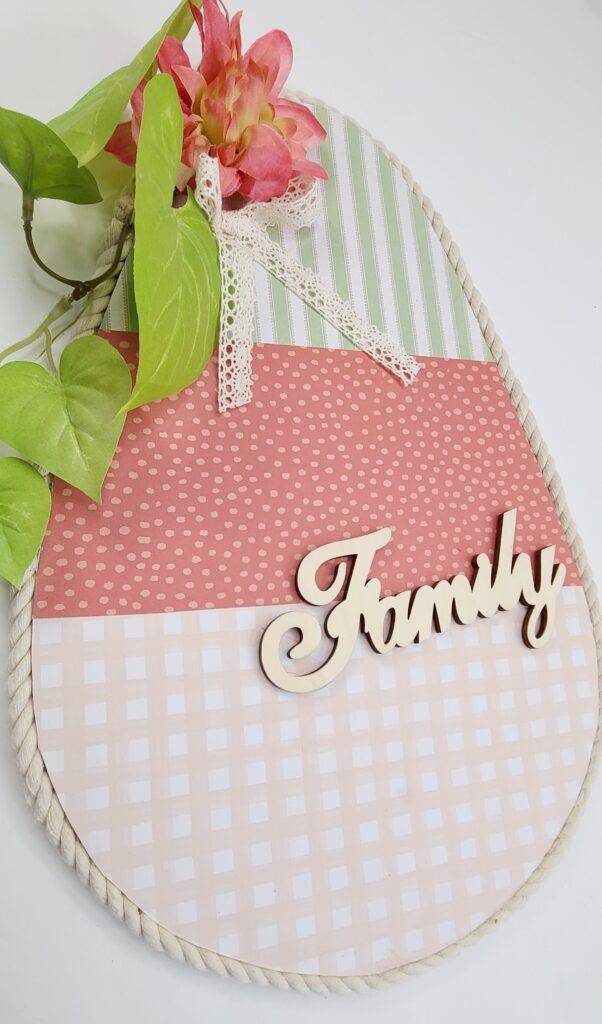
This Easter egg is giant and gorgeous!
I took a large piece of cardboard and two bowls, a large one and a small one. I traced half of the large bowl on the bottom of the cardboard and half of the small one on top. I then traced lines on each side, joining each half circles. This gave me a nice “egg” shape.
I then cut it using my blade knife.
I added three, complementing craft paper designs, to the bottom, middle and top of the egg and attached them using adhesive spray .
I hot glued a piece of greenery vine to the top left side and a coral color flower. I added a simple bow using Dollar Tree lace ribbon and hot glued it to the bottom of the flower.
I hot glued a natural wood tone “family” wood word from Dollar Tree to the bottom right side of the egg.
And finally, I covered the sides using white, nautical rope from Dollar Tree to cover the cardboard sides. I attached it using hot glue.
WOW! This one is stunning! So large and absolutely beautiful!
Which one is your favorite?
Also, don’t forget you can watch the step-by-step video tutorial here 👇
Have fun creating!
Lianep

3 Responses
Love all the crafts you do.
Hi Millie! Thank you so much ❤️. Truly appreciate your support ❤️
When I started watching DIY videos for crafting videos, you were the very 1st person I watched, ever. I fell in love with every thing you do. Now I’m your biggest fan. Someday I will post some of my crafts. Right now I’m just having fun watching what you do.