15-Minute Wood Scarecrow Fall Craft
As the leaves begin to change and the air turns crisp, there’s no better time to dive into the world of fall crafts. Crafting with wood can be an incredibly rewarding experience, especially when you discover that creating beautiful seasonal decor doesn’t have to break the bank. Inexpensive wood supplies can be easily found at your local dollar store, offering a treasure trove of possibilities for crafting enthusiasts of all levels.
Using affordable materials allows you to unleash your creativity without the worry of overspending. Wood is versatile, easy to work with, and can be transformed into countless fall crafts, from rustic decorations to functional items. Plus, working with wood provides a unique tactile experience that enhances the joy of crafting. The satisfaction of transforming simple wooden pieces into charming fall crafts decor can bring a sense of accomplishment and personal touch to your home.
Moreover, crafting with wood can be a fantastic way to bond with family and friends during this festive season. On this blog post, I will share an easy and fun scarecrow fall craft that will not only get you excited for fall crafting, but bring smiles to all who see it. With just a few basic tools and a pinch of creativity, you’ll find that this scarecrow fall craft is not only accessible but also immensely enjoyable.
For this craft you’ll need:
- Three, 1x2x12 wood pieces (found these at Dollar Tree)
- One 10″ wood paint stick (I used a 25 gallon one)
- Popsicle sticks (I used four)
- Peel-n-Stick vinyl in the color of your choice (I used black and red)
- Black, permanent marker
- Faux fall flowers and other embellishments you want to use
- Hot glue
- Paint (I used Pumpkin and Sandstone from Waverly)
- Hot glue (or glue of choice)
1. Gather The Wood Pieces
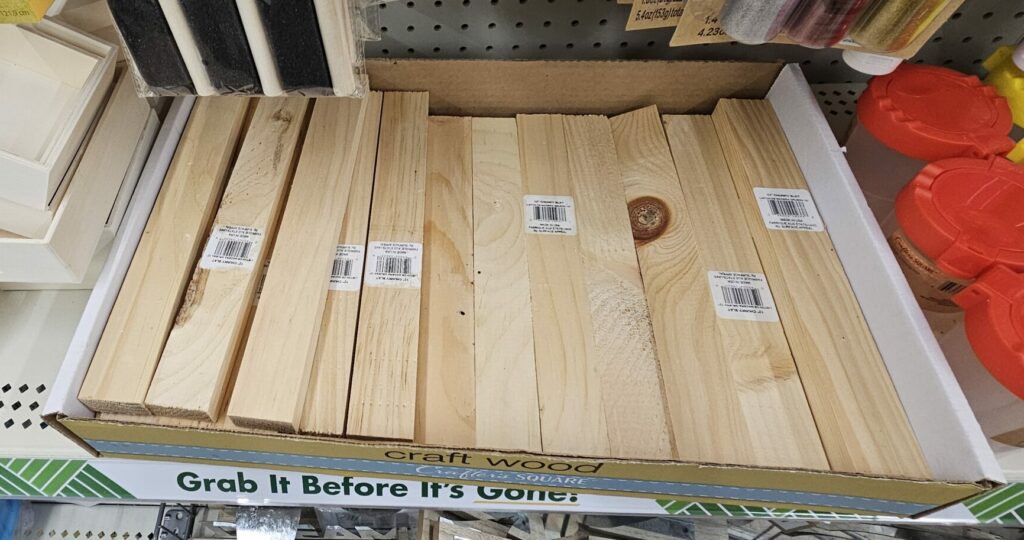
Dollar Tree’s crafting isle is always stocked with wood blank pieces readily available for crafting. This 1×2 Pieces are one of them. They measure about 12 Inches long and are perfect for small crafts. You can also use a 1×2 from the hardware store and have them cut it for you into smaller pieces.
2. Line The Wood Pieces & Attach
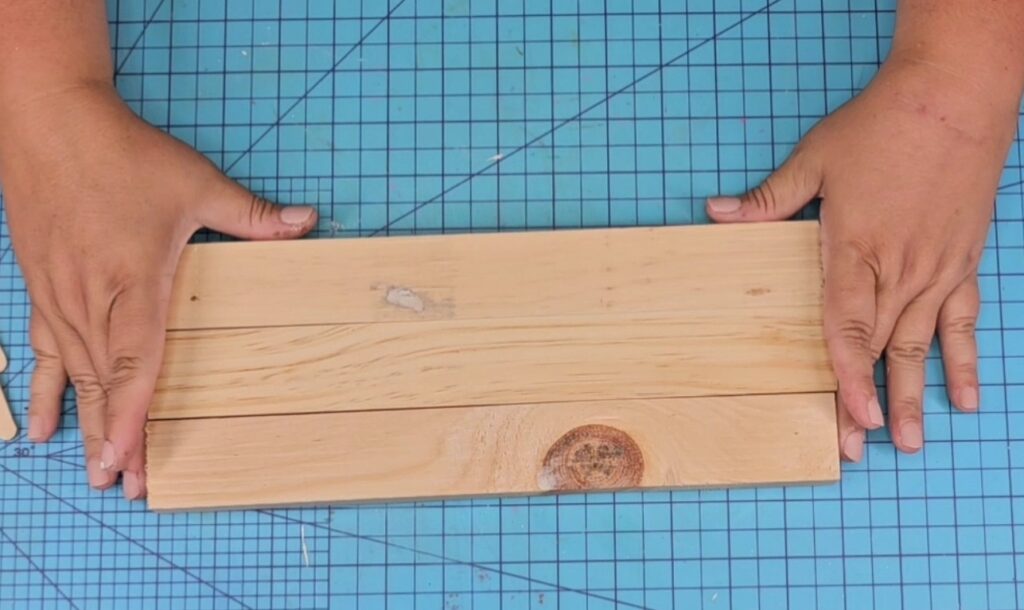
Line all three pieces together as aligned as possible.

Then attached using popsicle sticks on the back. I used hot glue to attach them, but you can also use a more permanent glue if you’d like. Use as many popsicle sticks as you need.
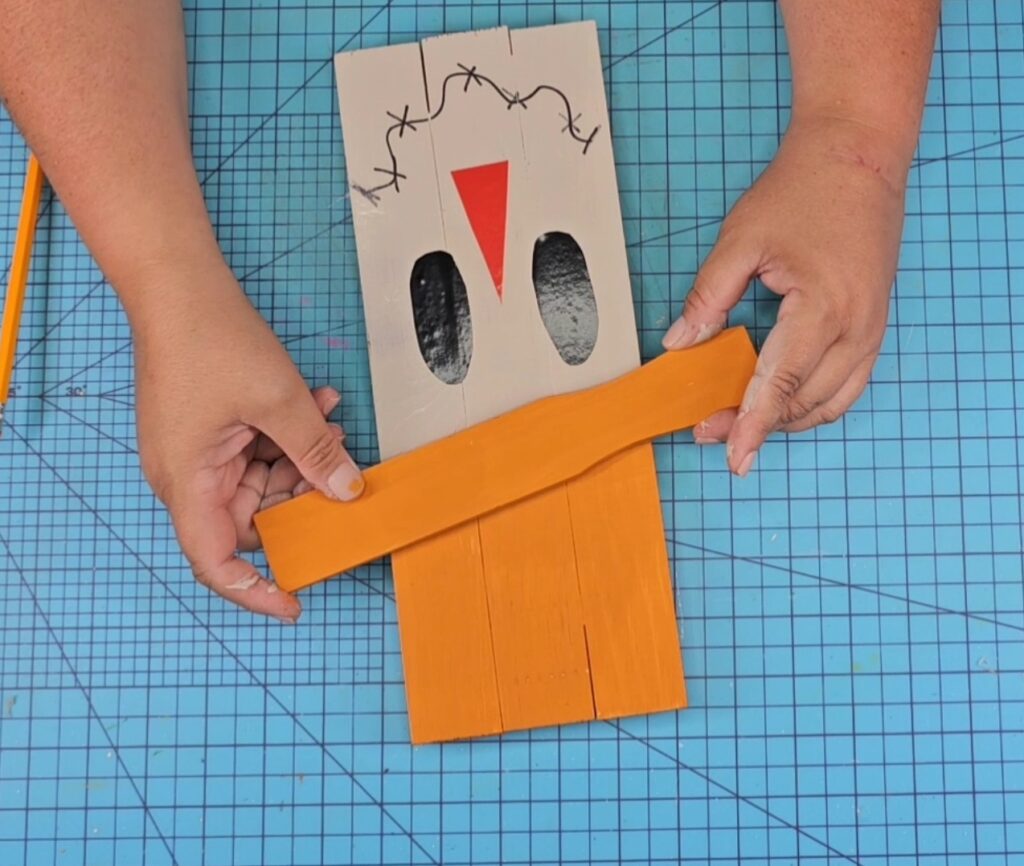
3. Mark & Paint
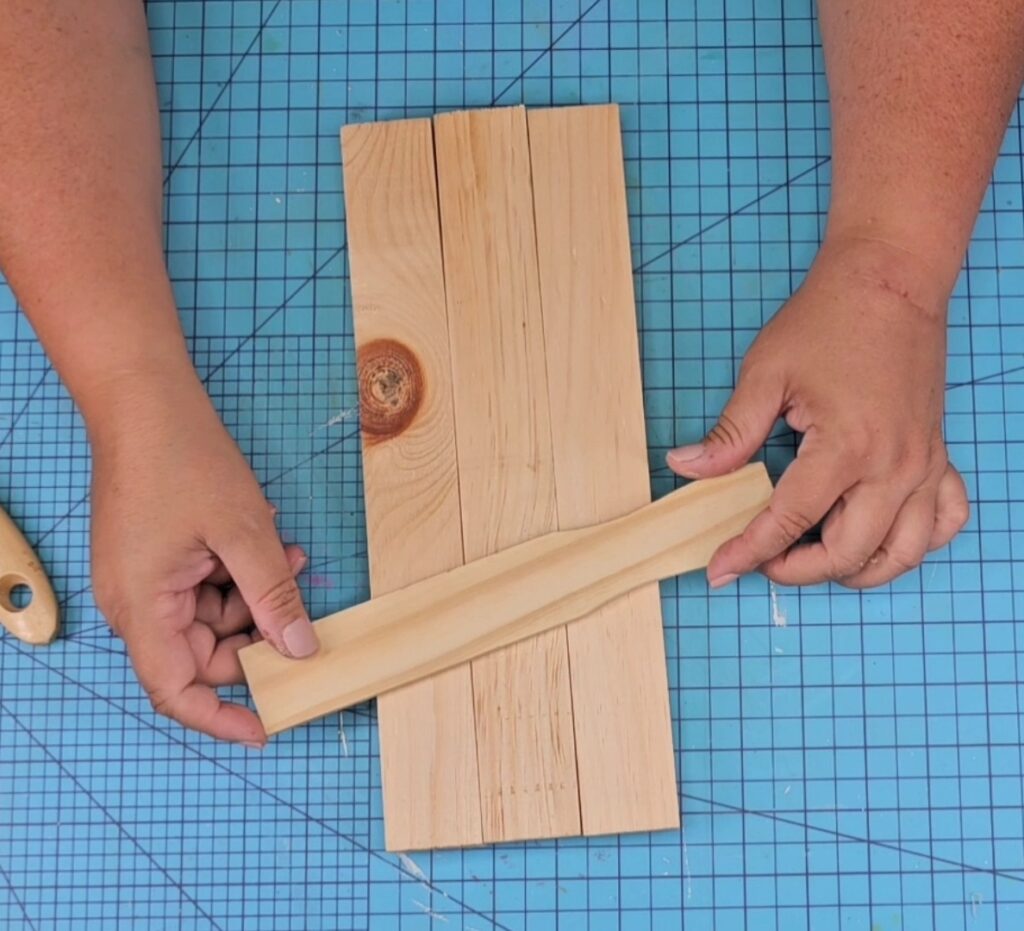
Use another piece of wood, in this case I used a scrap piece of a 20 gallon paint stick I had leftover from another project. It was about 9 or 10 inches long. I tilted it and traced it with a pencil so I know where to paint.
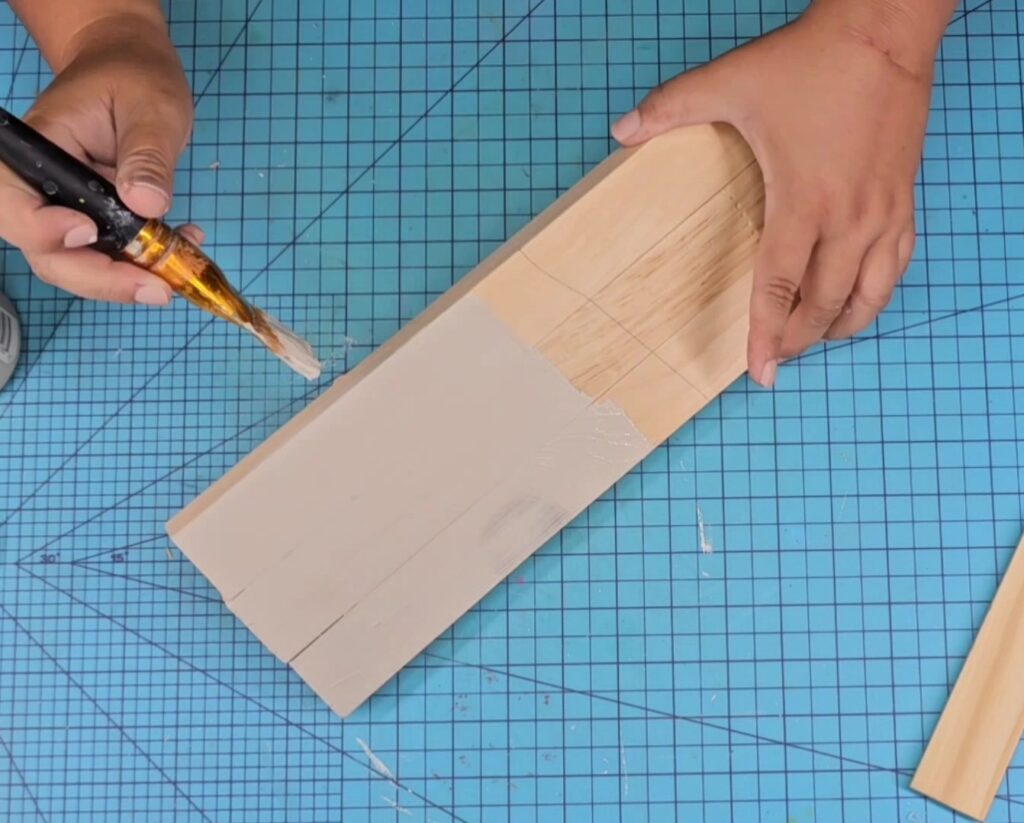
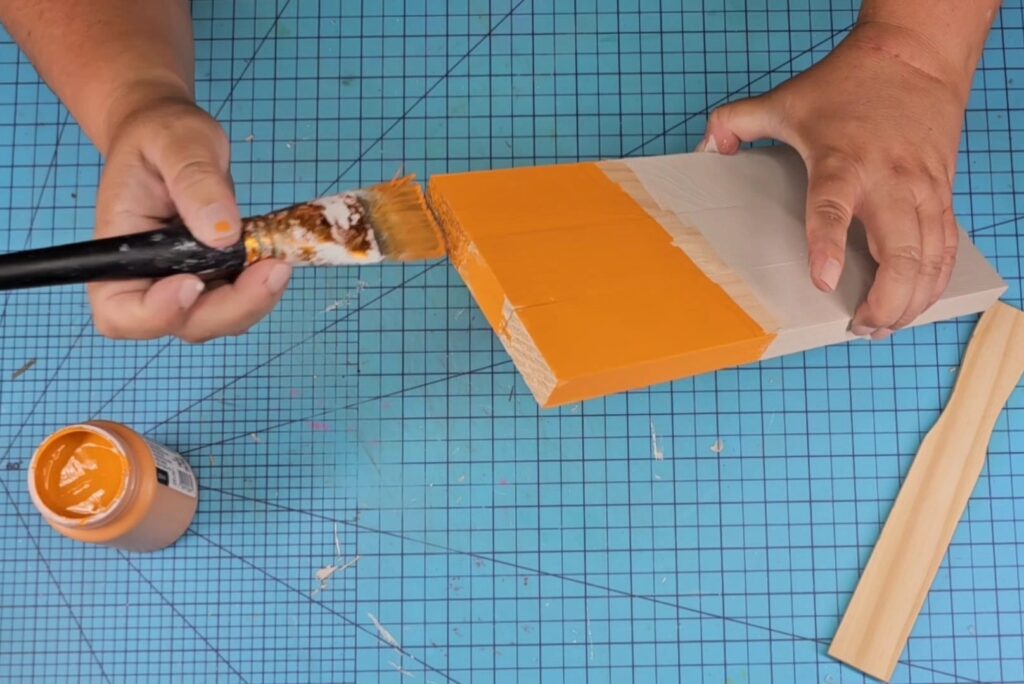
I painted the bottom portion in a Sandstone tone by Waverly and the top with Waverly’s Pumpkin tone. Make sure to also paint the paint stick the same color as the top potion. One coat was sufficient. I set aside to fully dry.
4. Add A Face
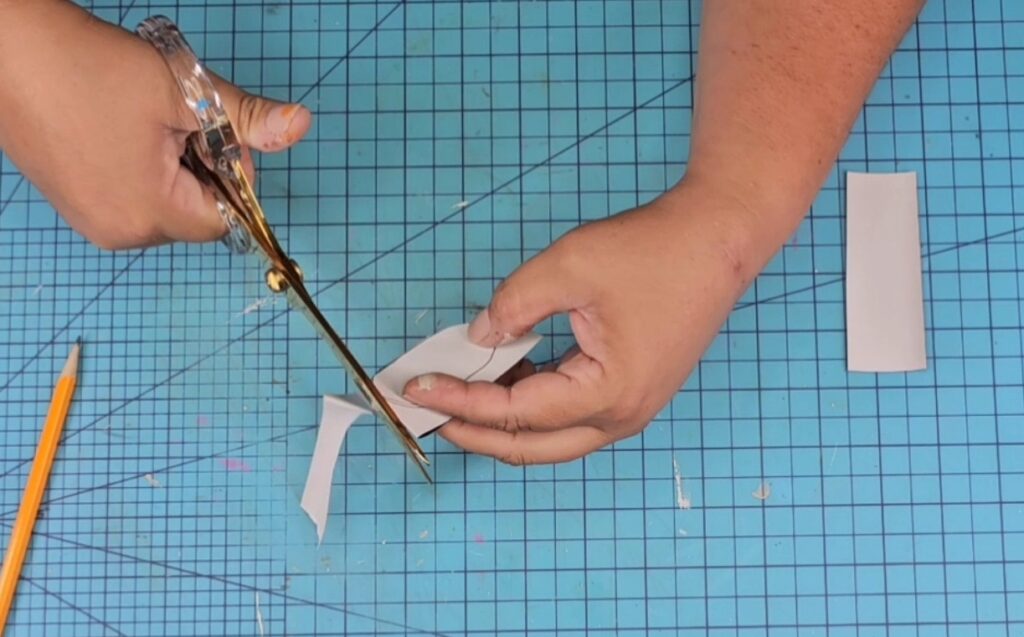
Using inexpensive peel-n-stick vinyl from the Dollar Tree, I drew and cut two oval shapes for the eyes and one triangle shape for the nose. You can use any colors you want. I chose black for the eyes and red for the nose.
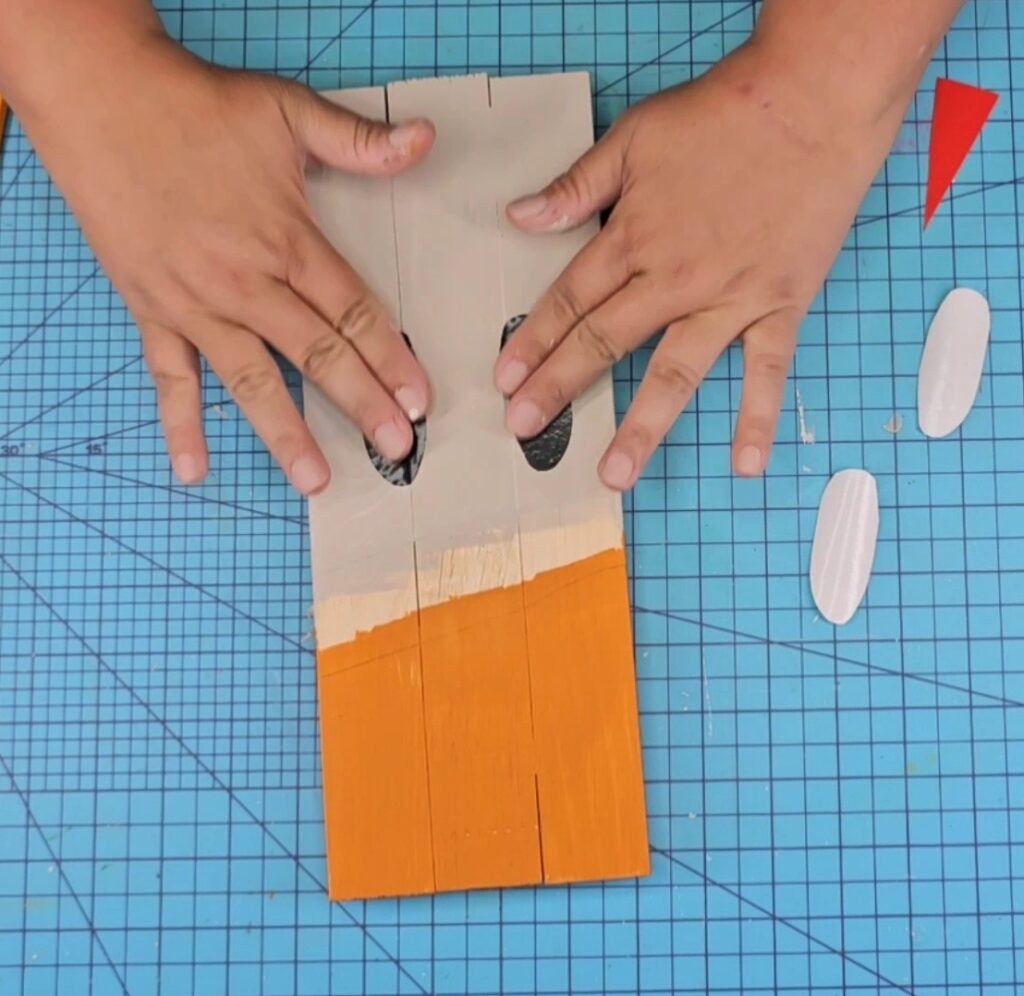
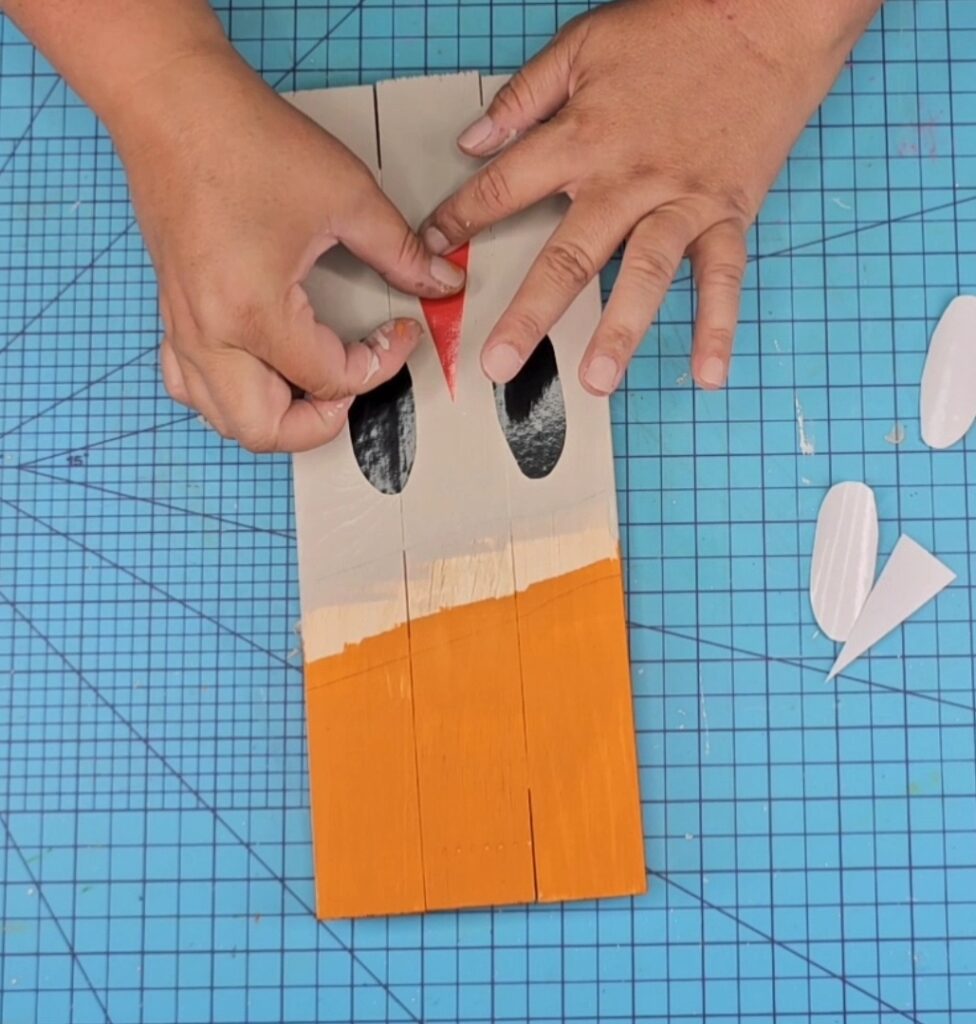
Once cut, just peel the back and place like a sticker on the bottom portion of the piece.
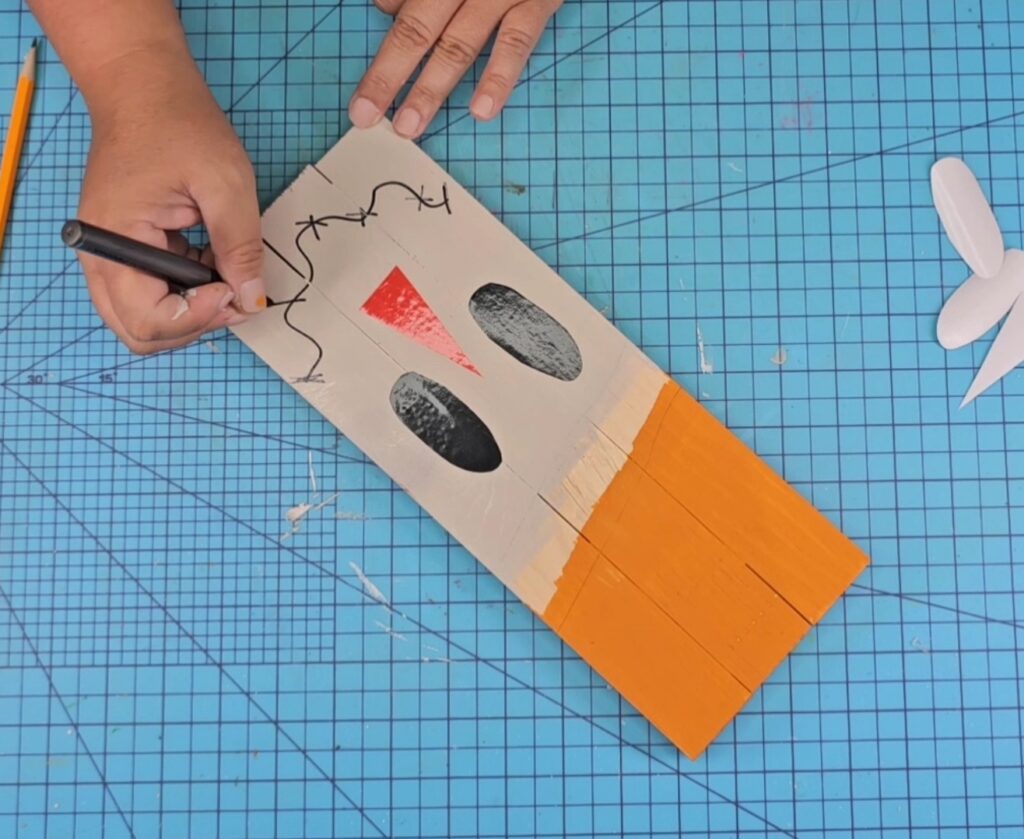
I used a black permanent marker to draw a wiggly mouth with X’s on it to mimic what a scarecrow mouth would look like.
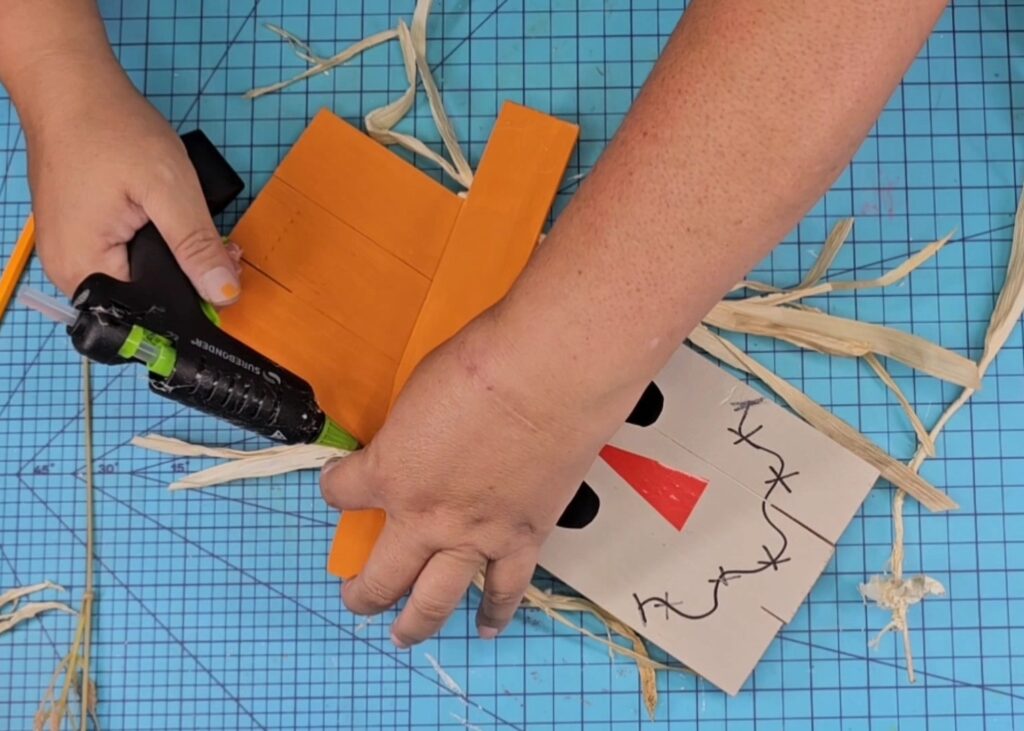
5. Finish The Hat
Attach the paint stick in the same tilted direction as you marked earlier. I used hot glue, but you can use a more permanent glue if you’d like.
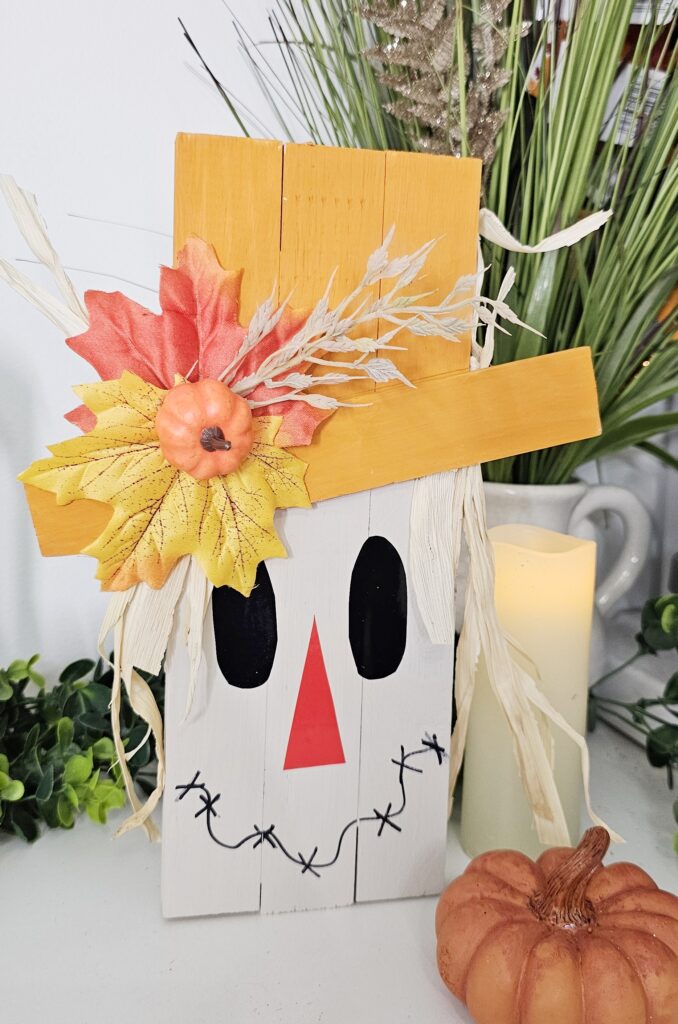
5. Add Embellishments
You can skip this step and leave it just like this. However I decided to add a few embellishments to add a texture and design.
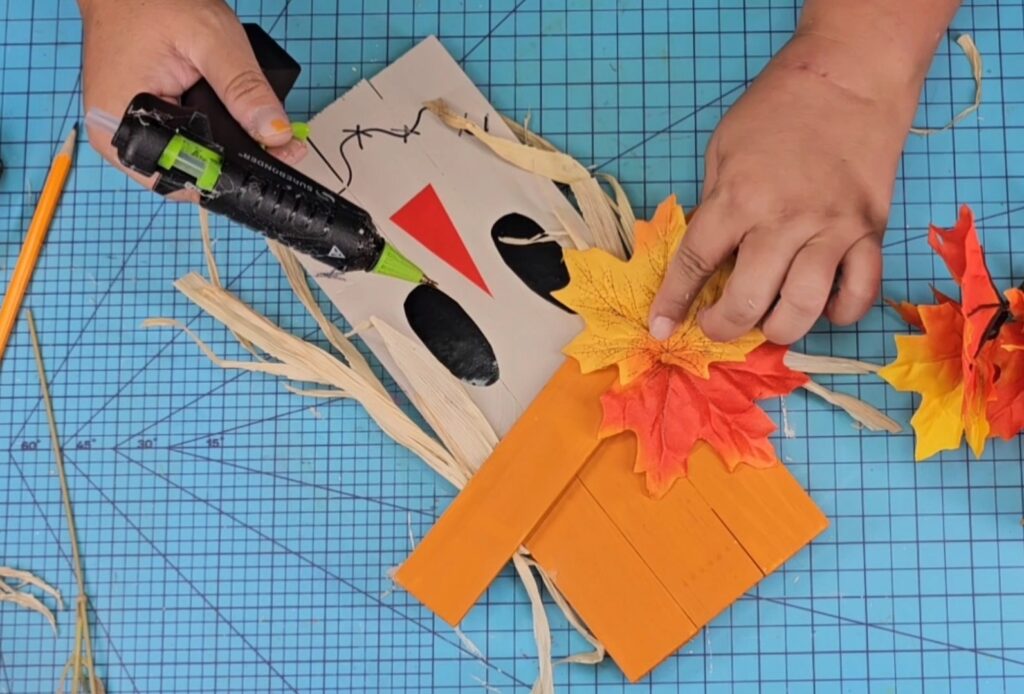
I added dry, “corn stalk” to the sides to give it a more scarecrow look, as well as fall leaves and a small pumpkin to the left side.
Again, you can skip the embellishments part, but I think it turned out absolutely adorable! What do you think of this scarecrow fall craft?!
Embracing the art of fall crafts using inexpensive wood from the dollar store opens up a world of creativity and enjoyment. Not only does it provide an affordable avenue for expressing your artistic flair, but it also encourages sustainability by repurposing materials that might otherwise go unused. The projects you create can add warmth and charm to your home, making it feel cozy and inviting during the fall season.
Moreover, the process of crafting together with family and friends fosters connection and strengthens bonds. Sharing ideas, laughter, and the satisfaction of completing a project can create lasting memories that you’ll cherish for years to come. Whether you’re a seasoned crafter or just starting out, the accessibility of wood crafting makes it an engaging and fulfilling hobby for everyone.
So, gather your supplies, unleash your imagination, and let the beauty of fall inspire you. With just a little time and creativity, you can transform simple pieces of wood into stunning fall crafts that celebrate the season. This autumn, take the plunge into wood crafting and discover the joy it brings, both in the process and in the finished pieces that will enhance your home’s atmosphere.
What do you think? Will you give this scarecrow fall craft a try?
You can watch the full step by step video tutorial on how I made this fun fall craft here below! And you can watch more fall crafting inspiration on my YouTube channel!
Want to connect on social media? Click here!
Have fun crafting!
Lianep