Beautiful Dollar Tree Easter DIY Craft to make in 10 Minutes
Looking for an easy and affordable DIY craft for Easter? Look no further!! With a little creativity, you can create a charming and unique Dollar Tree Easter DIY craft using unexpected items that won’t break the bank.
Whether you’re an experienced crafter or just starting out, this Dollar Tree Easter DIY craft is perfect for everyone. Not only will you have fun exploring your creativity, but you’ll also have a beautiful and budget-friendly Easter decoration to showcase.
So, grab your crafting supplies and get ready for a fun and easy Easter DIY that will impress your friends and family.
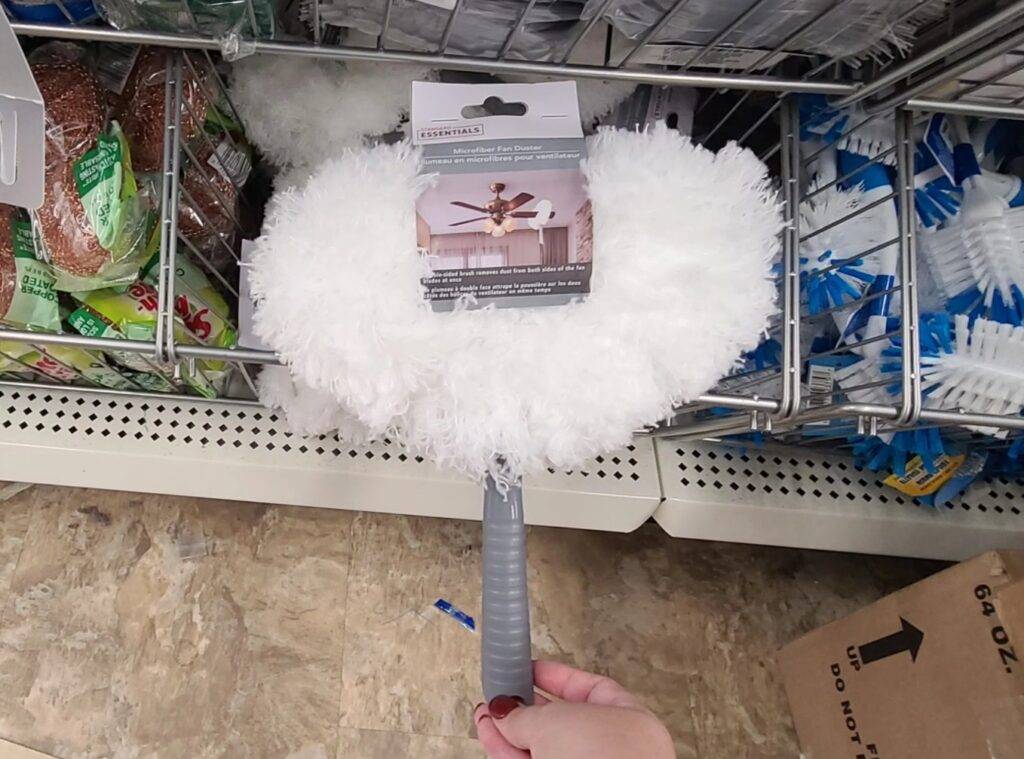
The first thing you will need are two of these fan duster from the Dollar Tree. You can find them in thr cleaning isle, next to the brooms.
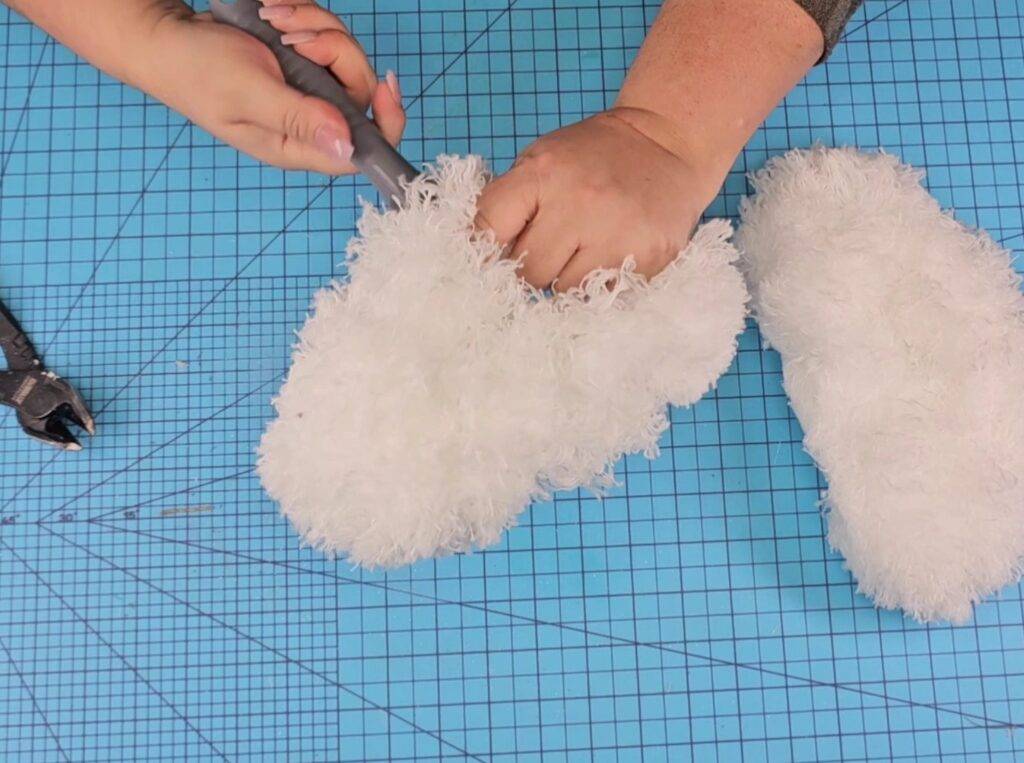
Take the tags off and remove the handles by twisting and turning them until they come off. It may take a few twists and turns, but it will come off eventually.
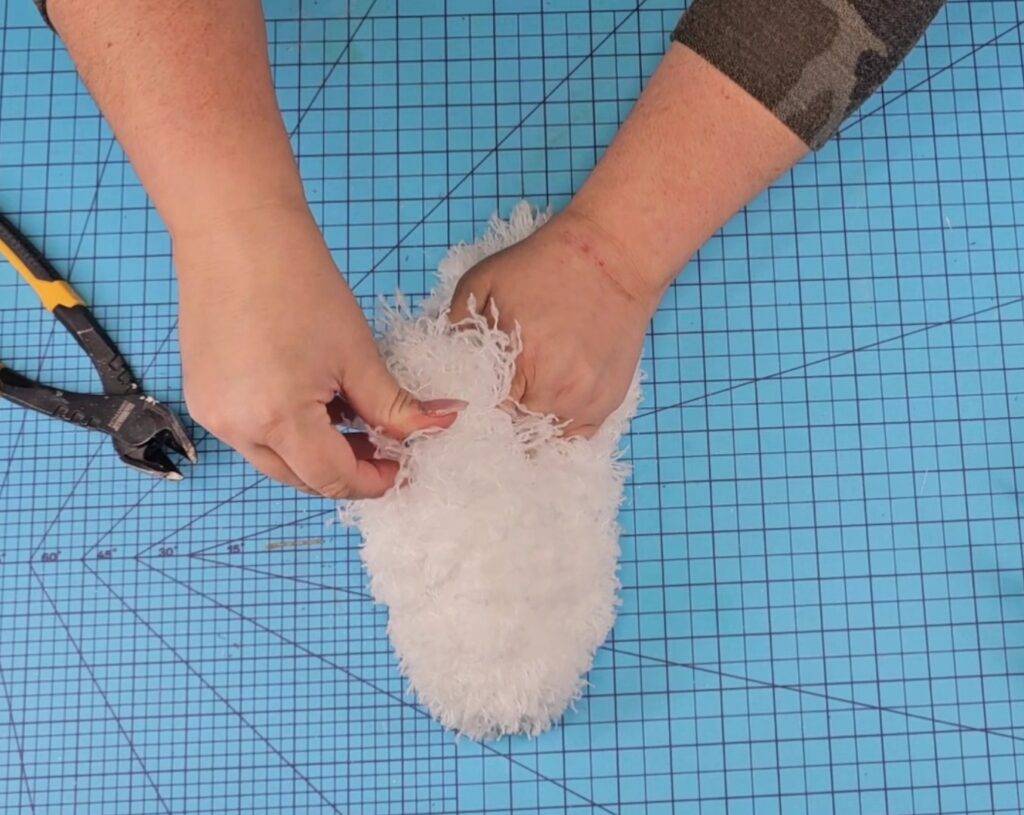
Now, carefully, bend the exposed wires inside the fuzzies. Be carefully with this step as you do not want to poke your fingers. Just take your time and bend slowly.
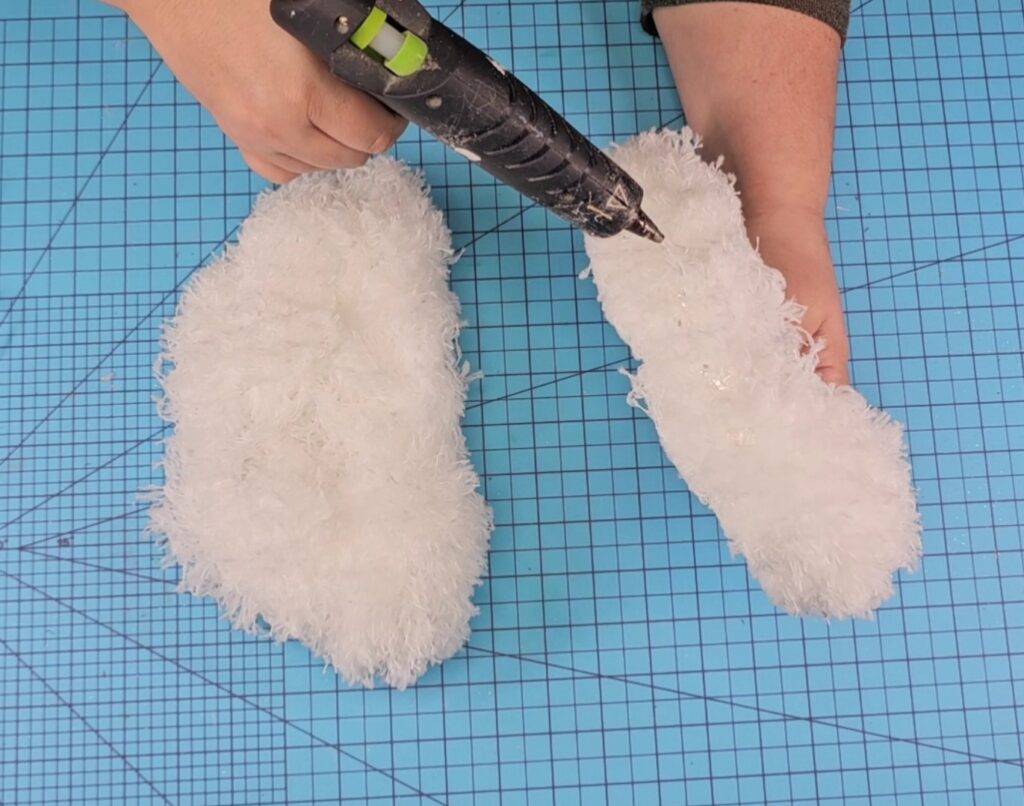
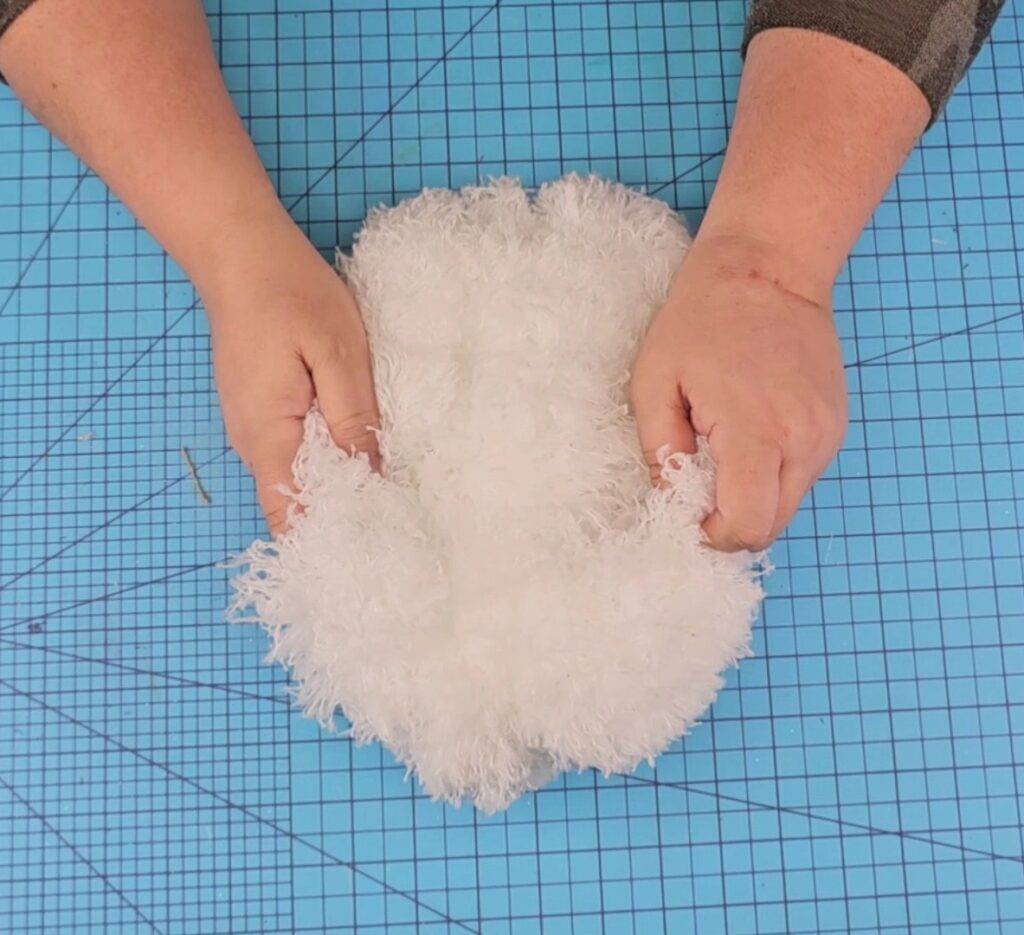
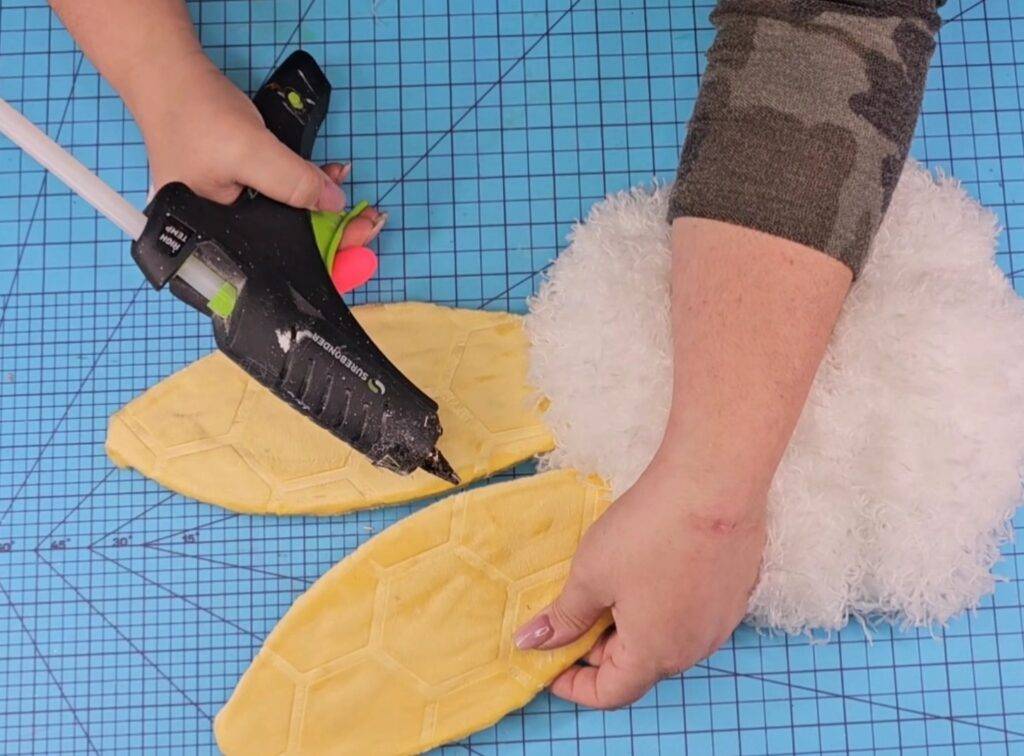
Add hot glue to the “flat” side and join both dusters together. I used my SureBonder Cordless Hot Glue Gun. You don’t need a lot of glue, just a few strips will do.

Now, you can tie them together as well with string or jute. This step may seem unneeded since we already hot glued them, but is it very important. This step will ensure the two dusters are tied securely and will not come apart.
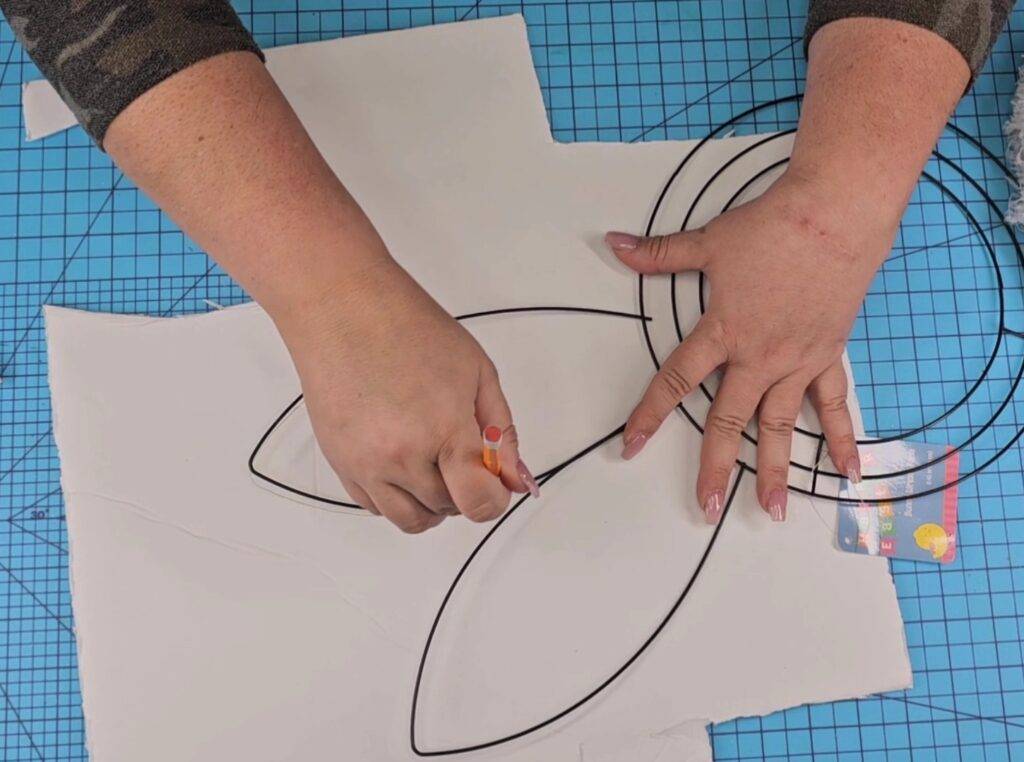
Now grab a foam board or cardboard, trace bunny ears on it, then carefully cut them out with a blade knife or exacto knife. You can find both cardboard and foamboard at the Dollar Tree. Be careful when using the blade knife to cut, just take your time.
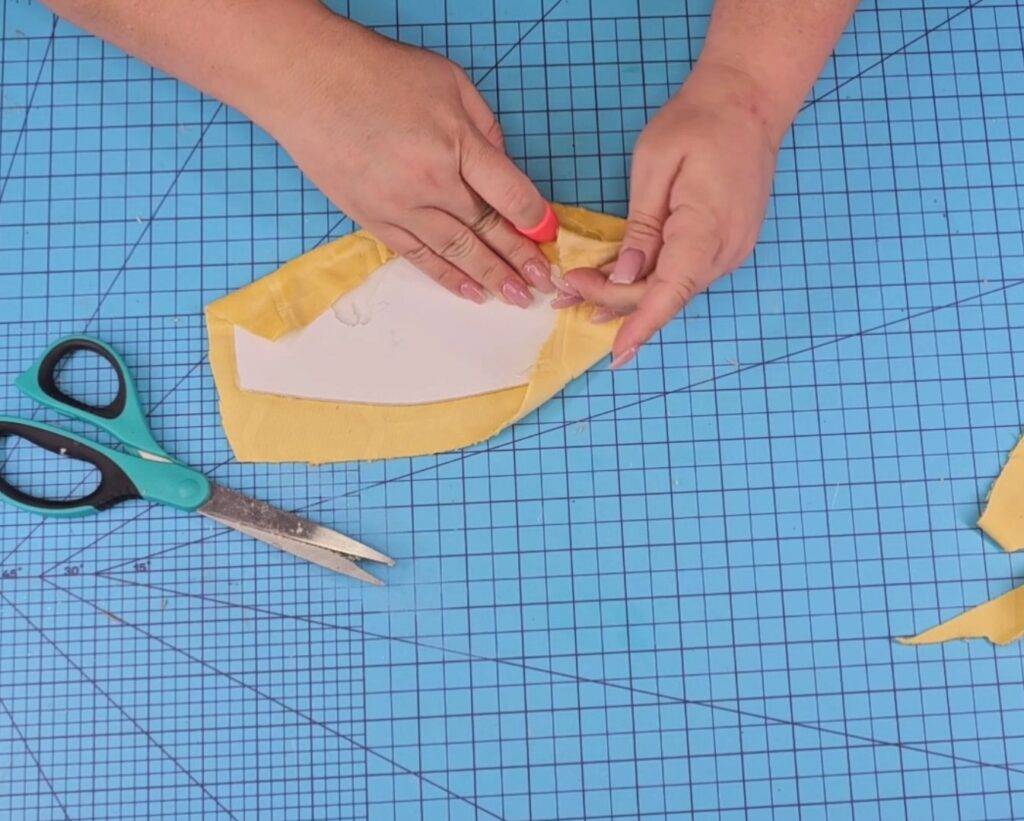
Cover the ears with craft paper or fabric. I covered mine with yellow fabric, securing it with hot glue. Use any color combination you’d like. Be creative with your selection. No choice is the wrong choice.
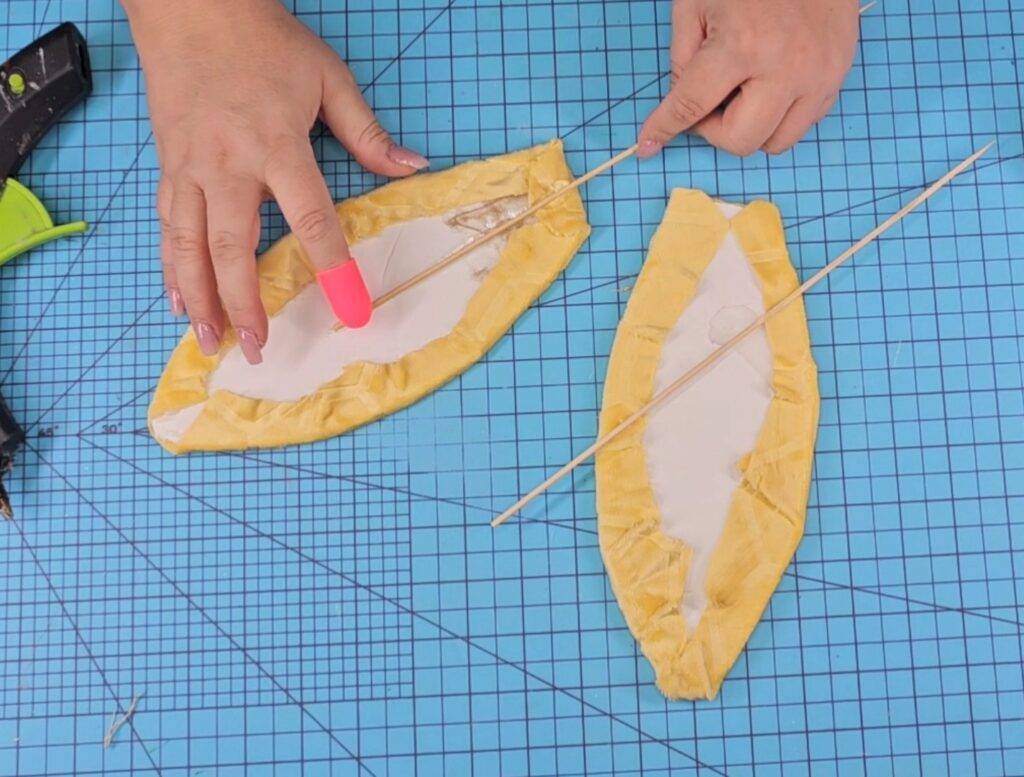
Add one bamboo skewer stick on the back of each ear with hot glue and tape. You can also add thin dowels if you have that instead. Make sure to leave about half the skewer stick exposed.

Cover the back with craft paper. This step is optional, but I think it gives the DIY craft a finished look. You can also use white paper if that’s what you have available. The point is to cover the back and clean it off.
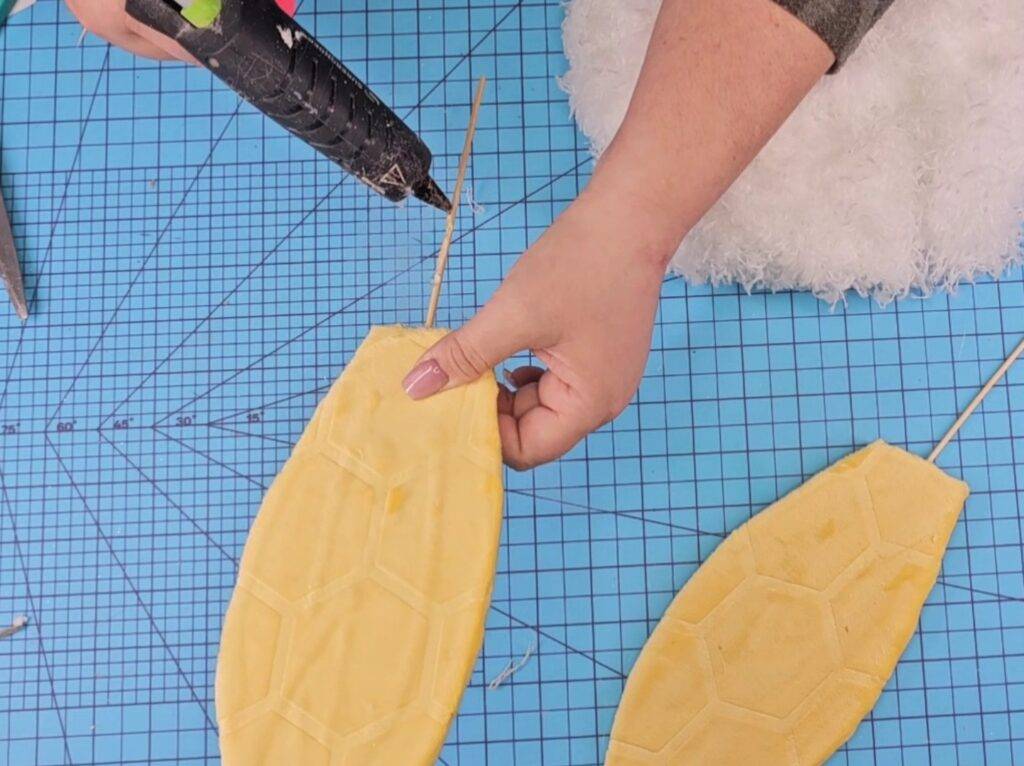
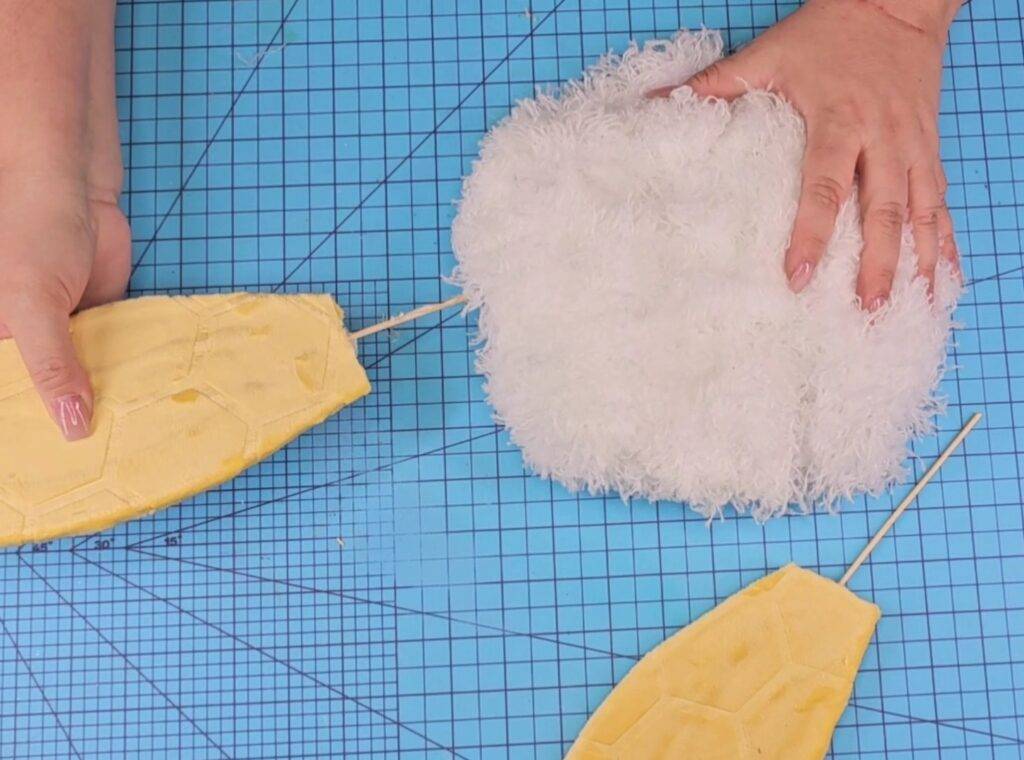
Add hot glue to the exposed skewer stick and insert it inside the dusters, in between the fuzzies. Work quickly so that the hot glue doesn’t dry up on you. Repeat the process on both ears.
Join both ears with a little hot glue. You don’t need to do this step, but I will recommend you do to ensure both ears stay together.
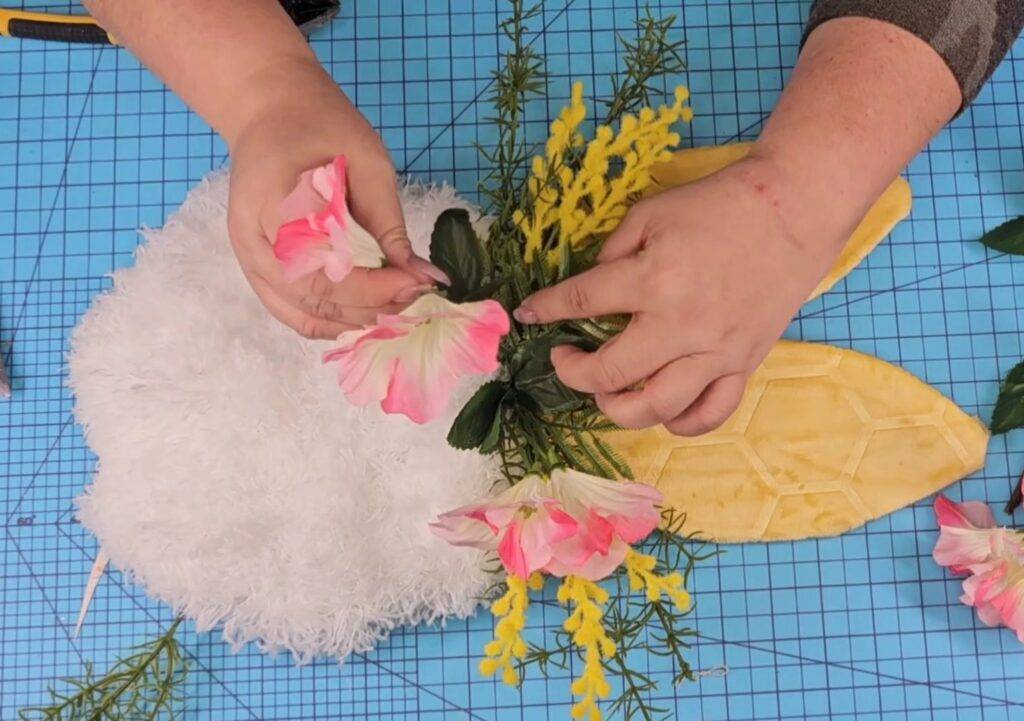
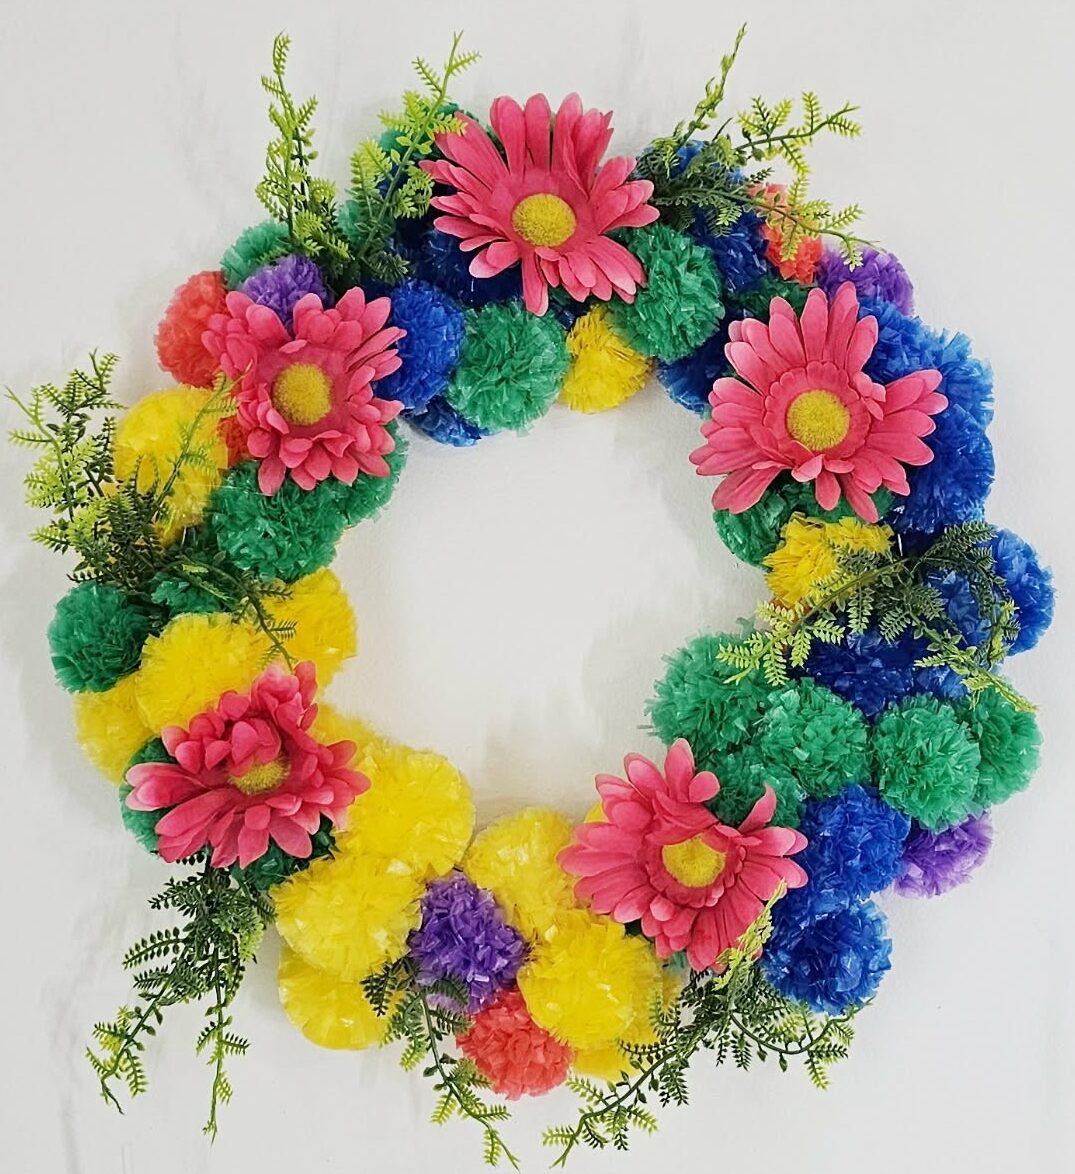
You can now add faux florals to the top to make it festive and fun! Have fun with this step. Use as many florals as you want and in any color. It’s all about having fun, using creativity and enjoying this Dollar Tree Easter DIY craft.
And that’s it! Now you have an Easter bunny craft to display at home! How fun and beautiful!

What do you think? Will you give this Dollar Tree Easter DIY craft a try!?
Don’t forget that you can watch the full step-by-step video tutorial here below. Plus, three additional crafts!
Want more fun DIY crafts!? Read this post!
If you liked this post, you’ll love this one! Click here.
Follow me on social media!
Have fun creating!
Lianep
** Some links are affiliate links which I earn a small commission on at NO extra cost to you.