10 Minute Easy Dollar Tree DIY Craft using FABRIC
Welcome friends! In this post, I’ll show you how to create a delightful and easy Dollar Tree DIY craft using fabric. Whether you’re a seasoned crafter or just starting out, this project is perfect for all ages and experience levels.
Dollar Tree fabric offers a wide range of choices, from vibrant patterns to soft textures, allowing you to unleash your imagination and bring your vision to life. With just a few simple steps and minimal supplies, you’ll be amazed at what you can create.
Not only is this Dollar Tree DIY craft budget-friendly, but it’s also a fantastic way to spend quality time with family and friends. It is also easy enough to make with kids, with supervision in some steps. So gather your loved ones, unleash your inner artist, and let’s dive into the world of crafting with Dollar Tree fabric. Get ready for a fun-filled adventure where imagination knows no bounds!
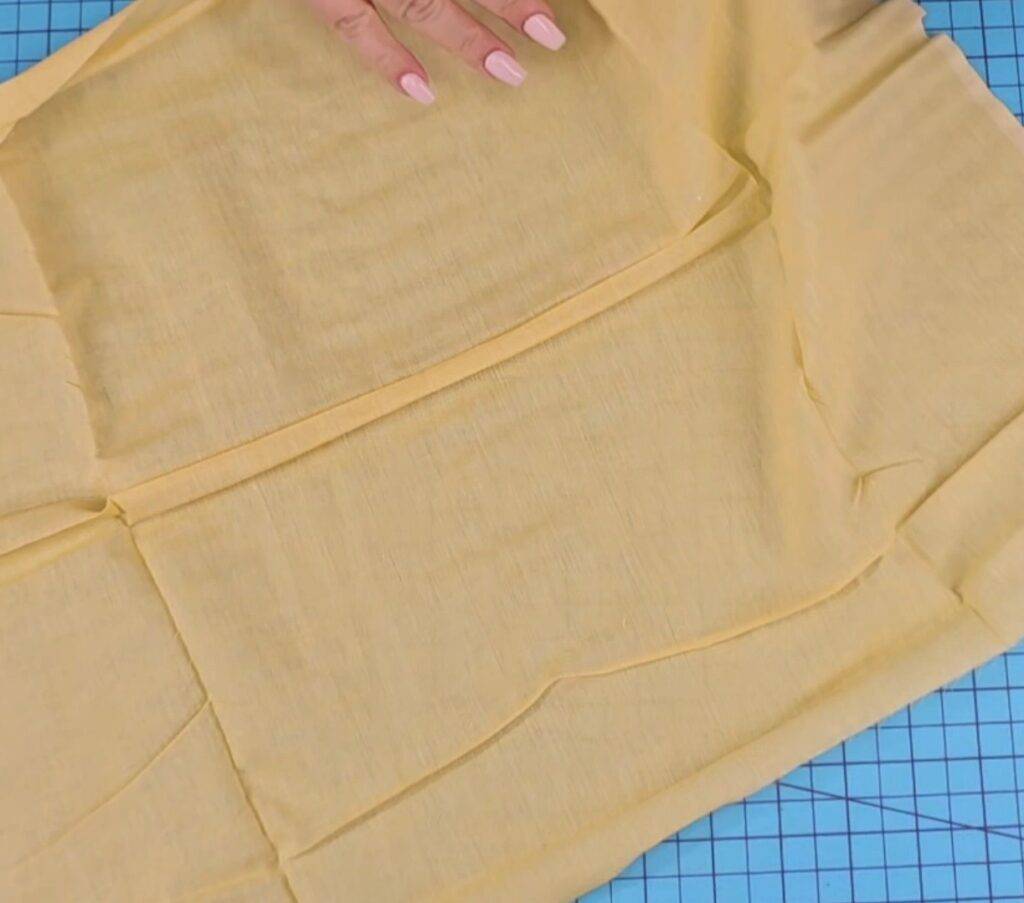
The first thing you will need for this DIY craft is fabric from Dollar Tree. I recommend you pick a bright design. You can also use any old fabric from a curtain or shirt, as long as it has a design you like.
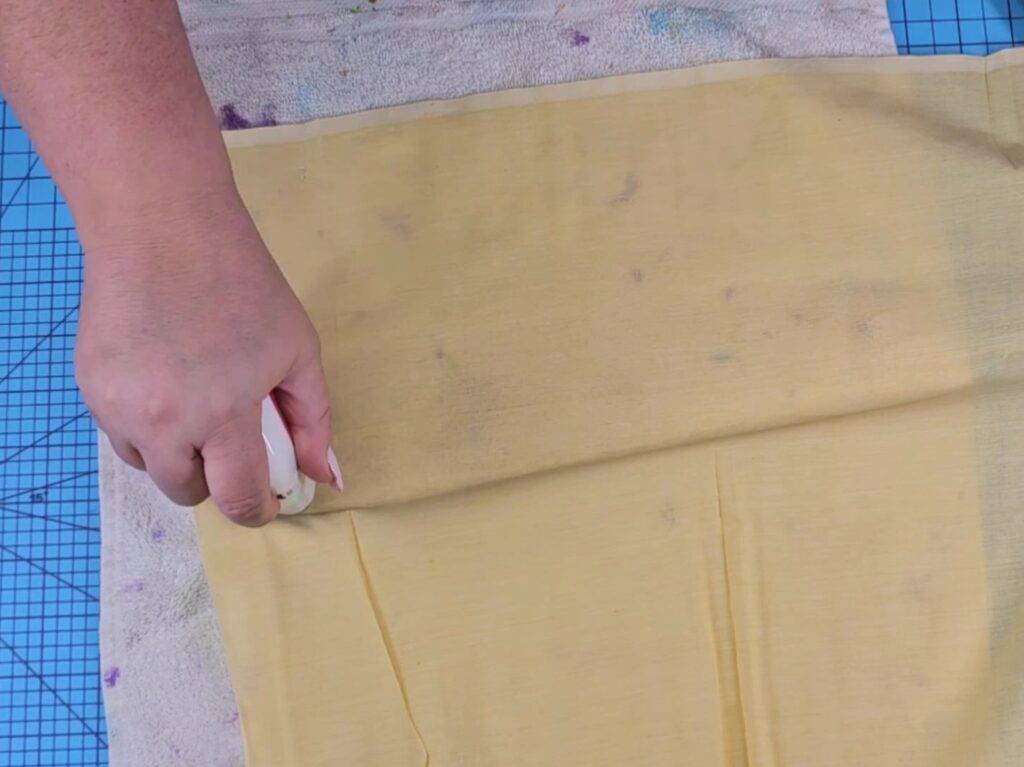
Iron out any wrinkles. I used my mini press from Cricut. This is important because you do not want this Dollar Tree DIY craft to be wrinkled and look messy, ironing it will make it look clean and professional.
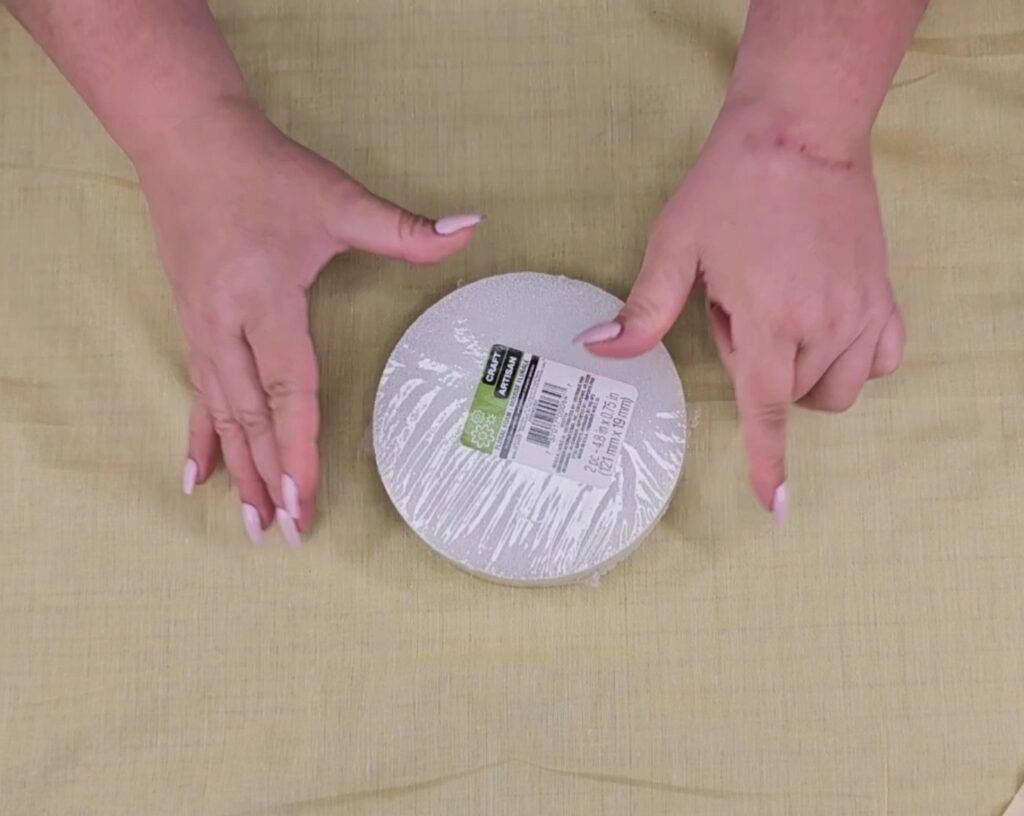
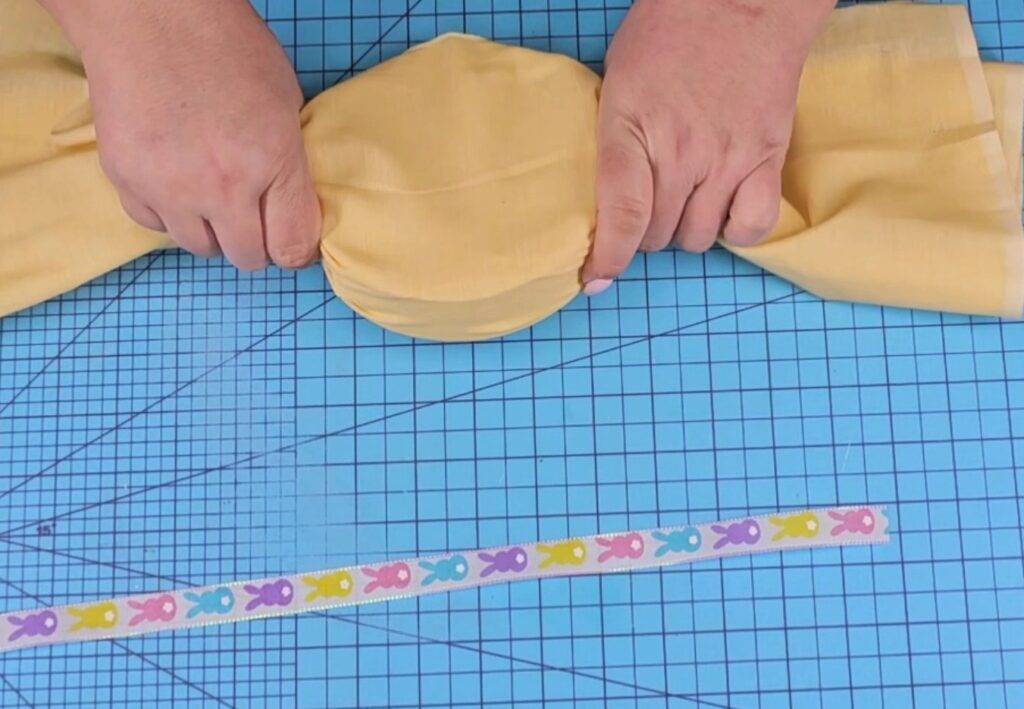
No place a two-pack round foams from Dollar Tree in the center. No need to remove packaging, but if you prefer to remove it, you can.
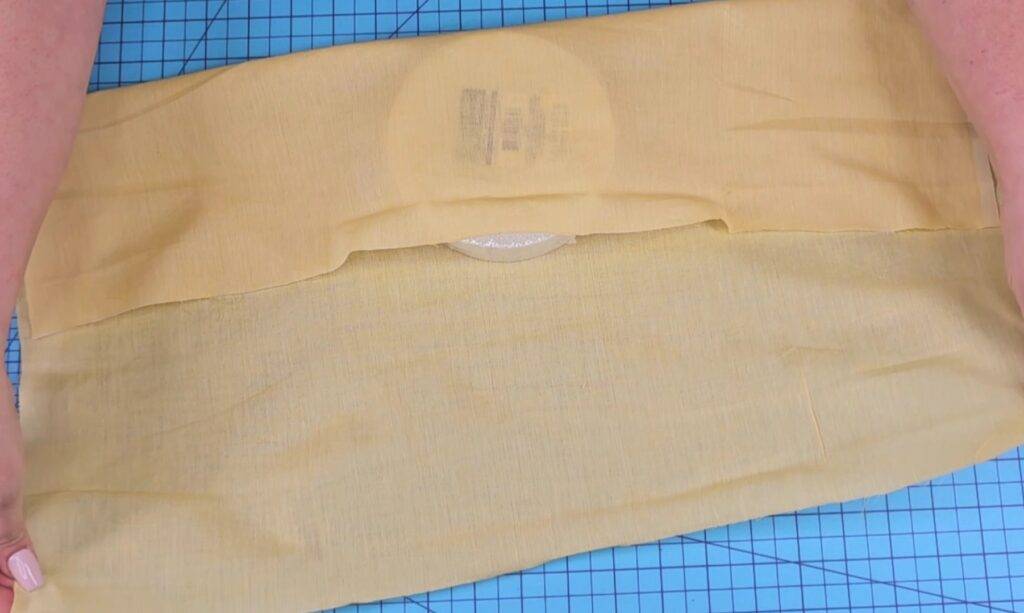
Fold the fabric over the foam longways. This will give you enough fabric to each side of the foam.
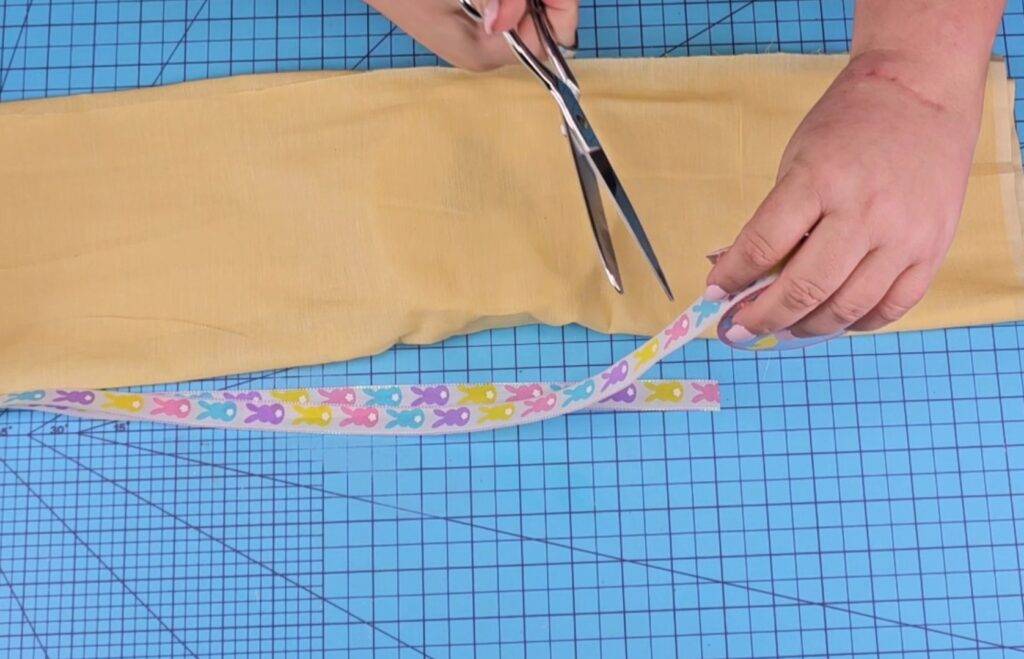
Cut off two pieces of ribbon of choice, in about 15″ long. Or it can also be longer if need to.
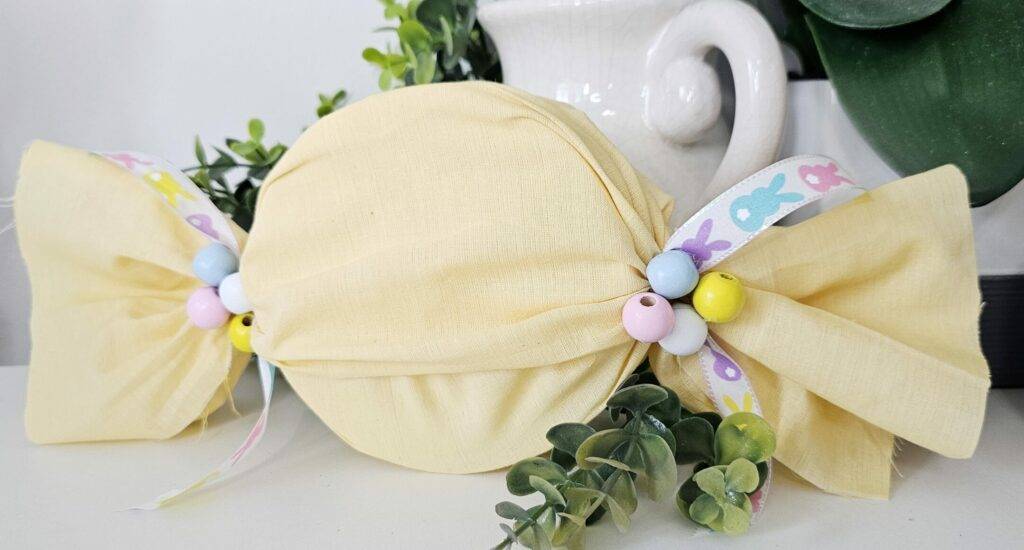
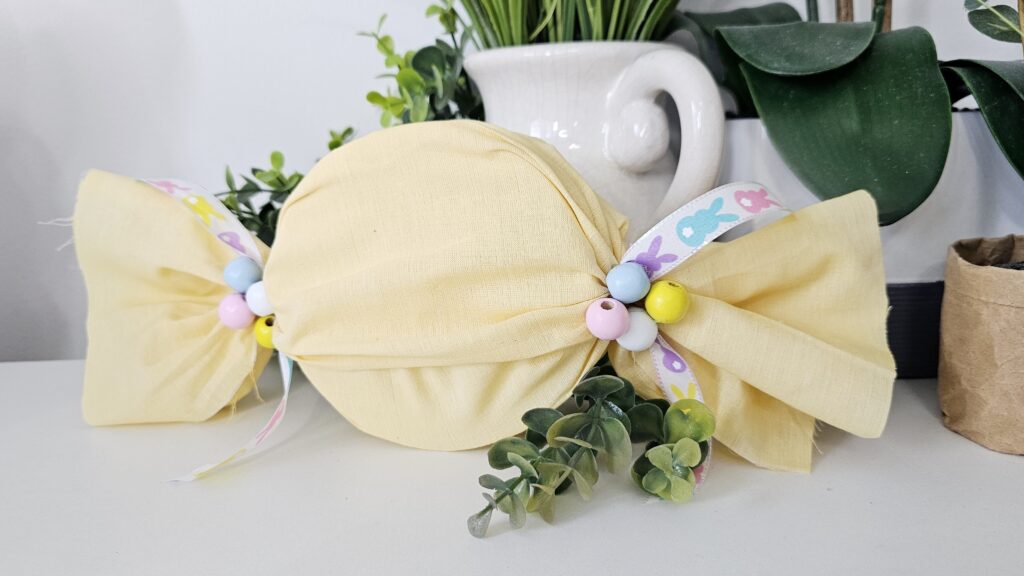
Scrunch the two sides (as you see above). Scrunch them simultaneously so that both sides are about the same length. By now you are starting to see this Dollar Tree DIY craft come to life. We are making a beautiful candy-like decor you can display in your home this Easter and spring season.
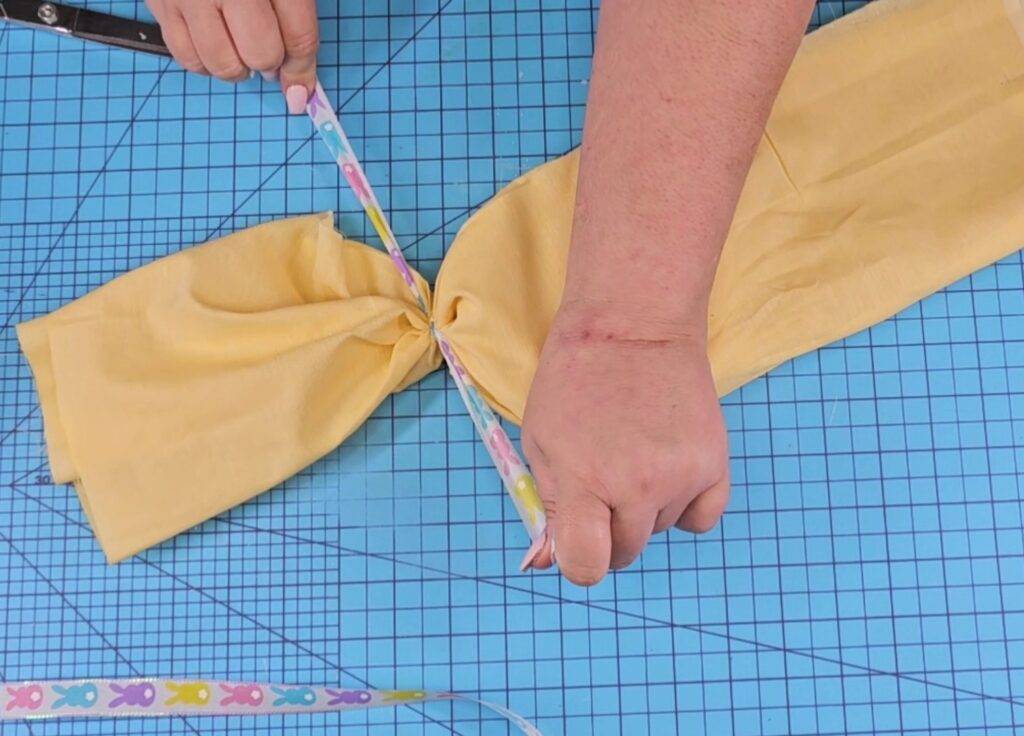
Tie each end, as close to the foam as possible, with the ribbon. You can cut more or less, it’s up to you. Tie in a simple knot. You can also tie in a knit, it’s up to you. You can also add multiple ribbon styles if you would like.
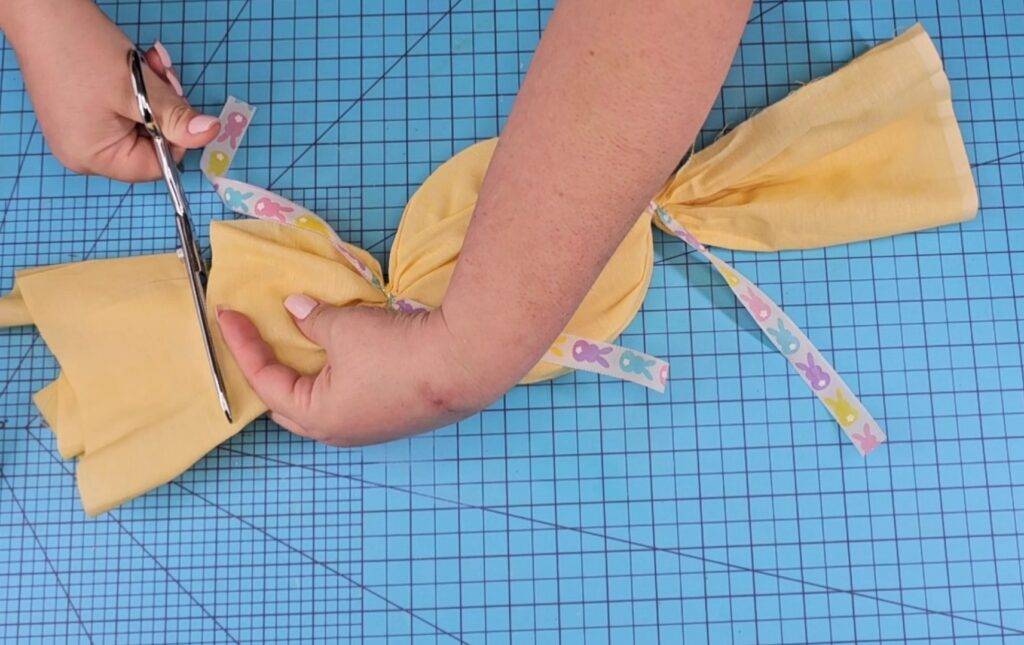
Cut off the excess fabric from each side, leaving about 6 inches on each side. I used my fabric scissors. You can use any scissors, but I have found that using fabric scissors makes a world of a difference.

You can add any embellishments as needed. I hot glued beads in different colors to compliment the overall design. However, remember that you can add anything too it. You can add greenery and florals as needed also. I used my SureBonder Cordless Hot Glue Gun.
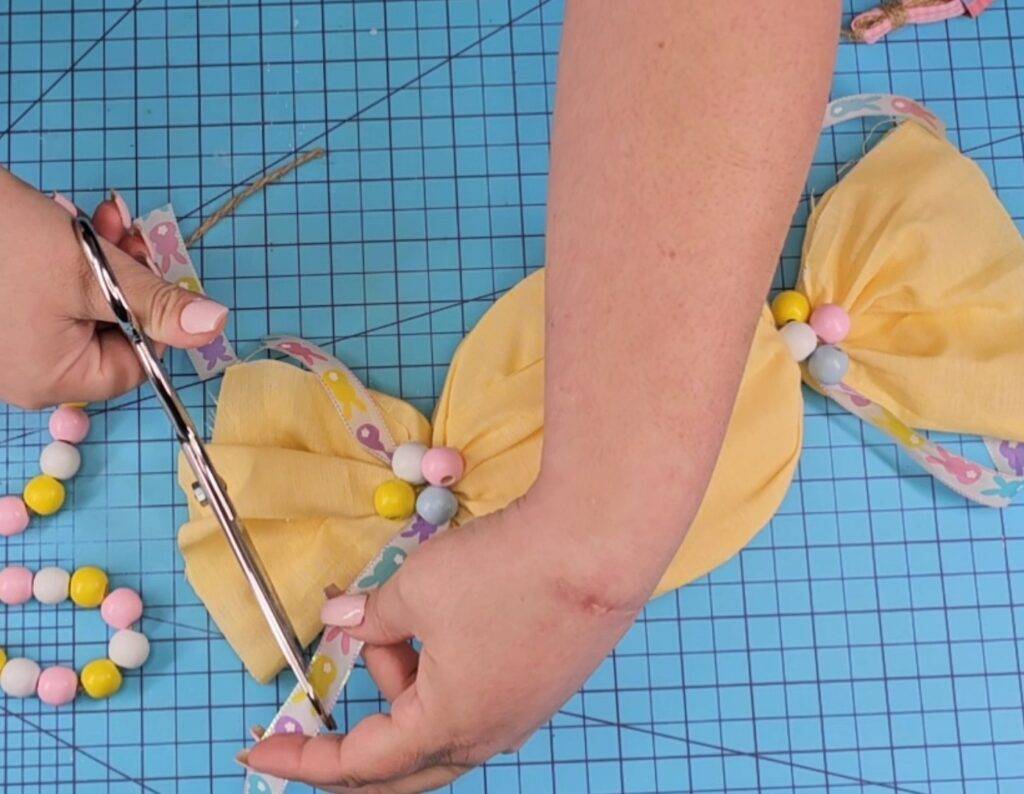
Cut off the excess ribbon as needed.
And that’s it! What do you think of this DIY craft? How fun! And it’s so easy! This Dollar Tree DIY craft can be done in less than 10 minutes!
Will give it a try!? Don’t forget to share with your family and friends!
Don’t forget that you can watch the step-by-step video tutorial here below! Plus, three additional crafts!
If you liked this post, you will love this one! Click here.
Follow me on social media! Click here.
Have fun creating!
Lianep
** Some links are affiliate links which I earn a small commission from at NO extra cost to you.